
Herringbone Painted Floor Cloth
So what’s the deal with these floor cloths anyways? Traditional floor cloths were made in France back in the 1400’s and were stenciled and patterned by the lady of the house; often used under the kitchen table as a crumb cloth. Today used not only for function but home fashion too!Check out this funky floor cloth we’ve painted for our studio! What a perfect way to add a pop of colour and pattern in your space without having to spend a ton of cash on a pricey rug. And this way you get to choose the colours and pattern to match your décor. Let’s get started! 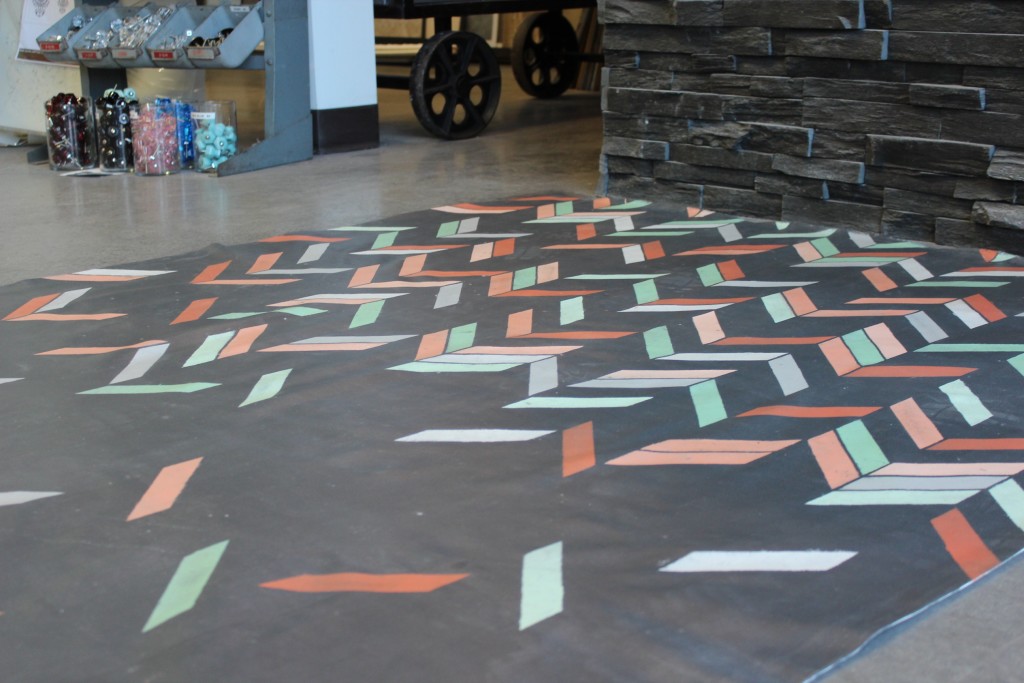 Here’s what you’ll need:
- Floor cloth (Pre prepped floor cloth, big piece of canvas, or a canvas drop cloth)
- Tape measure
- Marker
- Clothing iron
- Plastic drop cloth (larger than your canvas)
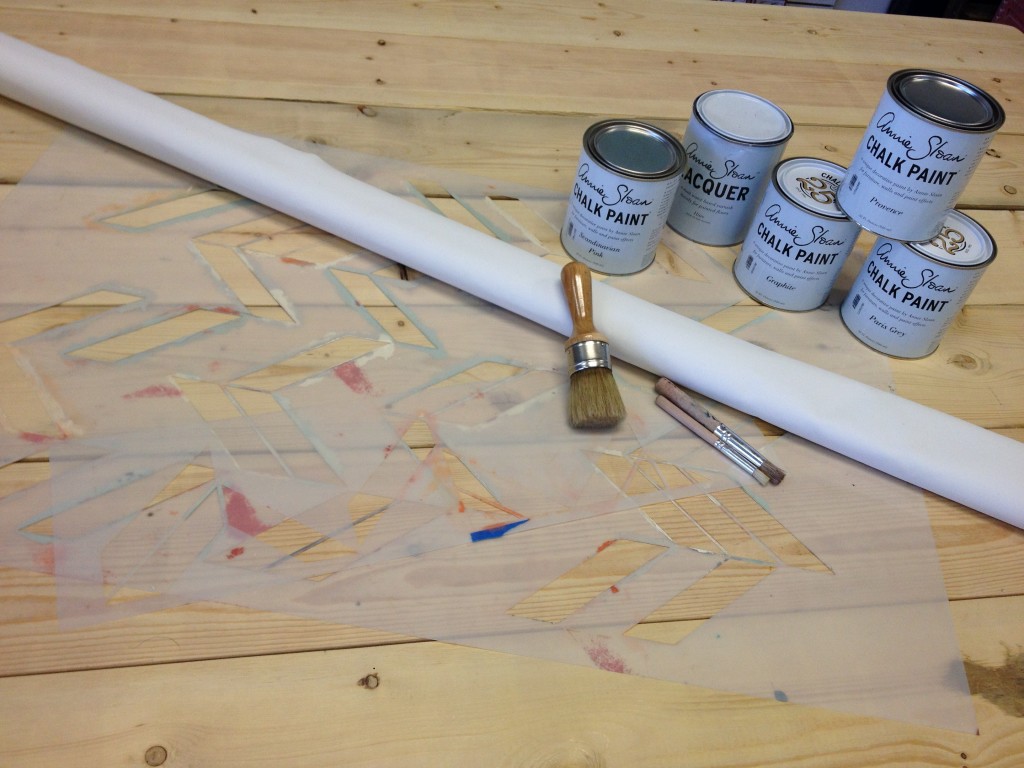
- Chalk Paint™ by Annie Sloan (you can pick your colours)
- Velour Roller
- Roller Handle
- Paint Tray
- Painters tape 1”
- Large Mylar reusable stencil (or painters tape to hand mask a pattern like stripes)
- Stencil brushes or flat top brushes
- Sanding block, 220 grit
- Lacquer by Annie Sloan
- Rubber carpet backing or double sided tape (optional)
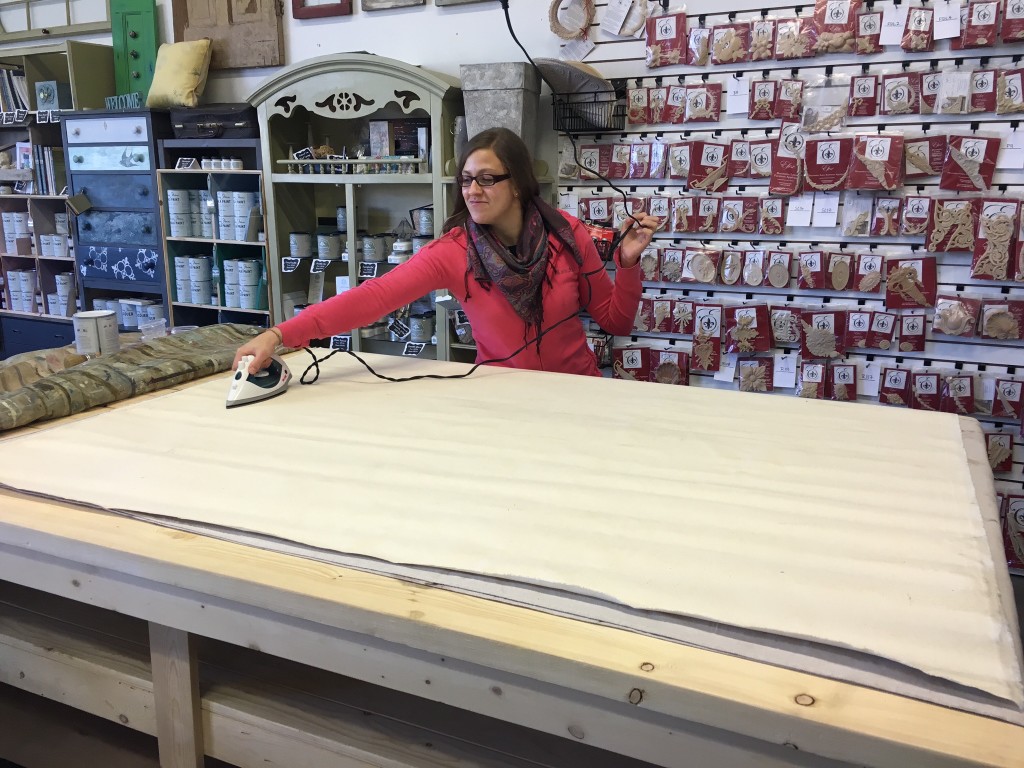
 Step 1: Choose your cloth. We went with a 5.5 x 4.5ft piece of pre-primed canvas. You could also use a large canvas drop cloth from your paint or hardware store. Before you purchase your canvas, measure your space and write down the size you want your cloth to be.Step 2: Prep your canvas. Measure your canvas and mark your desired dimensions, adding an extra ½ inch on each side for a hem. Fold your edges over and iron to crease the edges and smooth out your canvas. If you’re an amazing seamstress you can sew your edges in place or you can just tack with glue.If you’re already feeling lost, try to find a canvas drop cloth that is the size you want, with the edges hemmed for you. Or, you can call up your local art supply store and ask if they sell blank floor cloths all ready to go (Preshrunk, primed and hemmed)!
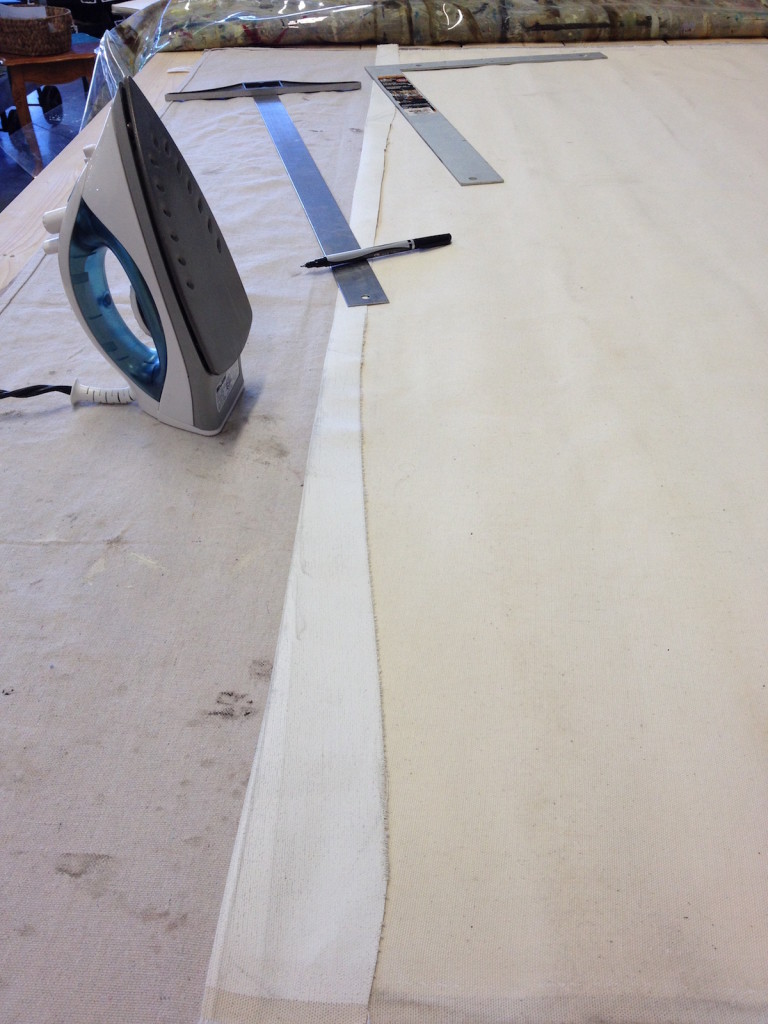
 Step 3: Base coat. Our canvas was already primed. If yours is not, you will want to work on a surface like the garage floor or lay down a plastic drop cloth in case your paint soaks through your canvas. Start by rolling on a coat of Chalk Paint™ using your velour roller. We used Graphite Chalk Paint™ by Annie Sloan and ended up doing a second coat after the first one was dry to make our base a solid colour. Wash your roller after done painting as you’ll use this again later on.
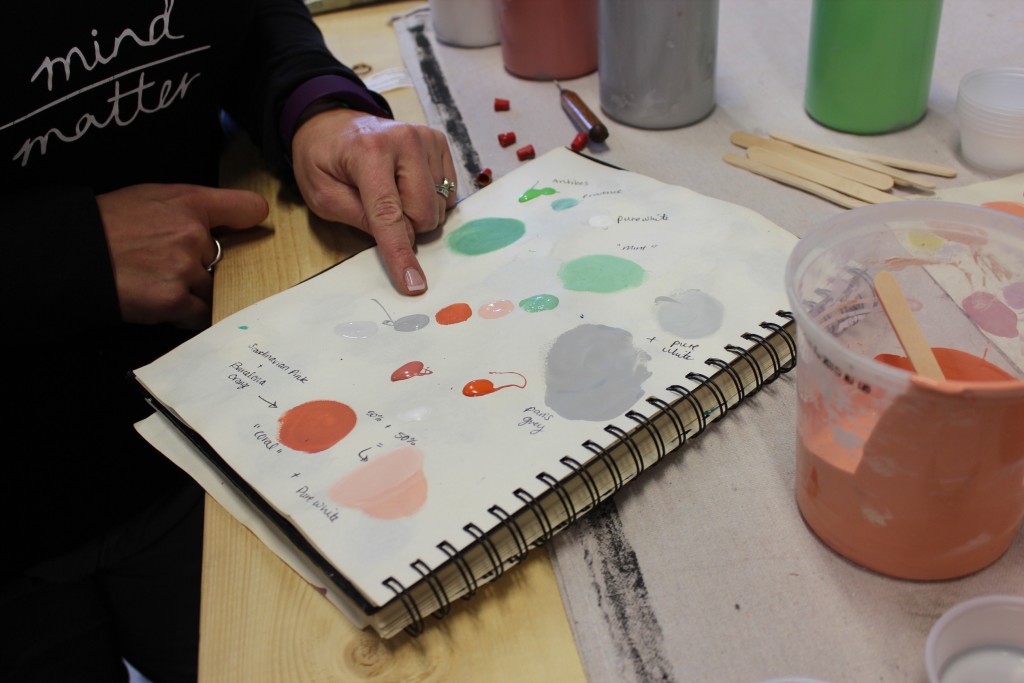
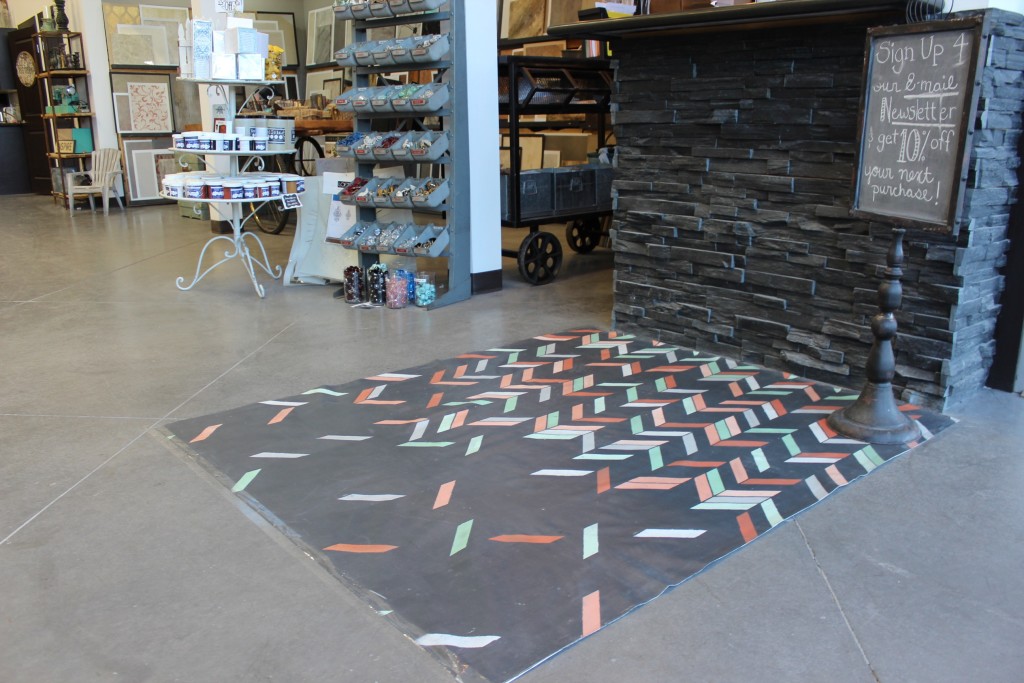
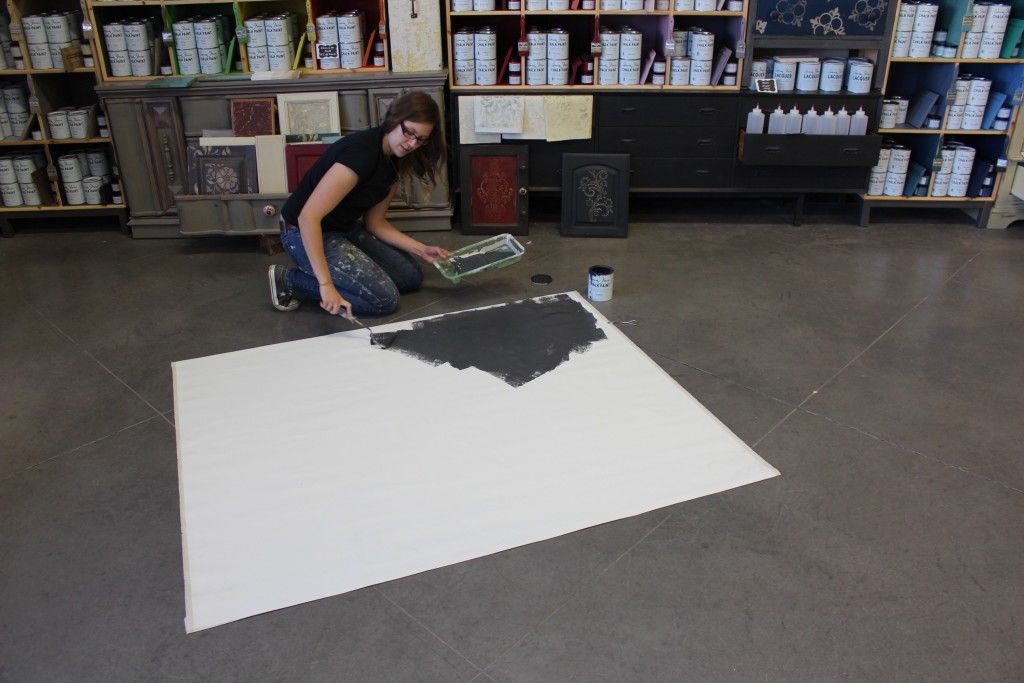 Step 4: Pick your pattern and colour pallet. The sky’s the limit here guys! Your finish could be as simple as some stripes or polka dots or as detailed as a repetitive pattern with multiple colours. The beauty is that you get to choose!We started by choosing a broken Herringbone stencil for our pattern. And for our colour pallet, we decided on mint, coral and grey.Here's Our Colour Mixes:Dark Mint – 50/50 mix of Antibes Green and Provence + 1/8 Pure WhiteLight Mint – 50/50 mix of Dark Mint and Pure WhiteDark Coral – 50/50 mix of Barcelona Orange and Scandinavian Pink + 1/8 Pure WhiteLight Coral – 50/50 mix of Pure White and Dark CoralParis GreyLight Paris Grey – 2 parts Paris Grey and one part Pure White.
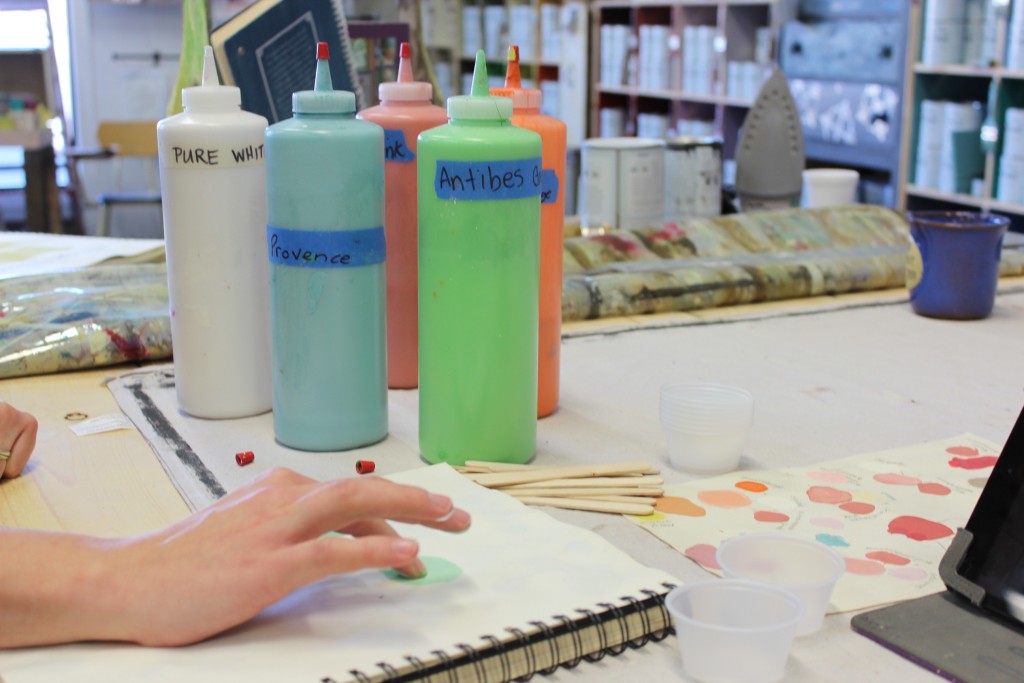
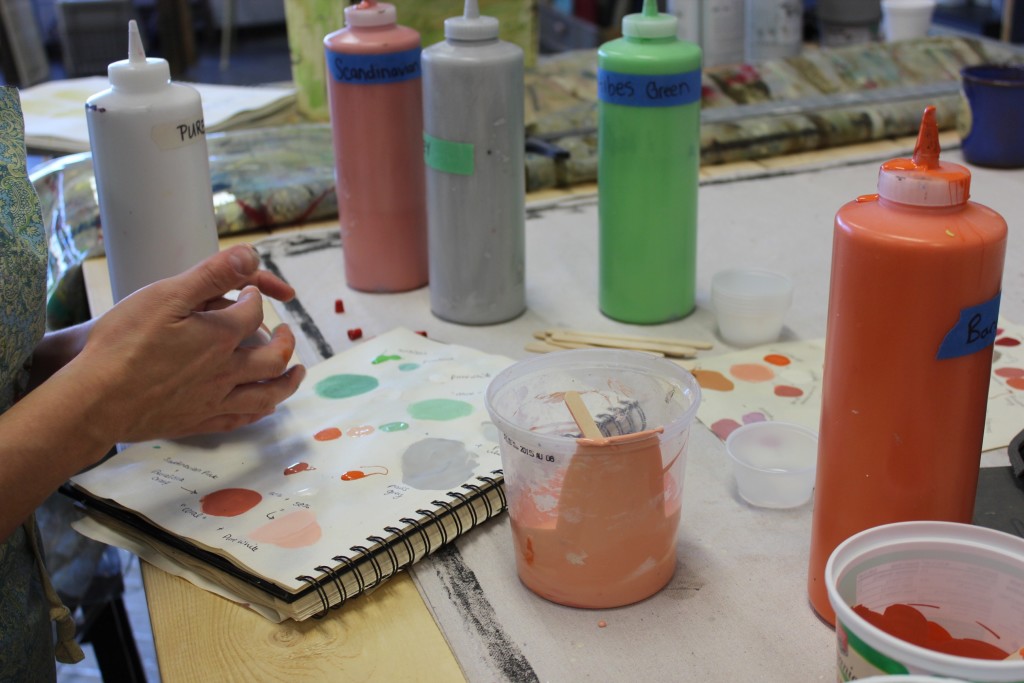
 We love to play with our paint!Step 5: Stencil. New to stencilling? No problem. Here are a few tips for you:
- Use painters tape to hold your stencil in place so it doesn’t move about.
- When choosing an all-over pattern, get a good quality stencil with markers built in so you can easily line up your pattern. (Come to our studio, we’ll show you what we mean.)
- Use a stencil brush or a flat top wax brush with an up-and-downward pouncing motion to apply your paint.
- A little paint goes a long way! Too much paint and you may get some bleeding edges.
- If you get bleeding edges, do not fret. Just lightly distress your pattern (like we did) then no one will ever know! ☺
- Once you are finished, wash your stencil in warm soapy water to prevent paint from drying on the stencil.
For our cloth, we mixed up our colours and got a brush out for each one. Then as randomly as possible we just started to paint on our pattern. Once all the little shapes were filled in we picked up the stencil, let the paint dry a little, moved the stencil over and started again. As we moved up our cloth we decided to fade out the pattern a bit. You get to do whatever you like with your pattern! 
 All done painting? Let it dry!Step 6: Distress. We did a little sanding to break up our pattern and give it a worn effect using our 220 grit sanding sponge. Dust off your paint dust when you’re all done.Step 7: Seal. No doubt in our mind that Lacquer by Annie Sloan was the sealer we wanted to use for this one! Lacquer is made for sealing painted floors! Use your velour roller to roll on a coat. Let this completely dry and then apply a second thin coat. Allow to rest overnight and then your floor cloth is ready to use!Step 8: Put in place. Depending on where you put your cloth you may want to use a rubber carpet backing for extra cushion and to keep it from slipping about. Or, use some double sided tape to tack it in place.
 We hope you enjoyed this tutorial! If you have any questions about this project or any of the products and techniques we used, please leave a comment! We love to help you with your projects!