
Creating The PAINT BAR Sign
By now you might have heard about The PAINT BAR, but just in case you haven’t let me tell you a bit about it. We have set up our studio for you to work on your projects, play with paint, sip coffee and be with friends. Bring your own small project and use all of our paint, products and tools to work your own personal projects for just $15/hour! Open: Monday - Friday, 10AM - 6PM and some Saturdays. Just call us 403-243-7433 to reserve your spot.So you can easily find The PAINT BAR we have just completed an awesome sign so you’ll know where to go. Keep reading to see our process and the end result. 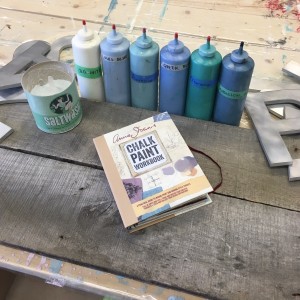
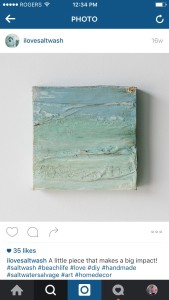
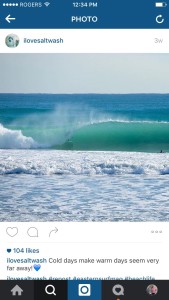 We started by tracking down a local company, HKLUXCo. ,that could make the letters PAINT BAR for us out of metal. At that time, we weren't sure what the letters would be mounted on or the final look but needed to start somewhere. While the letters were being made we came across a giant old wooden chest that was about to fall apart, we thought the boards would be perfect to use as a background for our PAINT BAR letters. We dismantled the box and cut a couple strips of the wood to size. And from there a plan started to form. Excited about the arrival of Saltwash™ we decided this was a great way to showcase our newest product and we just love the look of it.Inspired by these ocean, beachy themed images our colour pallet was selected: Old White, Louis Blue, Provence, Greek Blue, Florence, and Napoleonic Blue Chalk Paint™ by Annie Sloan.
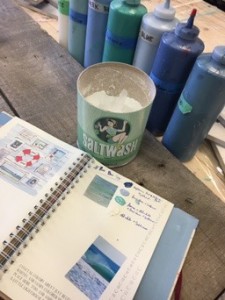
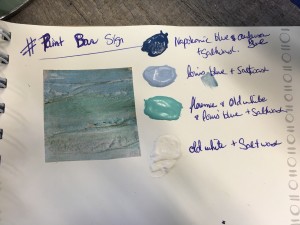 [video width="1920" height="1080" mp4="http://www.interiorstoinspire.com/wp-content/uploads/2016/03/paint-bar-sign-video-clips-1.mp4"][/video] To keep track of our steps and colour mixes we used a page in our new Annie Sloan Chalk Paint™ Workbook, this new workbook is a fantastic way to keep track of your projects but also to find inspiration as Annie has left lots of notes and ideas inside! We mixed our Chalk Paint™ colours with our new Saltwash™ until it had a thick consistency, similar to cake icing. In our workbook we put a dab of each of our paint mixes and notes to help us remember what we did. We also pasted some inspiration photos to remind us where the inspiration was drawn from.
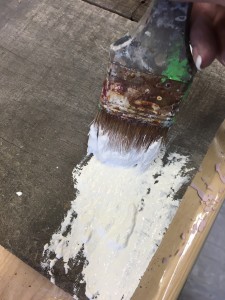
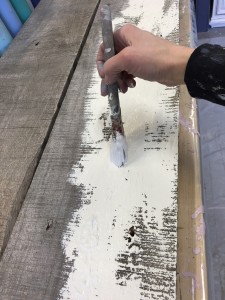
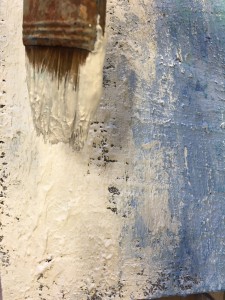 With the boards all fastened together we were ready to start painting. We continued to add colours and layers drawing inspiration again from our photos, mimicking the colours of the ocean as it's waves crash along the beach. There are no rules when creating a look like this, just keep playing with colours and layering and allowing the colours to mix and overlap until you get a look you love. Did we mention how excited we are about this product?
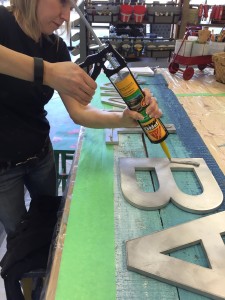
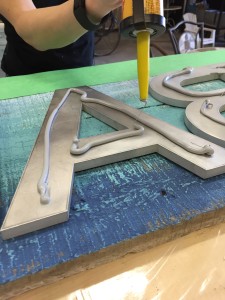
 After our paint layers had completely dried it was time to bond our letters to the background. HKLUX Co. provided us with a strong industrial glue that bonds to metal and wood; we squeezed it onto the backs of each of our letters. Then, with a little force, and a lot of love, we pressed the letters onto the wood surface.
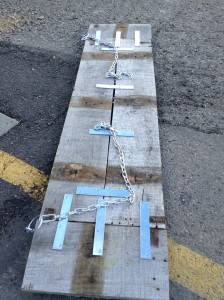

 Time for install! We attached some hardware and chain to our sign, and then with a group effort we hung The PAINT BAR sign above our studio door. Check out the video clip below to see us in action! https://youtu.be/SMtFRdIaDnU
 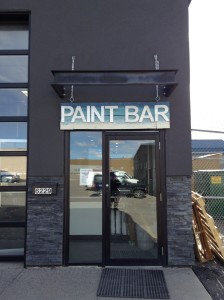 How cool is that? Look for our new sign next time you come visit our studio, it's hard to miss! We look forward to seeing you at The PAINT BAR soon! Happy Painting from all the artists at Interiors To Inspire!If you have any questions about this tutorial or any of the products used, please feel free to leave us a comment below!