How to Use Annie Sloan Soft Wax
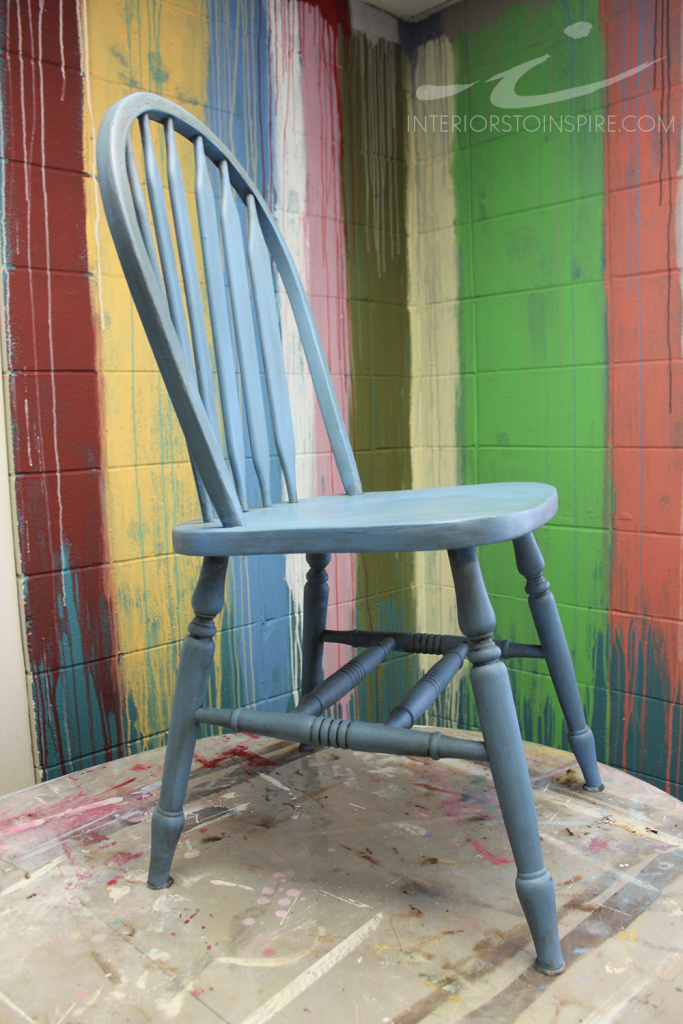
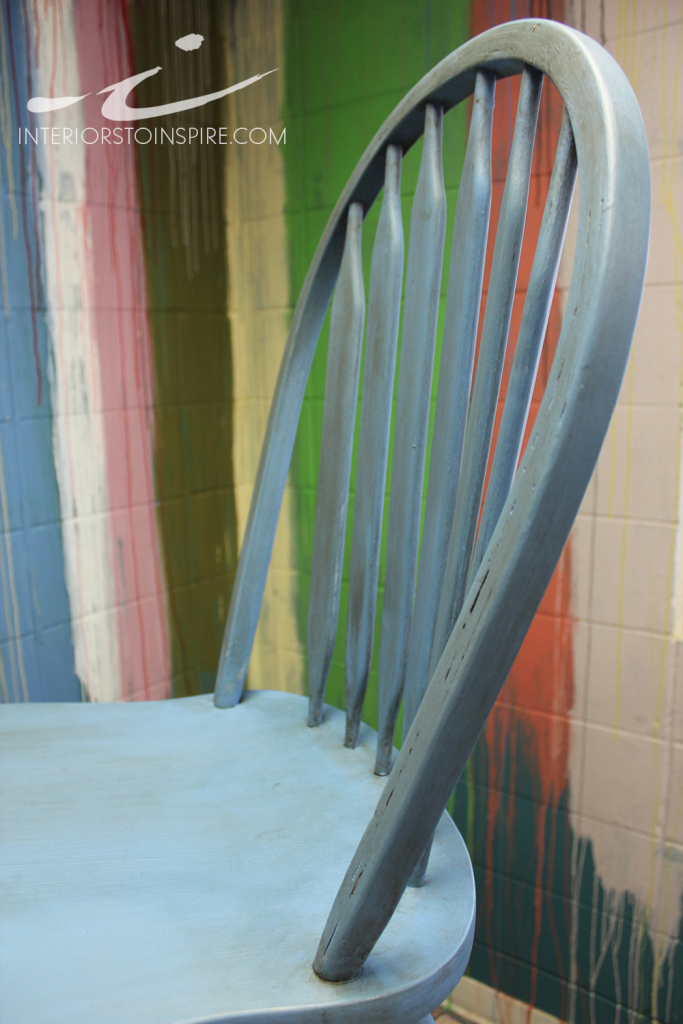
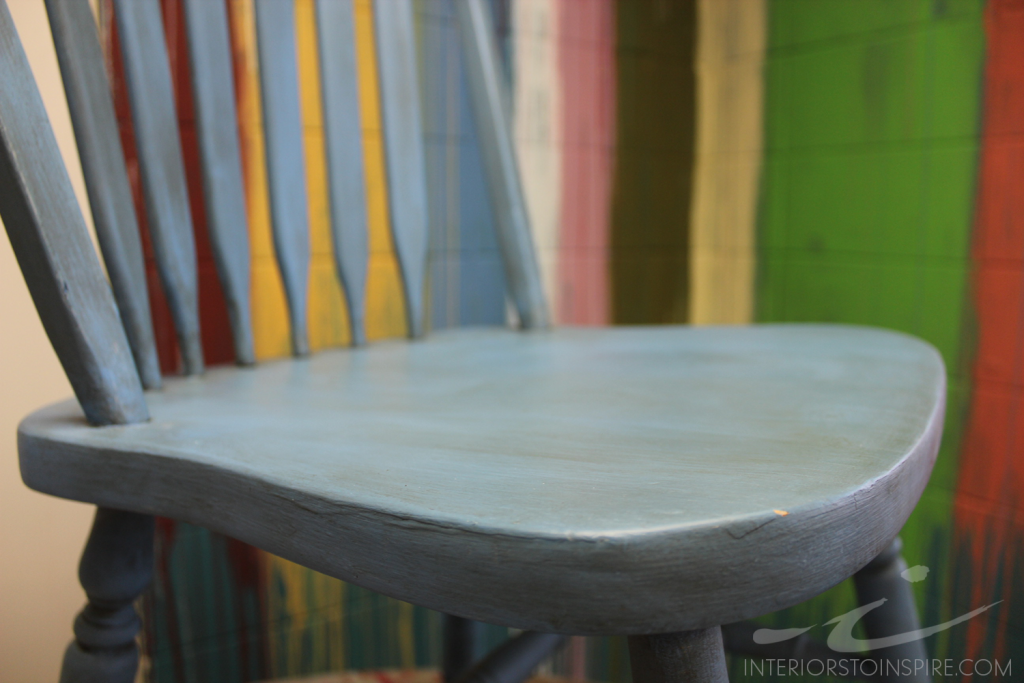
This is your guide to applying Annie Sloan Soft Wax, troubleshooting when something ‘goes wrong,’ and a waxing FAQ!Annie Sloan Soft Wax is the perfect partner for Chalk Paint™. Developed to work together, Soft Wax is used for protection and to give a beautiful mellow finish to painted furniture, cabinets, and walls. It has the consistency of soft butter, is easy to apply, and has very little odour.Below are the steps which illustrate the process for applying both Clear and Dark Soft Wax on a chair that we painted with Greek Blue Chalk Paint™ followed by a list of FAQ’s and some troubleshooting tips should you need a little extra help. Let’s get started! If you have any questions at all that go unanswered here, please leave us a comment below! 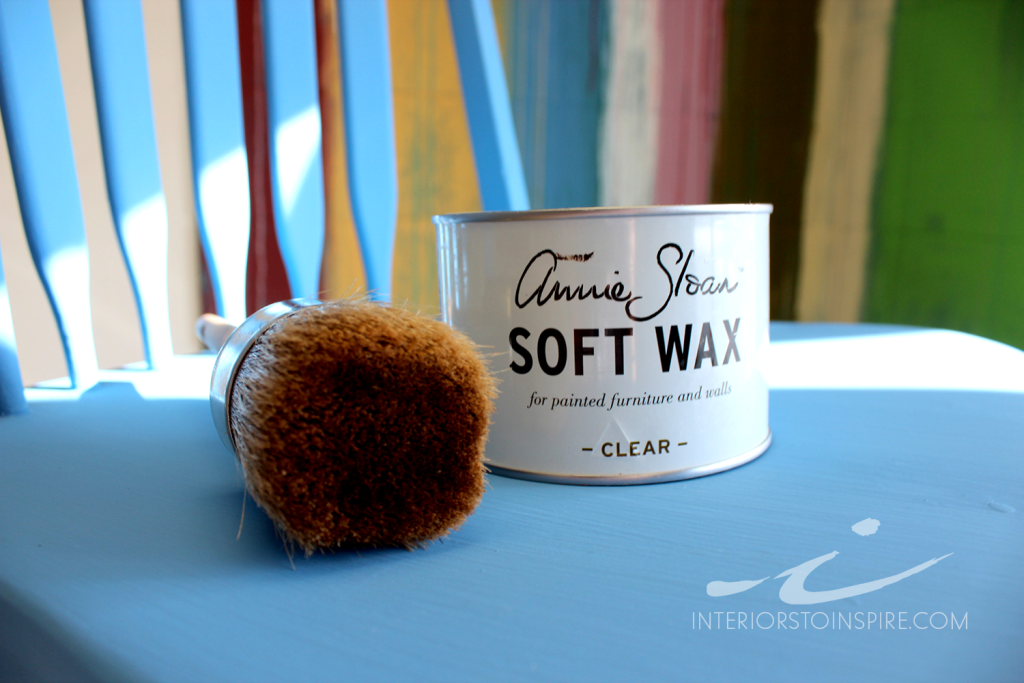 Tools Needed:Annie Sloan Clear Soft WaxAnnie Sloan Dark Soft WaxWax BrushBuffing Cloth (Better Than Cheesecloth)Soft Cotton Rags (T-Shirt Rag)Low Odour Mineral Spirits
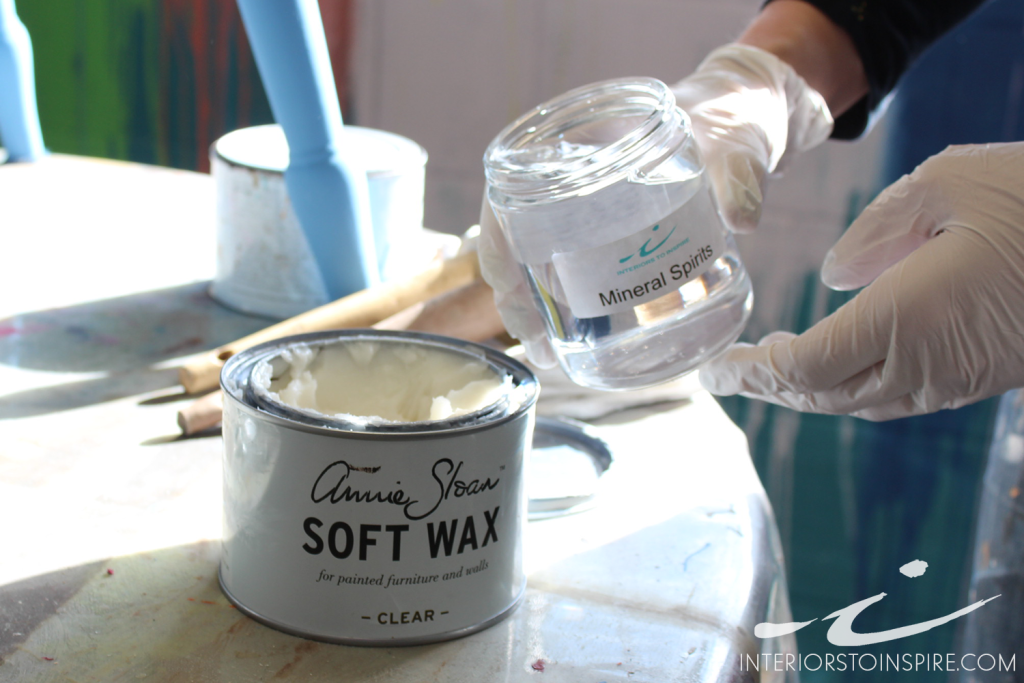
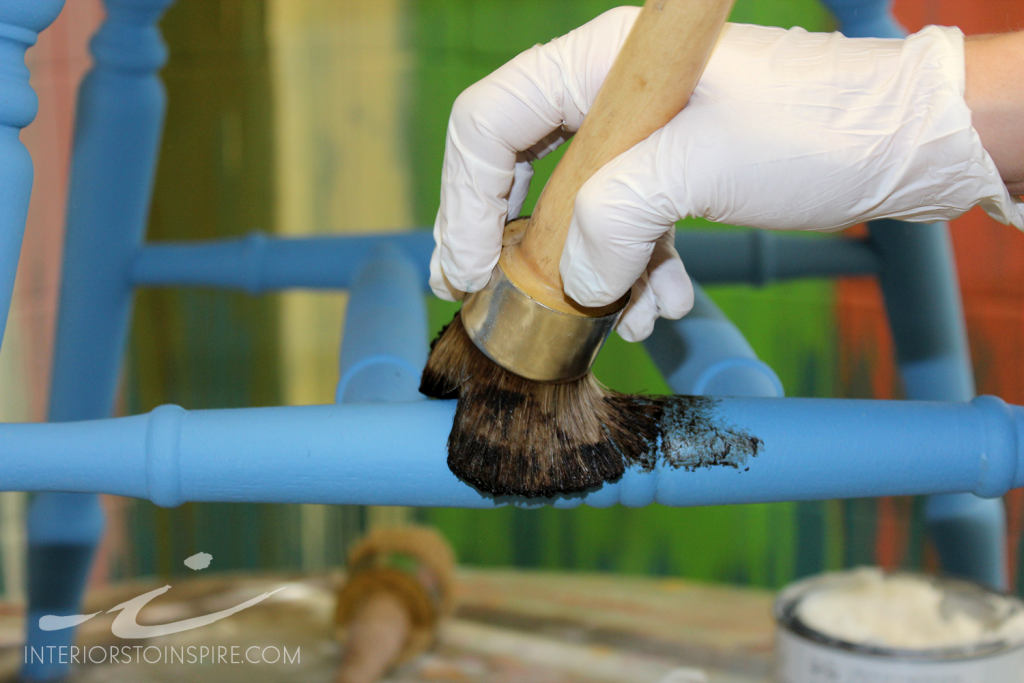
 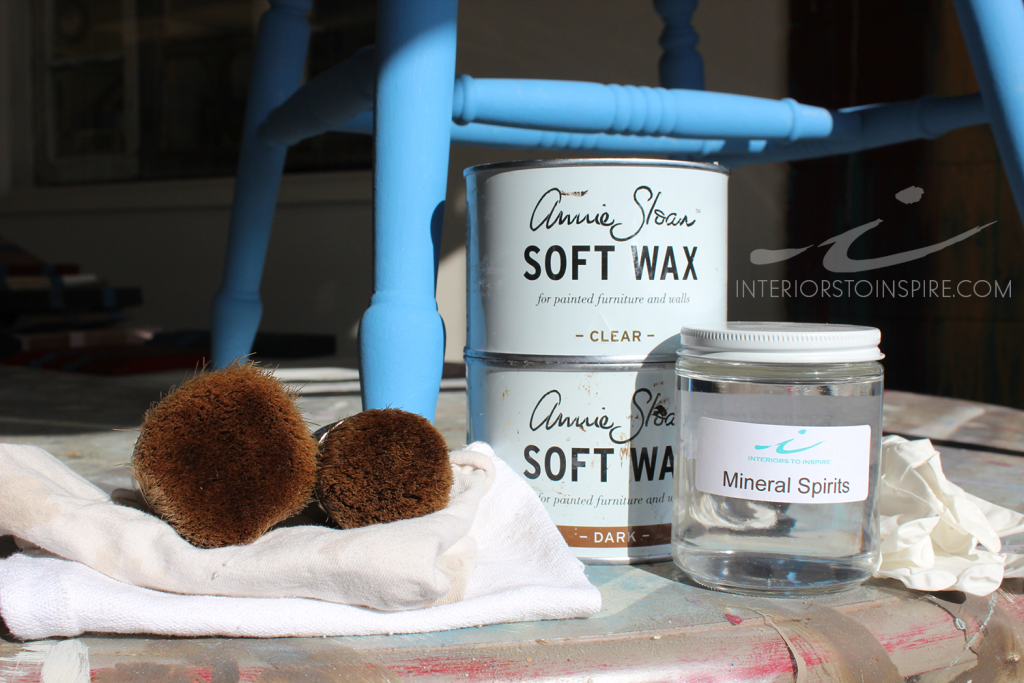 Wax Brush Application: A wax brush is a useful tool that allows you to better control the amount of wax you use and to waste less wax. It also helps to apply even pressure and coverage as well as to speed up the waxing process; especially on large pieces of furniture. We like to begin by adding low odour Mineral Spirits to your Soft Wax to create a mixture of about 10% Mineral Spirits, 90% Soft Wax. This will slightly thin the and make it more pliable. When working with solvents be sure to wear gloves to protect the skin and always read the safety label.
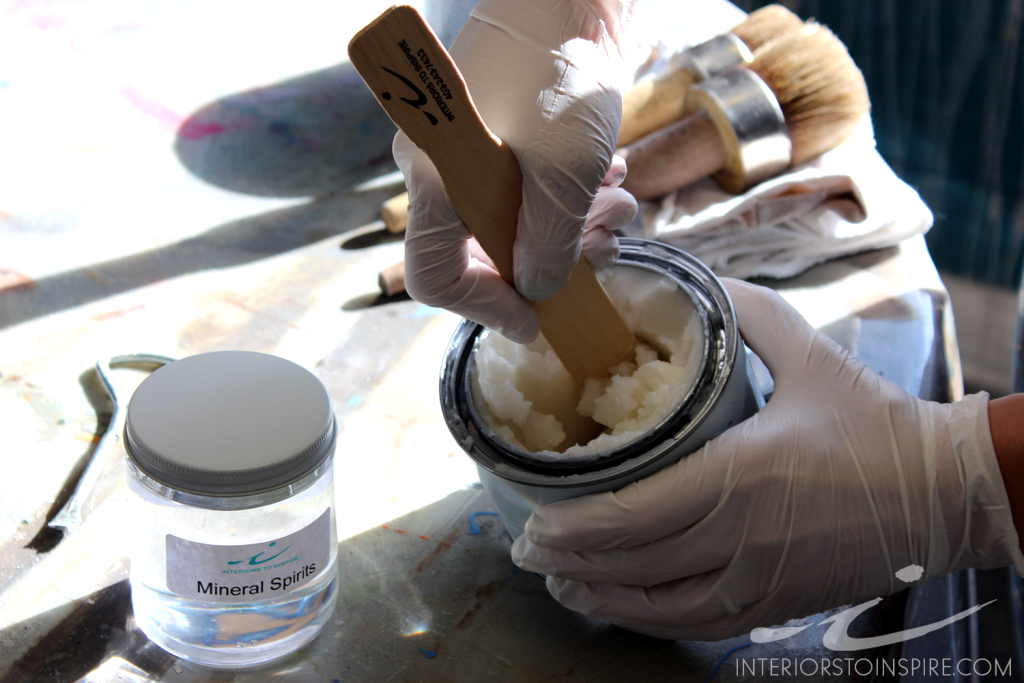 Next, dip your wax brush into the tin of wax to get just a small amount of wax on the bristles. I started this piece with Clear Soft Wax.
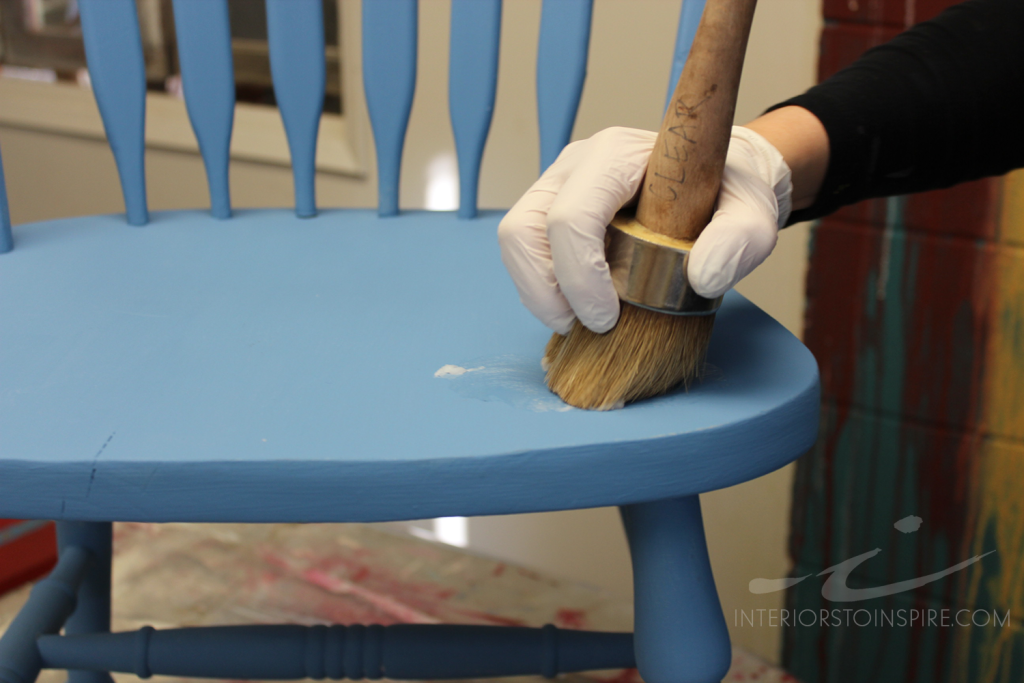
 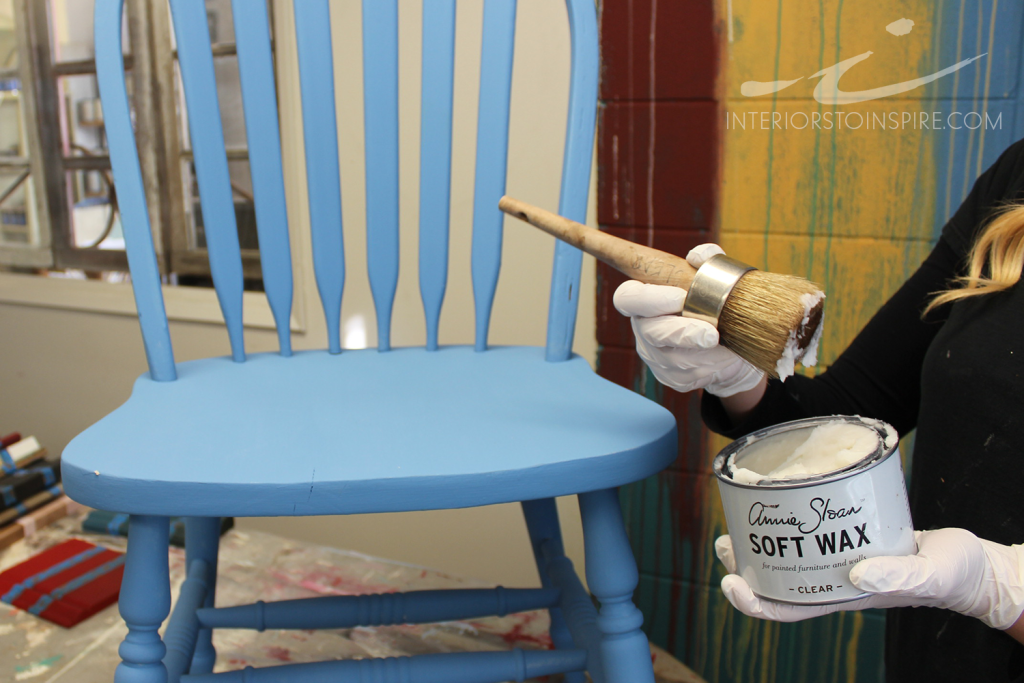 Use your brush to spread and push the wax into the underlying paint so that it absorbs into the paint (just like hand cream absorbs into the skin.) You want to work in small sections at a time, about the size of a dinner plate.
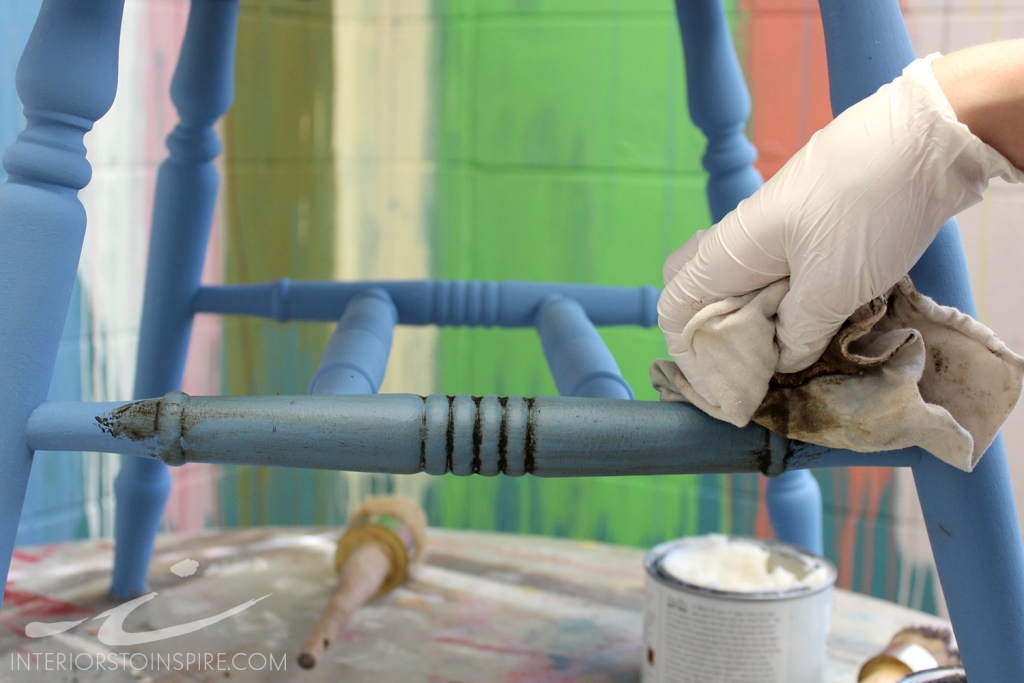
  Immediately remove all excess wax by wiping with a clean soft cotton rag (t-shirt rag.)
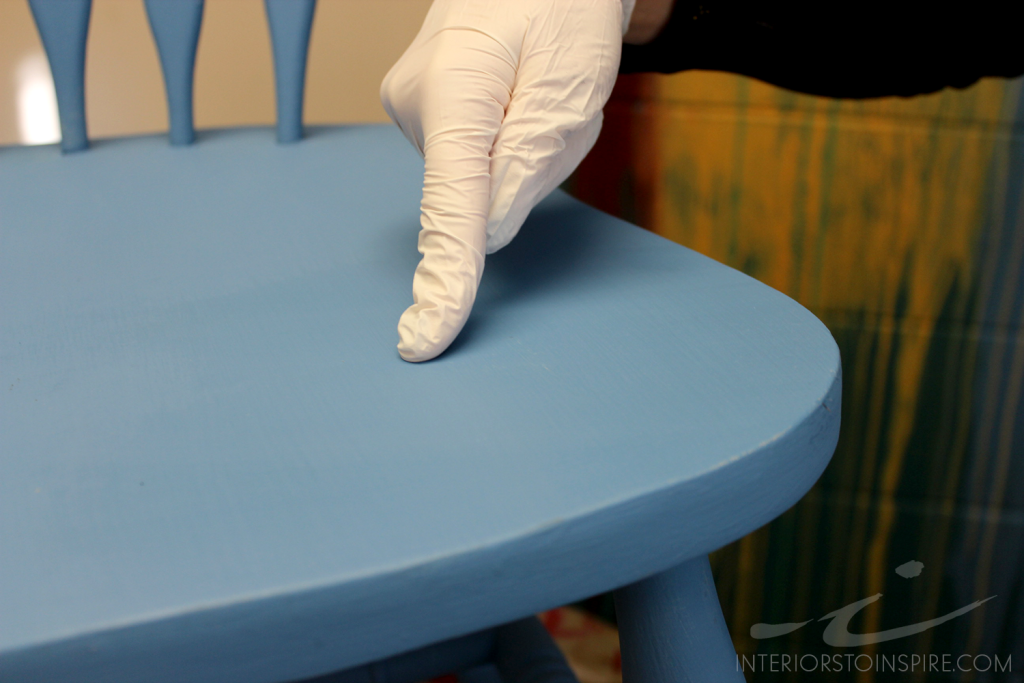
 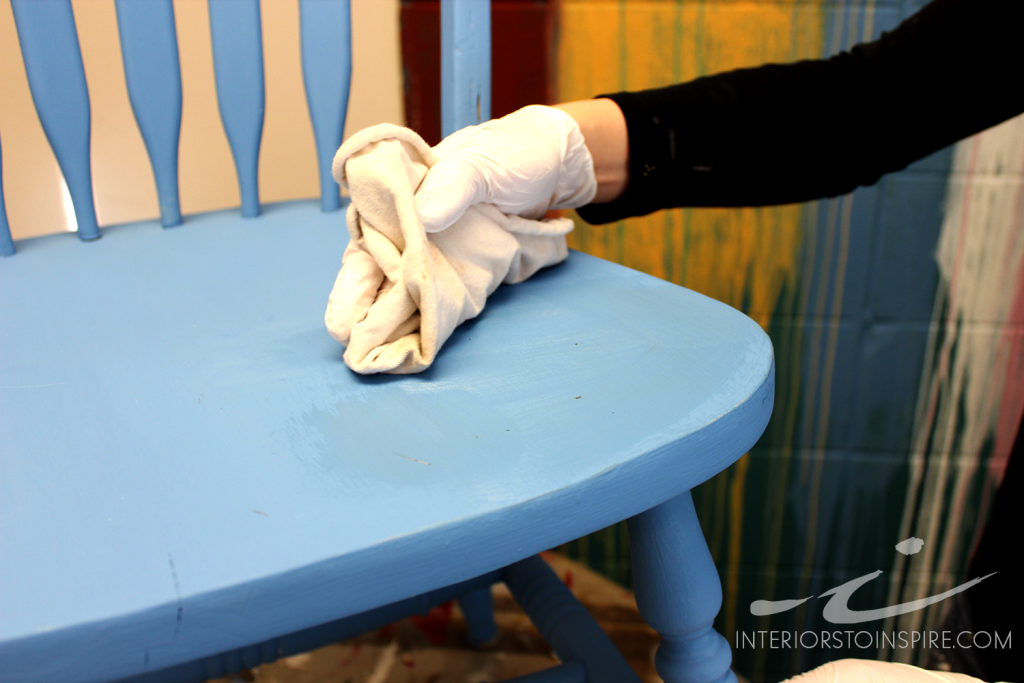 Tip: Change out your rag frequently as an old one will get clogged with wax and become ineffective.Tip: When wiping away your excess wax be careful not to rub or scrub the surface too hard. You may end up buffing the finish too soon, resulting in an uneven sheen.After you remove your excess wax, lightly run your finger along the surface of your piece. If you see a trail or streak from your finger there is too much wax on the surface and you need to wipe that area right away. A little really does go a long way.
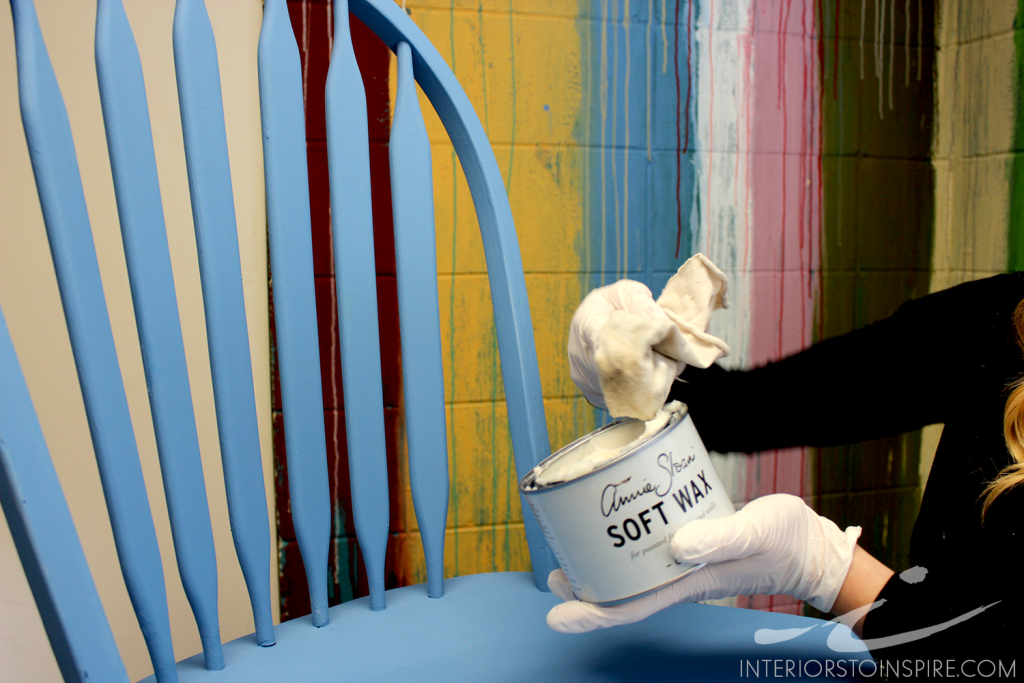
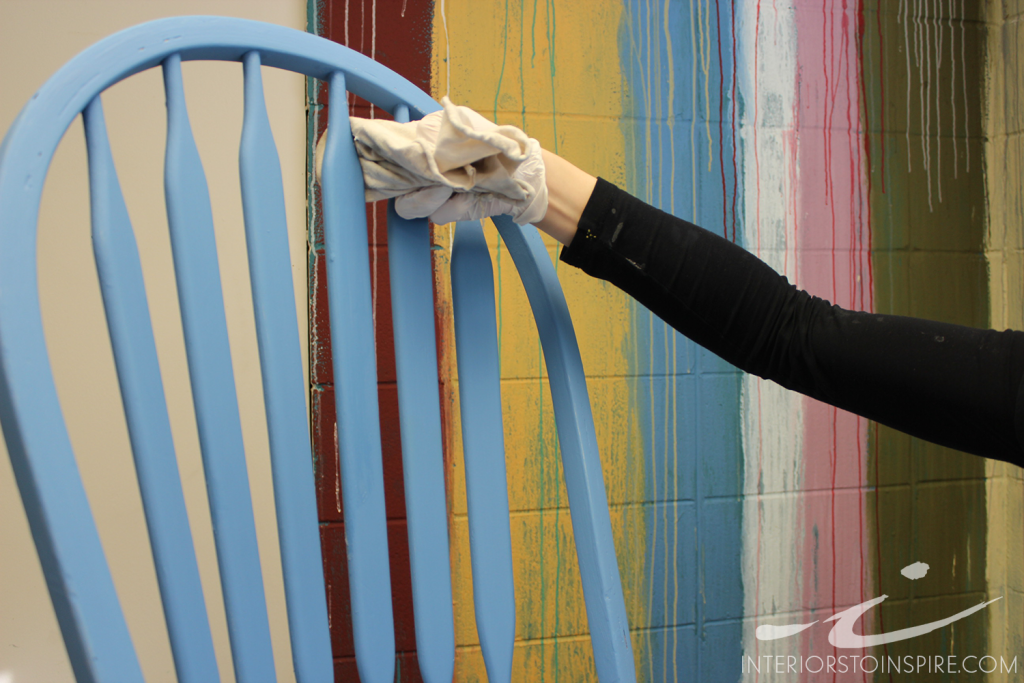
  Rag Application: Another option is to apply your wax with a soft cotton rag. A rag is an effective tool for getting to those small or tight areas that your wax brush cannot get into like the spindles of this chair. Remember, you will need two rags; one for putting your wax on and one for wiping your excess wax off. Dip your rag into your tin to get a small amount of wax on the rag. Rub the wax onto the surface, pushing the wax into the paint, working in smaller sections. On this chair, I did one spindle at a time. Immediately remove all excess wax by wiping with your second soft cotton rag.
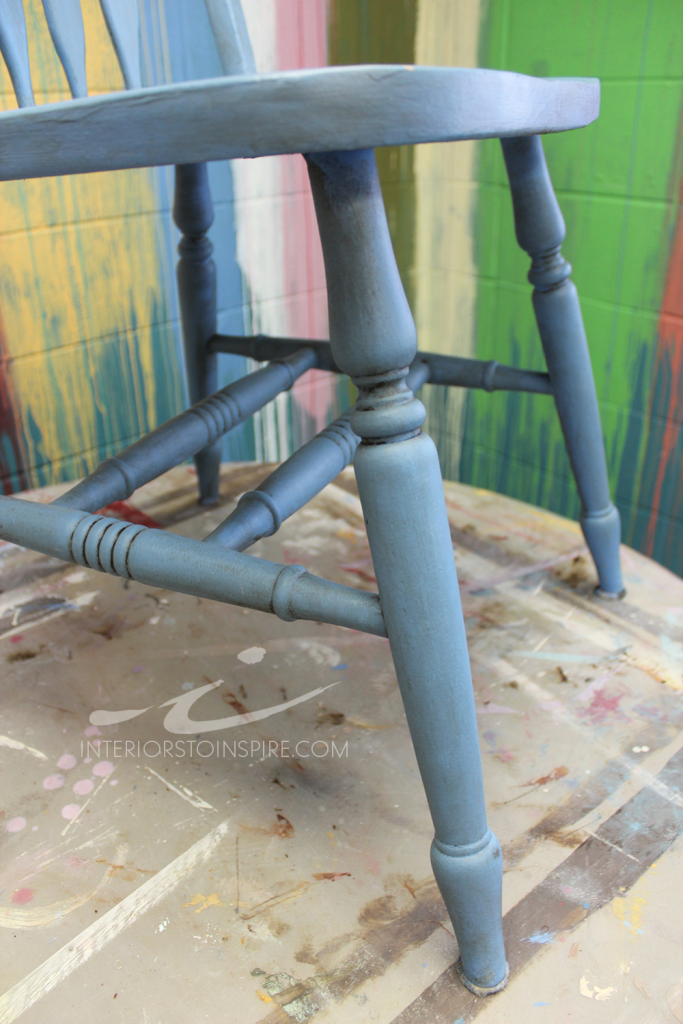
 Once you have waxed your entire piece, it’s a good idea to do a second pass to ensure you have not missed any areas and have even coverage. On this chair, I used Soft Dark Wax for our second layer. If you don’t like the look of Dark Soft Wax you can apply a second thin layer of Clear Soft Wax or even make a blend of Clear and Dark Soft Wax for a lighter brown effect.Tip: Click here to see our "Choosing a Topcoat" post for comparisons of Clear and Dark Soft Wax.Second Coat; Dark Soft Wax: Dark Soft Wax is a sealer (just like Clear Soft Wax) that contains pigments that will “stain” the underlying paint. It is easiest to apply over top a layer of Clear Soft Wax to get a more even brownish tone. The application is the same as it is with the clear wax. Using a brush or rag, working in small sections at a time, apply a thin layer of wax to the surface. Immediately wipe away the excess.
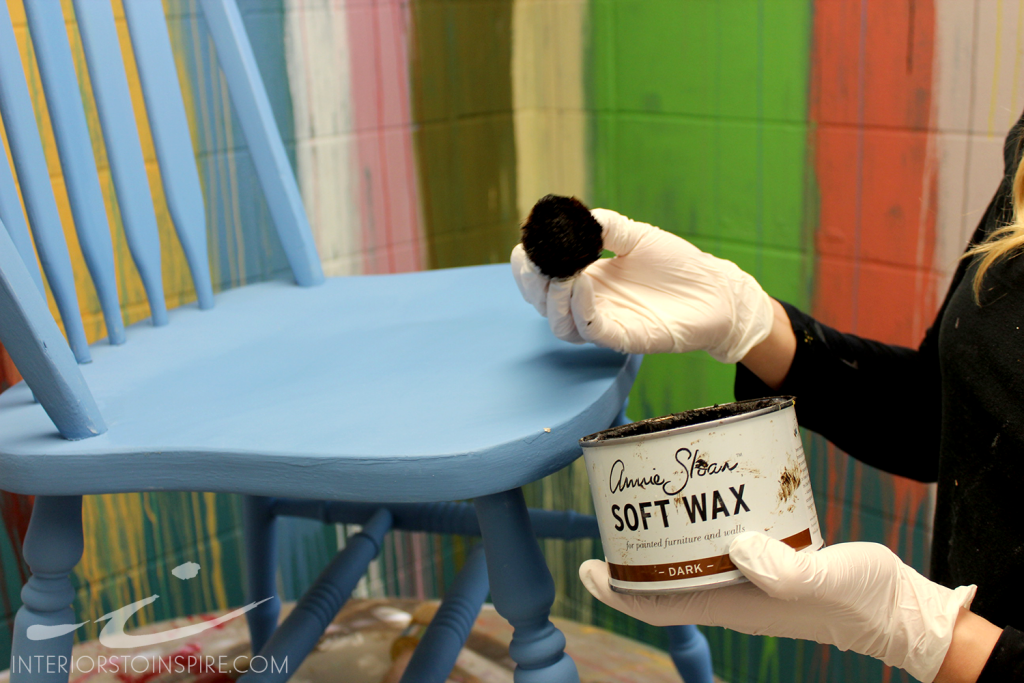
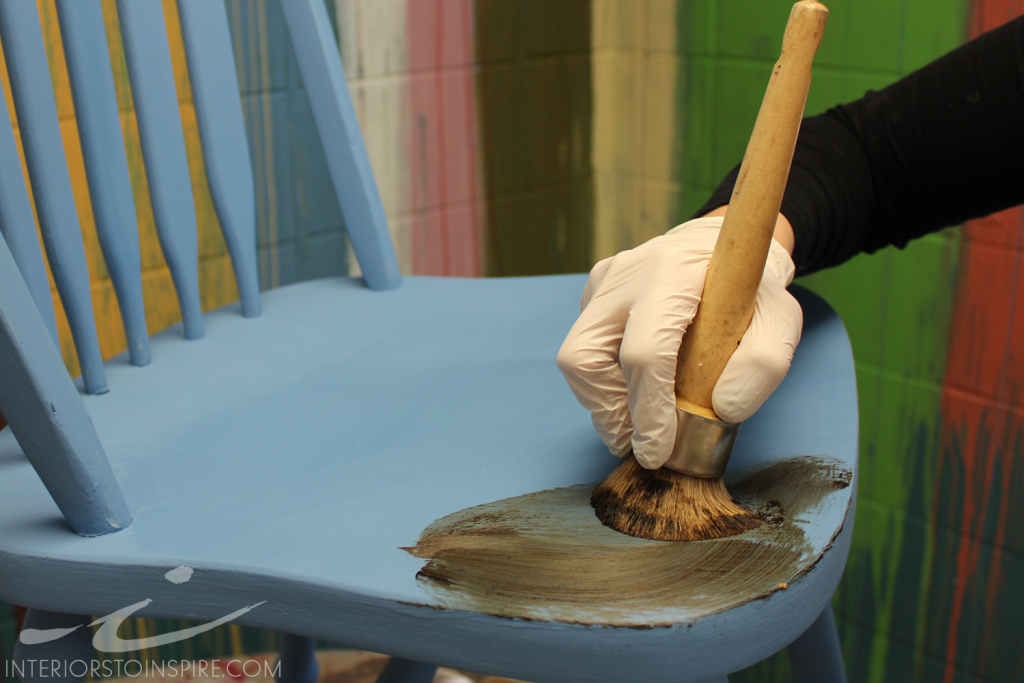
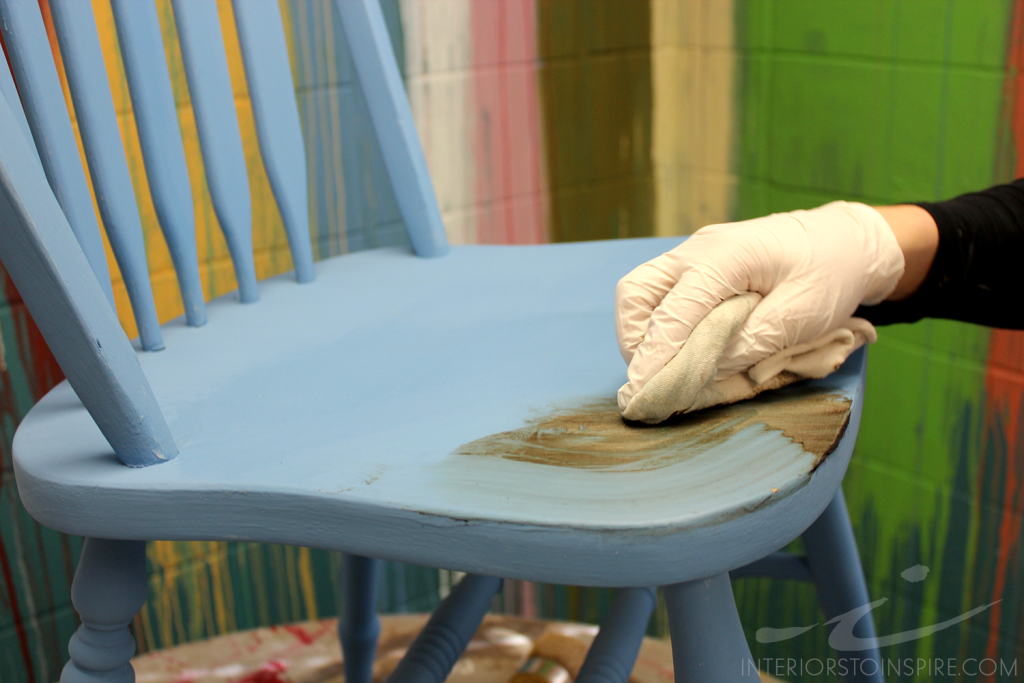
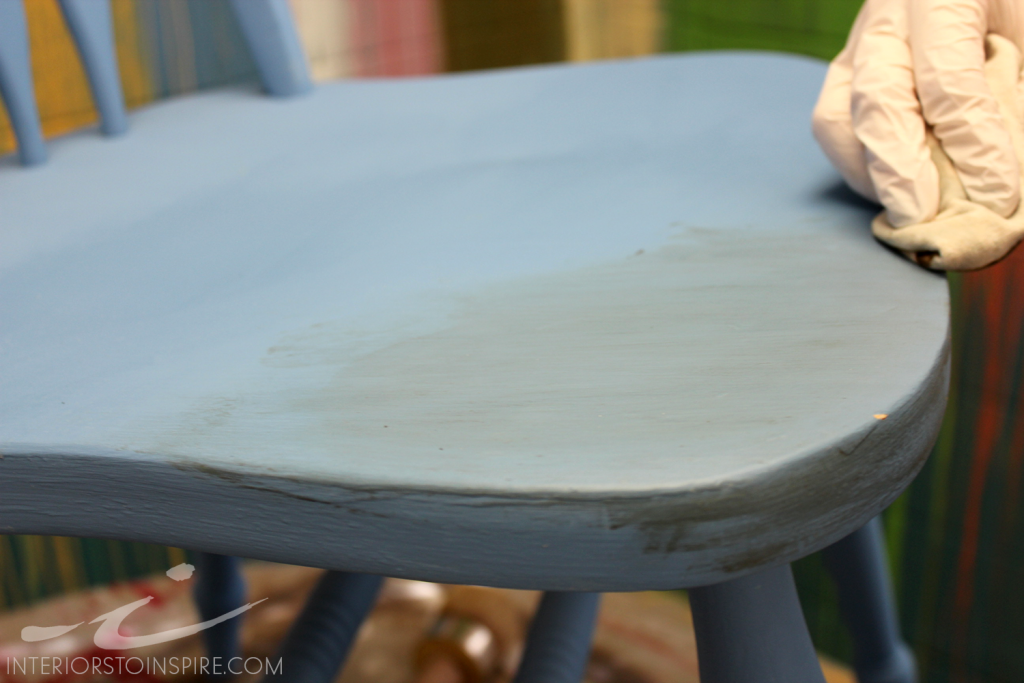
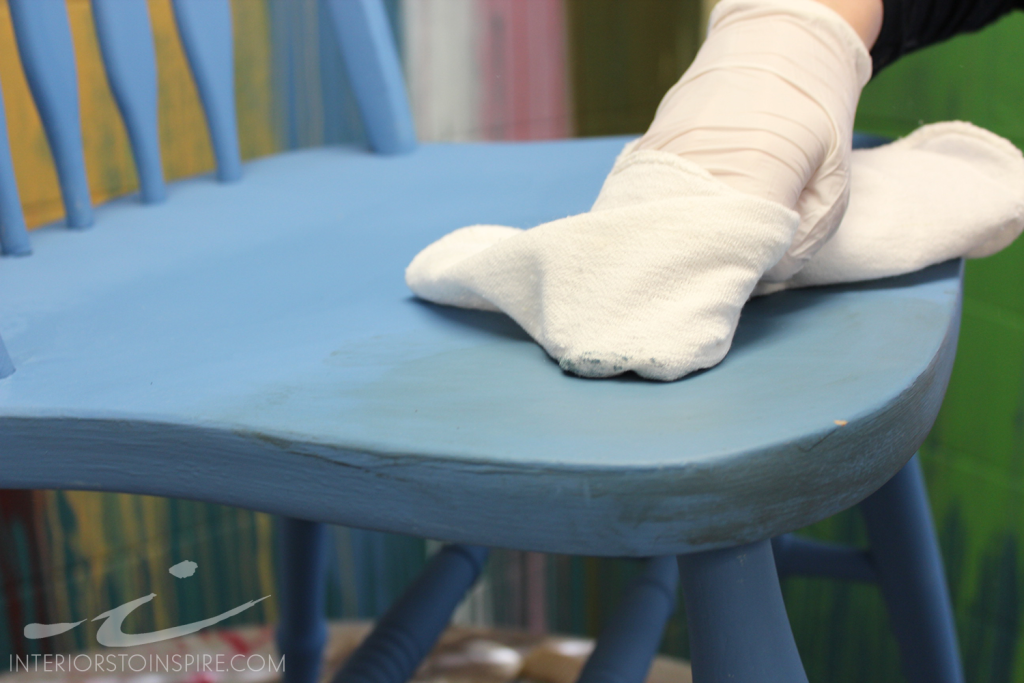 If the Dark Soft Wax sits a little heavier in detailed areas, like the groves on our chair’s spindles, don’t worry about trying to dig or pick it out. This often creates a nice shadow and adds character to your piece. Dark Soft Wax is meant to add character, enhance texture from brush strokes or rollers, and will naturally sit in any voids or details. It’s not a ‘perfect’ even brown overtone but rather gives the illusion of age, wear or sometimes a ‘dirty’ effect to your painted piece.
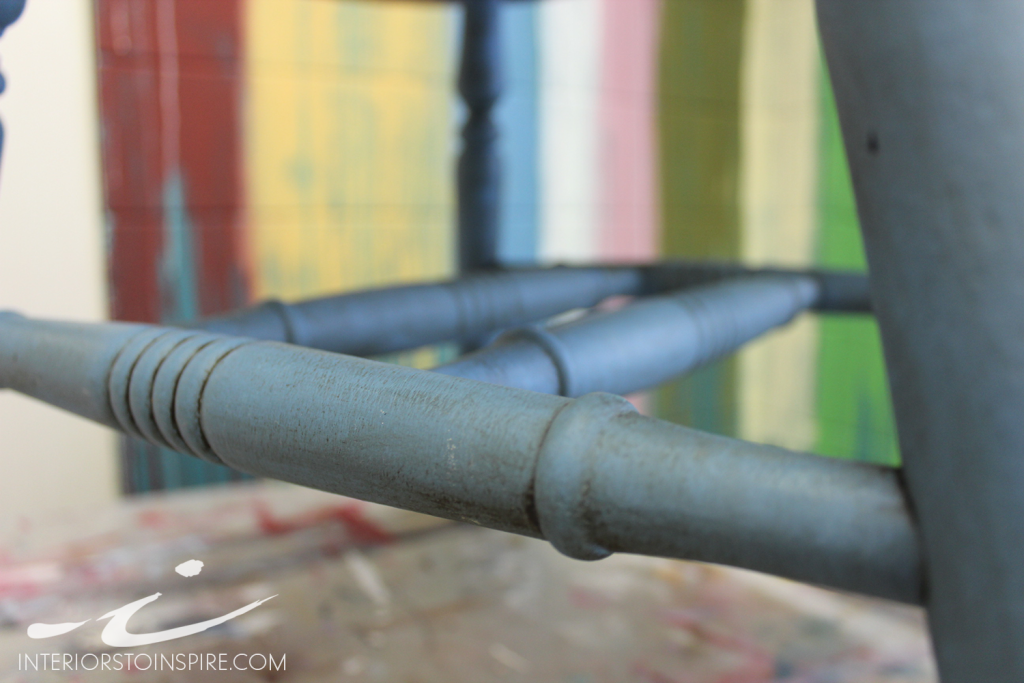 Buffing: This is an important step that often gets missed or happens to soon. Wait at least 30 minutes before buffing. Any sooner may result in an uneven surface with shiny and dull spots. You want the wax to have an opportunity to rest. You can also come back the following day to buff your piece. Using a clean soft cloth like a Better Than Cheesecloth rag brings your wax finish to a beautiful sheen. Buffing by hand is simple. Take your rag and rub the entire surface. Generally, the harder and longer you rub, the shinier your surface will appear. To keep the wax looking matte, just give it a quick buffing, once over. At this point, little to no wax should be coming off on your cloth.And that’s it! Your piece is now finished! Continue reading below for more info, if by the end we still haven’t answered your questions let us know in the comments section.
 TroubleshootingStreaky or patchy Dark Soft Wax – Failure to wipe your excess dark wax right away can result in uneven look. To reconcile, you can try rubbing clear wax onto the surface to lift some of the dark. To help avoid a streaky or patchy dark wax finish, we almost always start with a layer of clear wax. Another option is to mix your clear and dark wax to create a lighter brown coloured wax or thin it with a small amount of Mineral Spirits prior to application.Wax remains tacky, sticky, streaky and shows fingerprints – You have applied too much wax or waited too long to remove the excess wax. To fix this, try applying a thin layer of additional wax, working in small sections. The solvents contained therein will “melt” the underlying wax. Then, using some clean cotton rags and some elbow grease continue to wipe the surface to remove all the excess. As a last resort, try wiping a cloth dampened with Mineral Spirits to remove the wax. Most likely, you will need to reapply a thin coat of wax after you wipe the surface with Mineral Spirits.Dry or patchy looking – This effect can be a result of not applying enough wax or missing some areas of the piece. When in doubt, apply a thin second coat of wax. Even if you are only using clear wax, it is a good idea to apply a second coat to ensure 100% coverage. You can apply your second layer right away as the wax does not need to “dry” between coats. FAQHow long do I let my piece sit before I can use it? As soon as you have finished buffing, you can put your piece back in place and start to use it. Keep in mind that the wax and paint will be soft but will continue to harden as they sit and cure. Soft Wax takes about 4-6 weeks to fully cure. This does not mean that you have to wait that long to use your dresser or sit on your chair, but you will want to treat your pieces with care. If you are waxing a piece for a child’s room or a surface that will come in contact with food, like a kitchen table, you will want to wait for the piece to cure so that the white spirits (solvent) have evaporated out leaving you a natural blend of non-toxic wax.How many coats of wax do most well used surfaces require? As outlined in our steps above, two thin layers of wax is typical. If you continue to try to add additional layers, the solvents in the wax will reactivate the wax that is already on the surface. This starts to lift the wax that is there. If given time to cure before use, Soft Wax becomes quite hard and durable and is sufficient for most pieces. You can also check out Annie Sloan Lacquer as an alternative option. For more info on how to choose a topcoat for your Chalk Paint™ piece, read this post.What is the smell that eventually disappears but is present while using the wax? You are smelling the white spirits; a type of mineral spirits. This has been added to the wax to make it pliable so you can apply it to your painted surface. Soft Wax is considered an evaporative finish which means that as it sits, the solvent evaporates out leaving you with a natural non-toxic blend of waxes on the surface. It does not contain any dangerous quick drying solvents such as toluene.Should I wash my wax brush after every use or can I wrap it in plastic wrap? When investing in good quality brushes, you want to care for them so they last. If you are planning to reuse your wax brush later that day or even the next day it is ok to wrap it, making sure you get a nice tight seal. If you have time, it is a good idea to clean the wax out of your brush. Should you forget about it, the wax may harden on the bristles making it difficult to clean at a later date.How do I clean my wax brush? Hot tap water and grease cutting dish soap usually do the trick. Allow the hot water to ‘melt’ the wax off the bristles and then work it into a lather until the water runs clean. Big Fat Lye Soap is a nice natural option to use and is great for cutting grease and cleaning the brush. Mineral Spirits are also an option that will quickly strip the wax off. Just pour a little into a jar, and scrub your bristles on the bottom of the jar to remove the wax. Do not fully submerge your brush in solvent or let it sit in solvent for extended periods of time as this may damage the brush. You may want to rinse your brush with soap and water afterwards to remove any solvent residue.Can I use wax on my garden pots? Soft wax is acceptable for interior use only. It has water repellent properties but not waterproof. For outdoor pieces, you can leave your Chalk Paint™ painted surface with no sealer or choose a topcoat that is formulated for outdoor pieces. Click here for more info on topcoats for outdoor pieces.My side table has some small scratches on it. What can I do to fix this? You can very lightly sand the surface to soften any scratches and then reapply your wax. An application of wax will diminish surface abrasions and scratches.
  So there you have it! I hope you enjoyed this post. If you have any further questions or comments about Soft Wax, please leave a comment below!Also, check out this video Anna created demonstrating how she applies Annie Sloan Soft Wax![su_youtube url="https://www.youtube.com/watch?v=IuRm3EroiVk"]In the video, I mixed Annie Sloan’s Black Chalk Paint™ Wax and White Chalk Paint™ Wax to create a wax with grey tones. When I’m painting or waxing a stool or chair I always like to start on the underside and then flip it over to finish the top. It minimizes the chances of scuffing or damaging the surface while it’s still fresh. I’m using a Madeline wax brush to apply the wax and then right away wiping it off with a rag. Think back to the days of Karate Kid, “wax on, wax off”. [su_youtube url="https://www.youtube.com/watch?v=fULNUr0rvEc"]Old t-shirts make great wax rags as they’re usually lint free and fairly soft. It’s best to work in small sections so that the wax doesn’t start to stiffen. If any of the waxed areas end up looking a bit awkward, reapplying the wax will reactivate what’s already been laid down and it allows you to slightly alter the finish. When I got to the stool top I reapplied the wax to take out any obvious dark streaks. Interiors to Inspire has a really great wax tip sheet. Click here to check it out!
