
Decorative Chalkboard Plate
I had so much fun making these custom chargers for our holiday table at our studio that I wanted to share the project with all of you! It’s a perfect way to personalize your table settings without breaking the bank! Charger plates, or service plates, are larger plates used during dinners to dress up your table and events, they come in a variety of colours and can be found in many stores. My tip is to check your dollar stores because they cost about $2 each and work just as well as the more expensive ones from fancy home décor stores. Maybe you already have some from last year, perfect! Let’s reuse those! 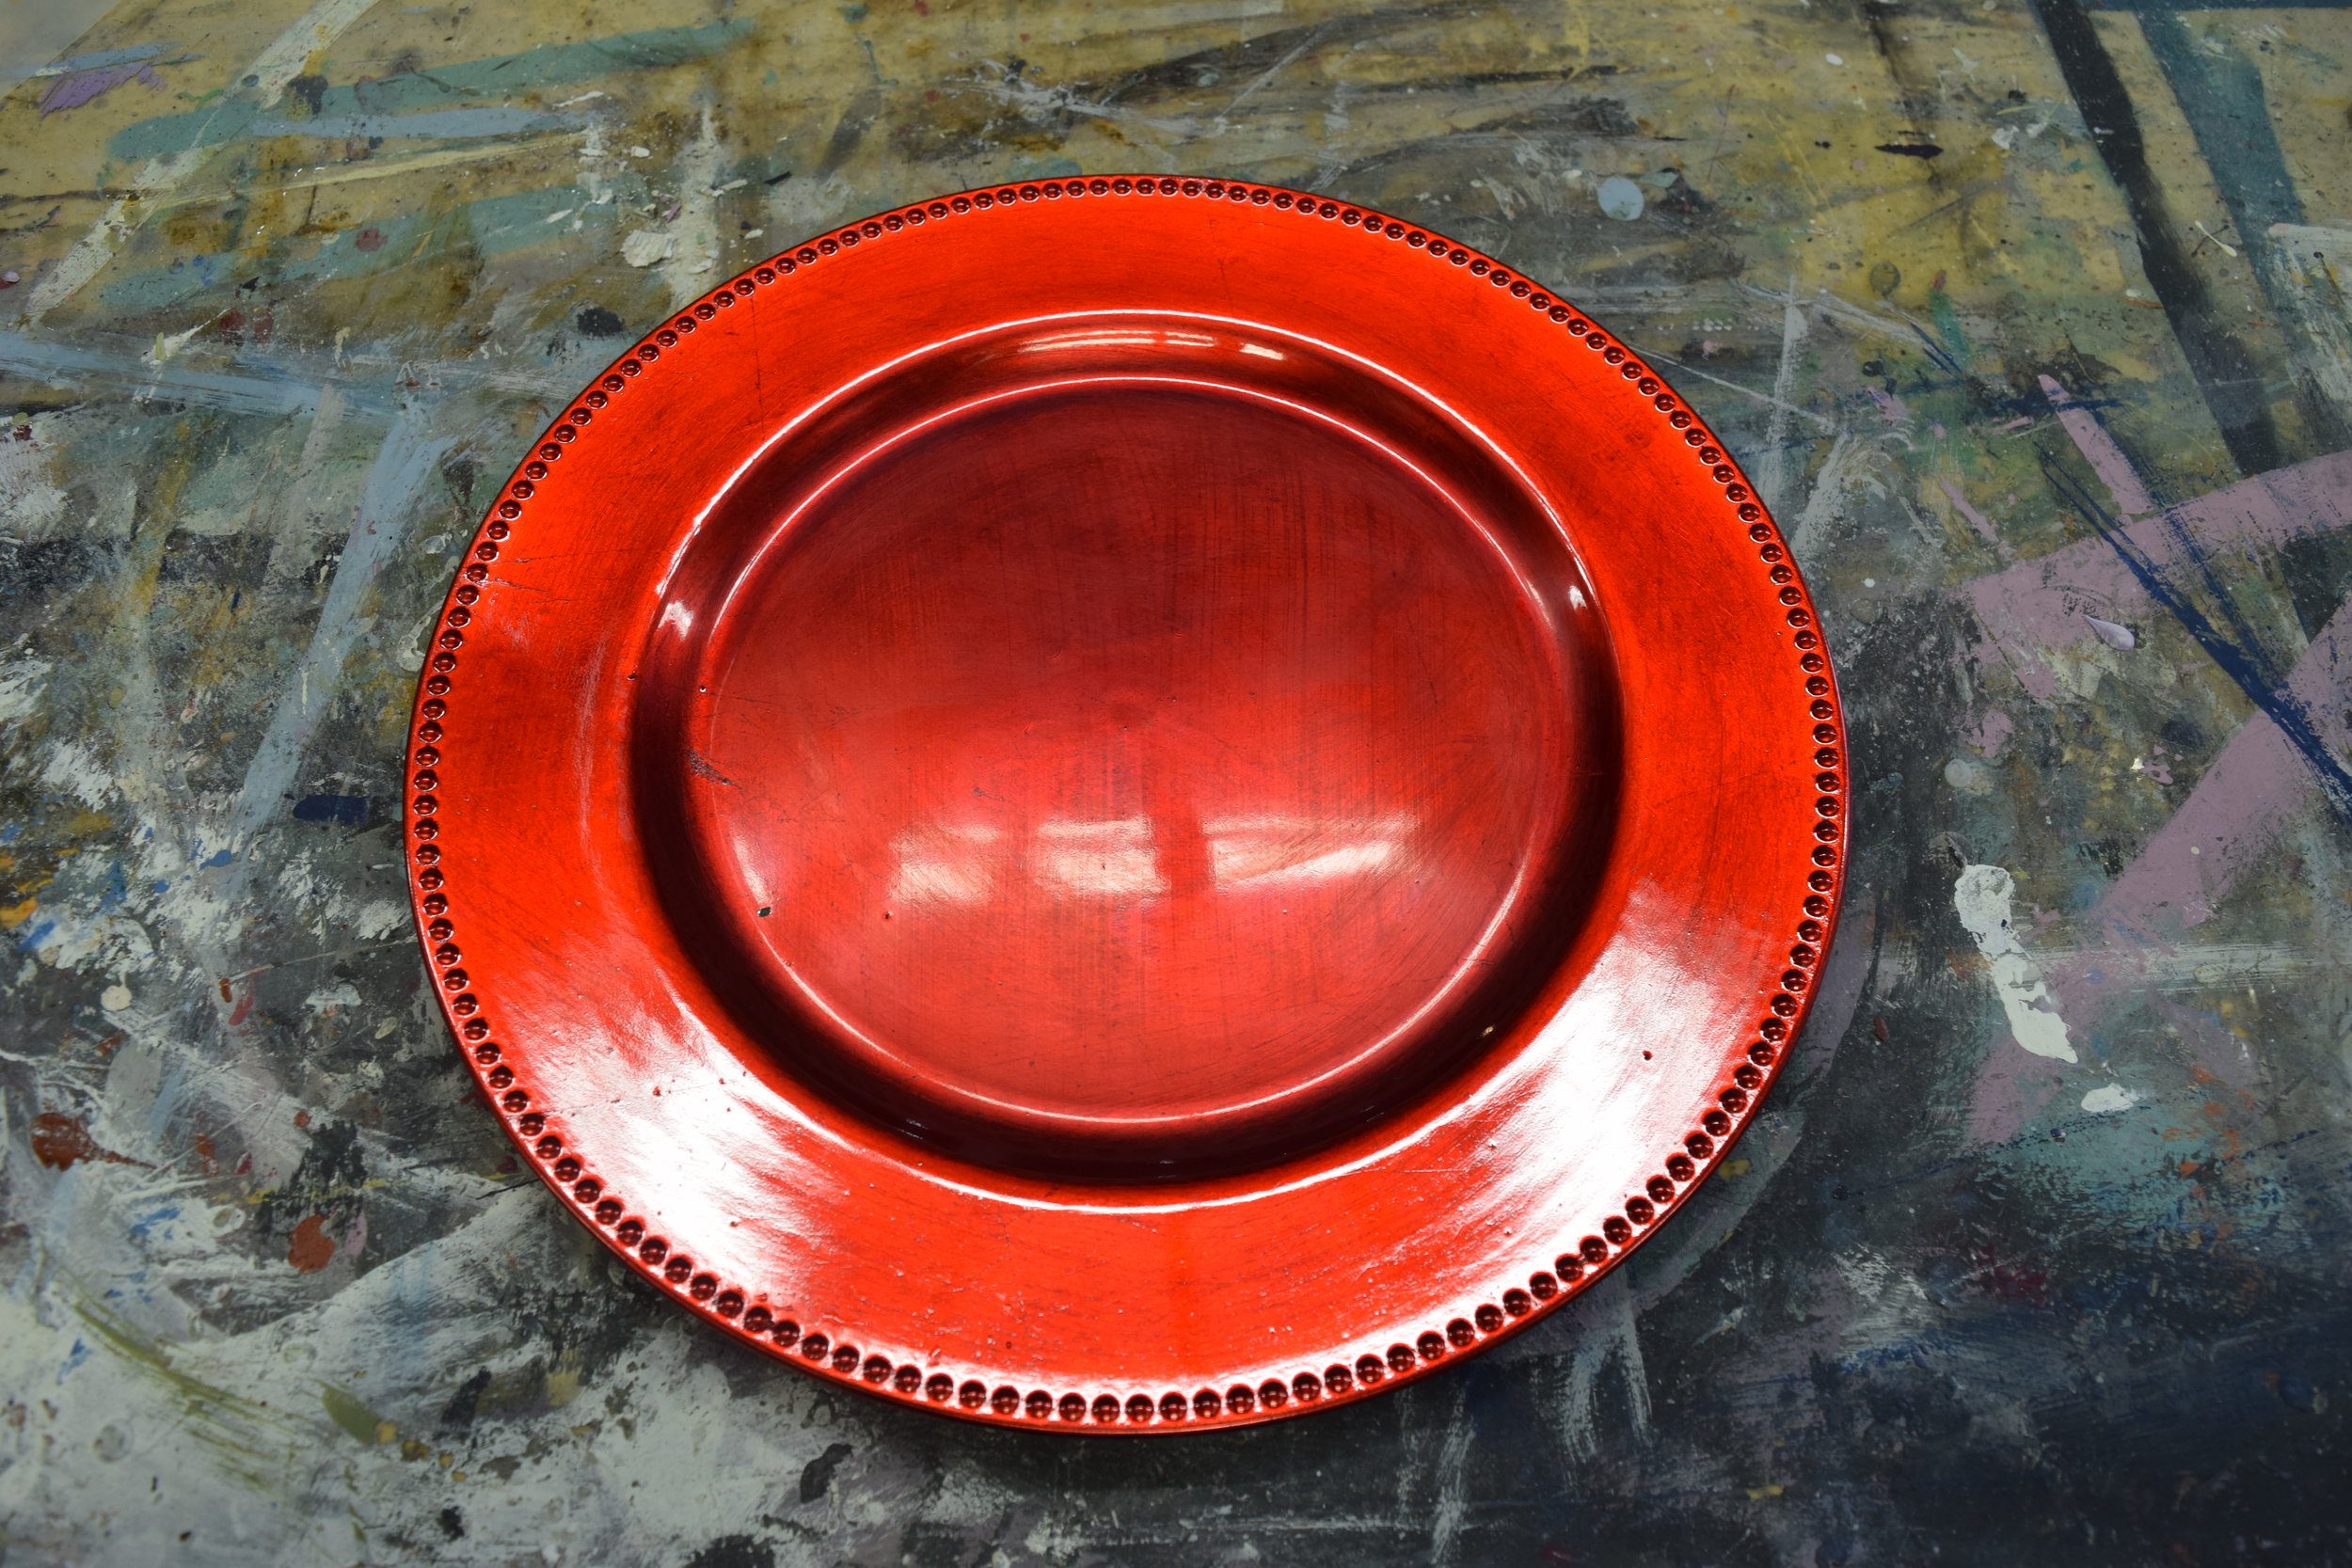 Using Graphite Chalk Paint™ by Annie Sloan, paint a layer in the center of the charger plate. You might notice this layer is a little patchy which is normal. Let it dry for about 20 minutes and then add another layer. I never get too hung up on painting a perfect even coat so don’t fuss with it too much.
 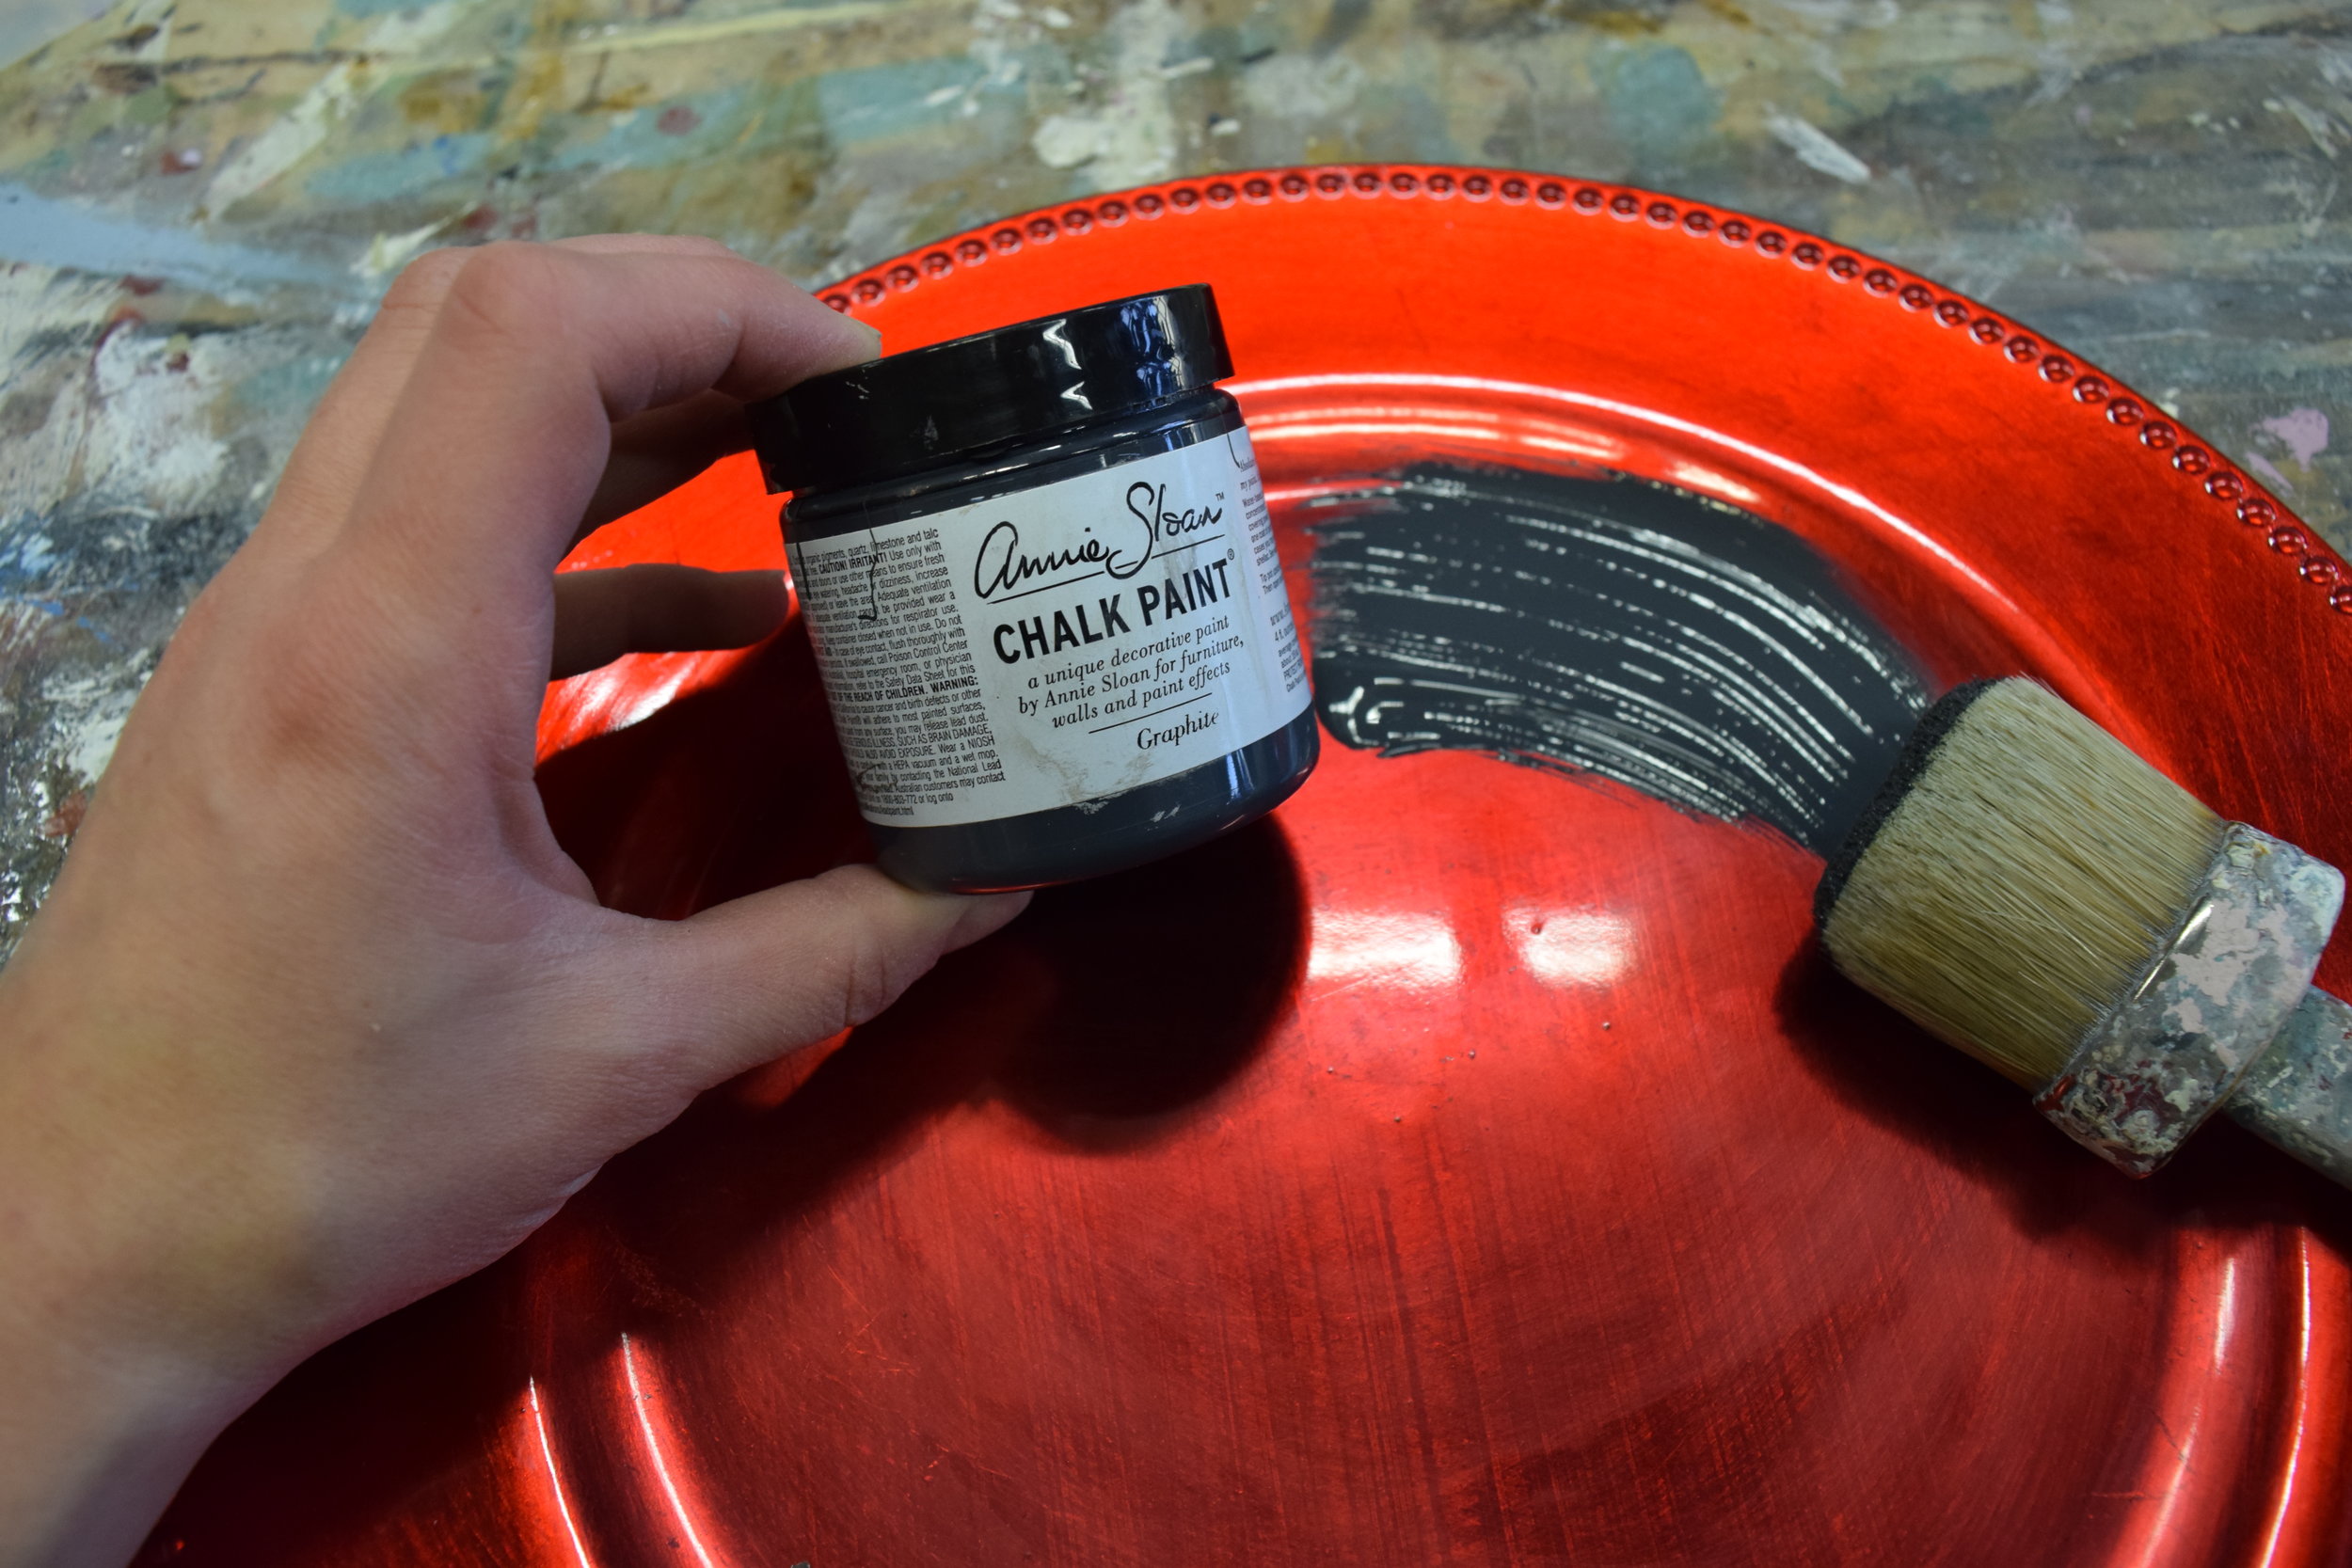 After you have applied a couple of coats, the paint is looking pretty solid, let it dry for about at least an hour or even longer if you have time (overnight is great). This gives the paint a chance to start to cure so that you have a nice solid chalkboard to write on. Writing too soon may lift some of your paint.
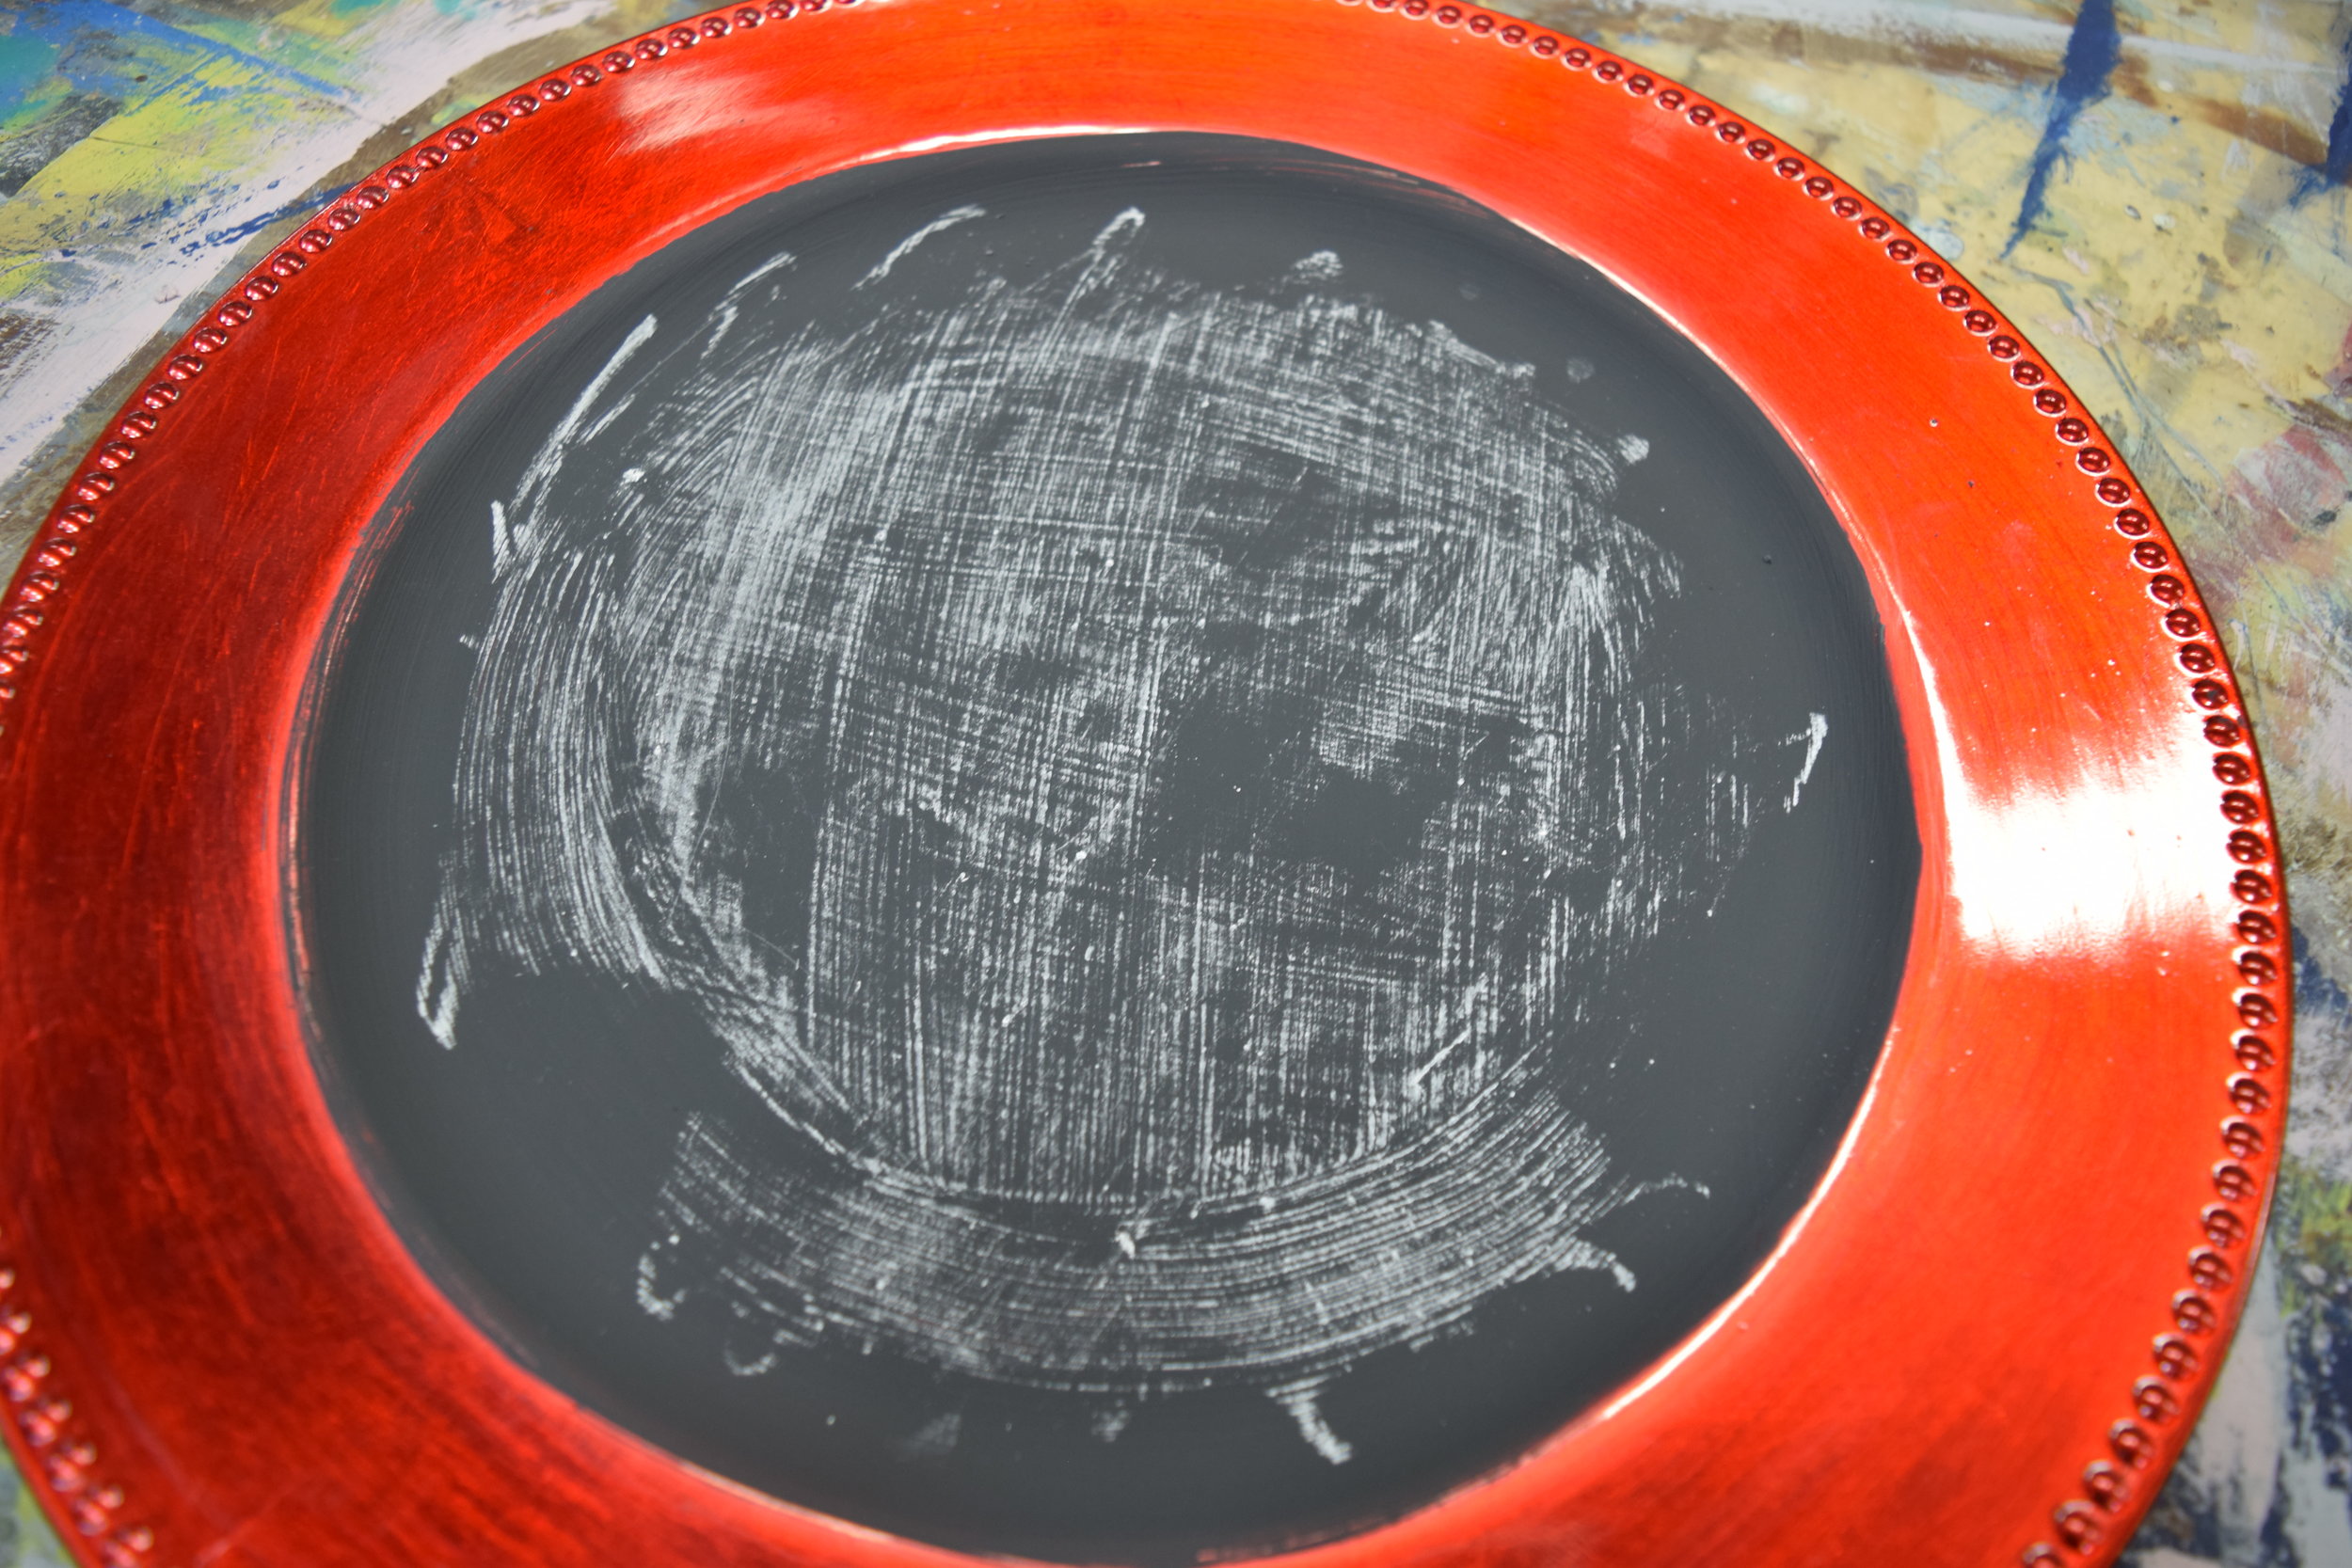
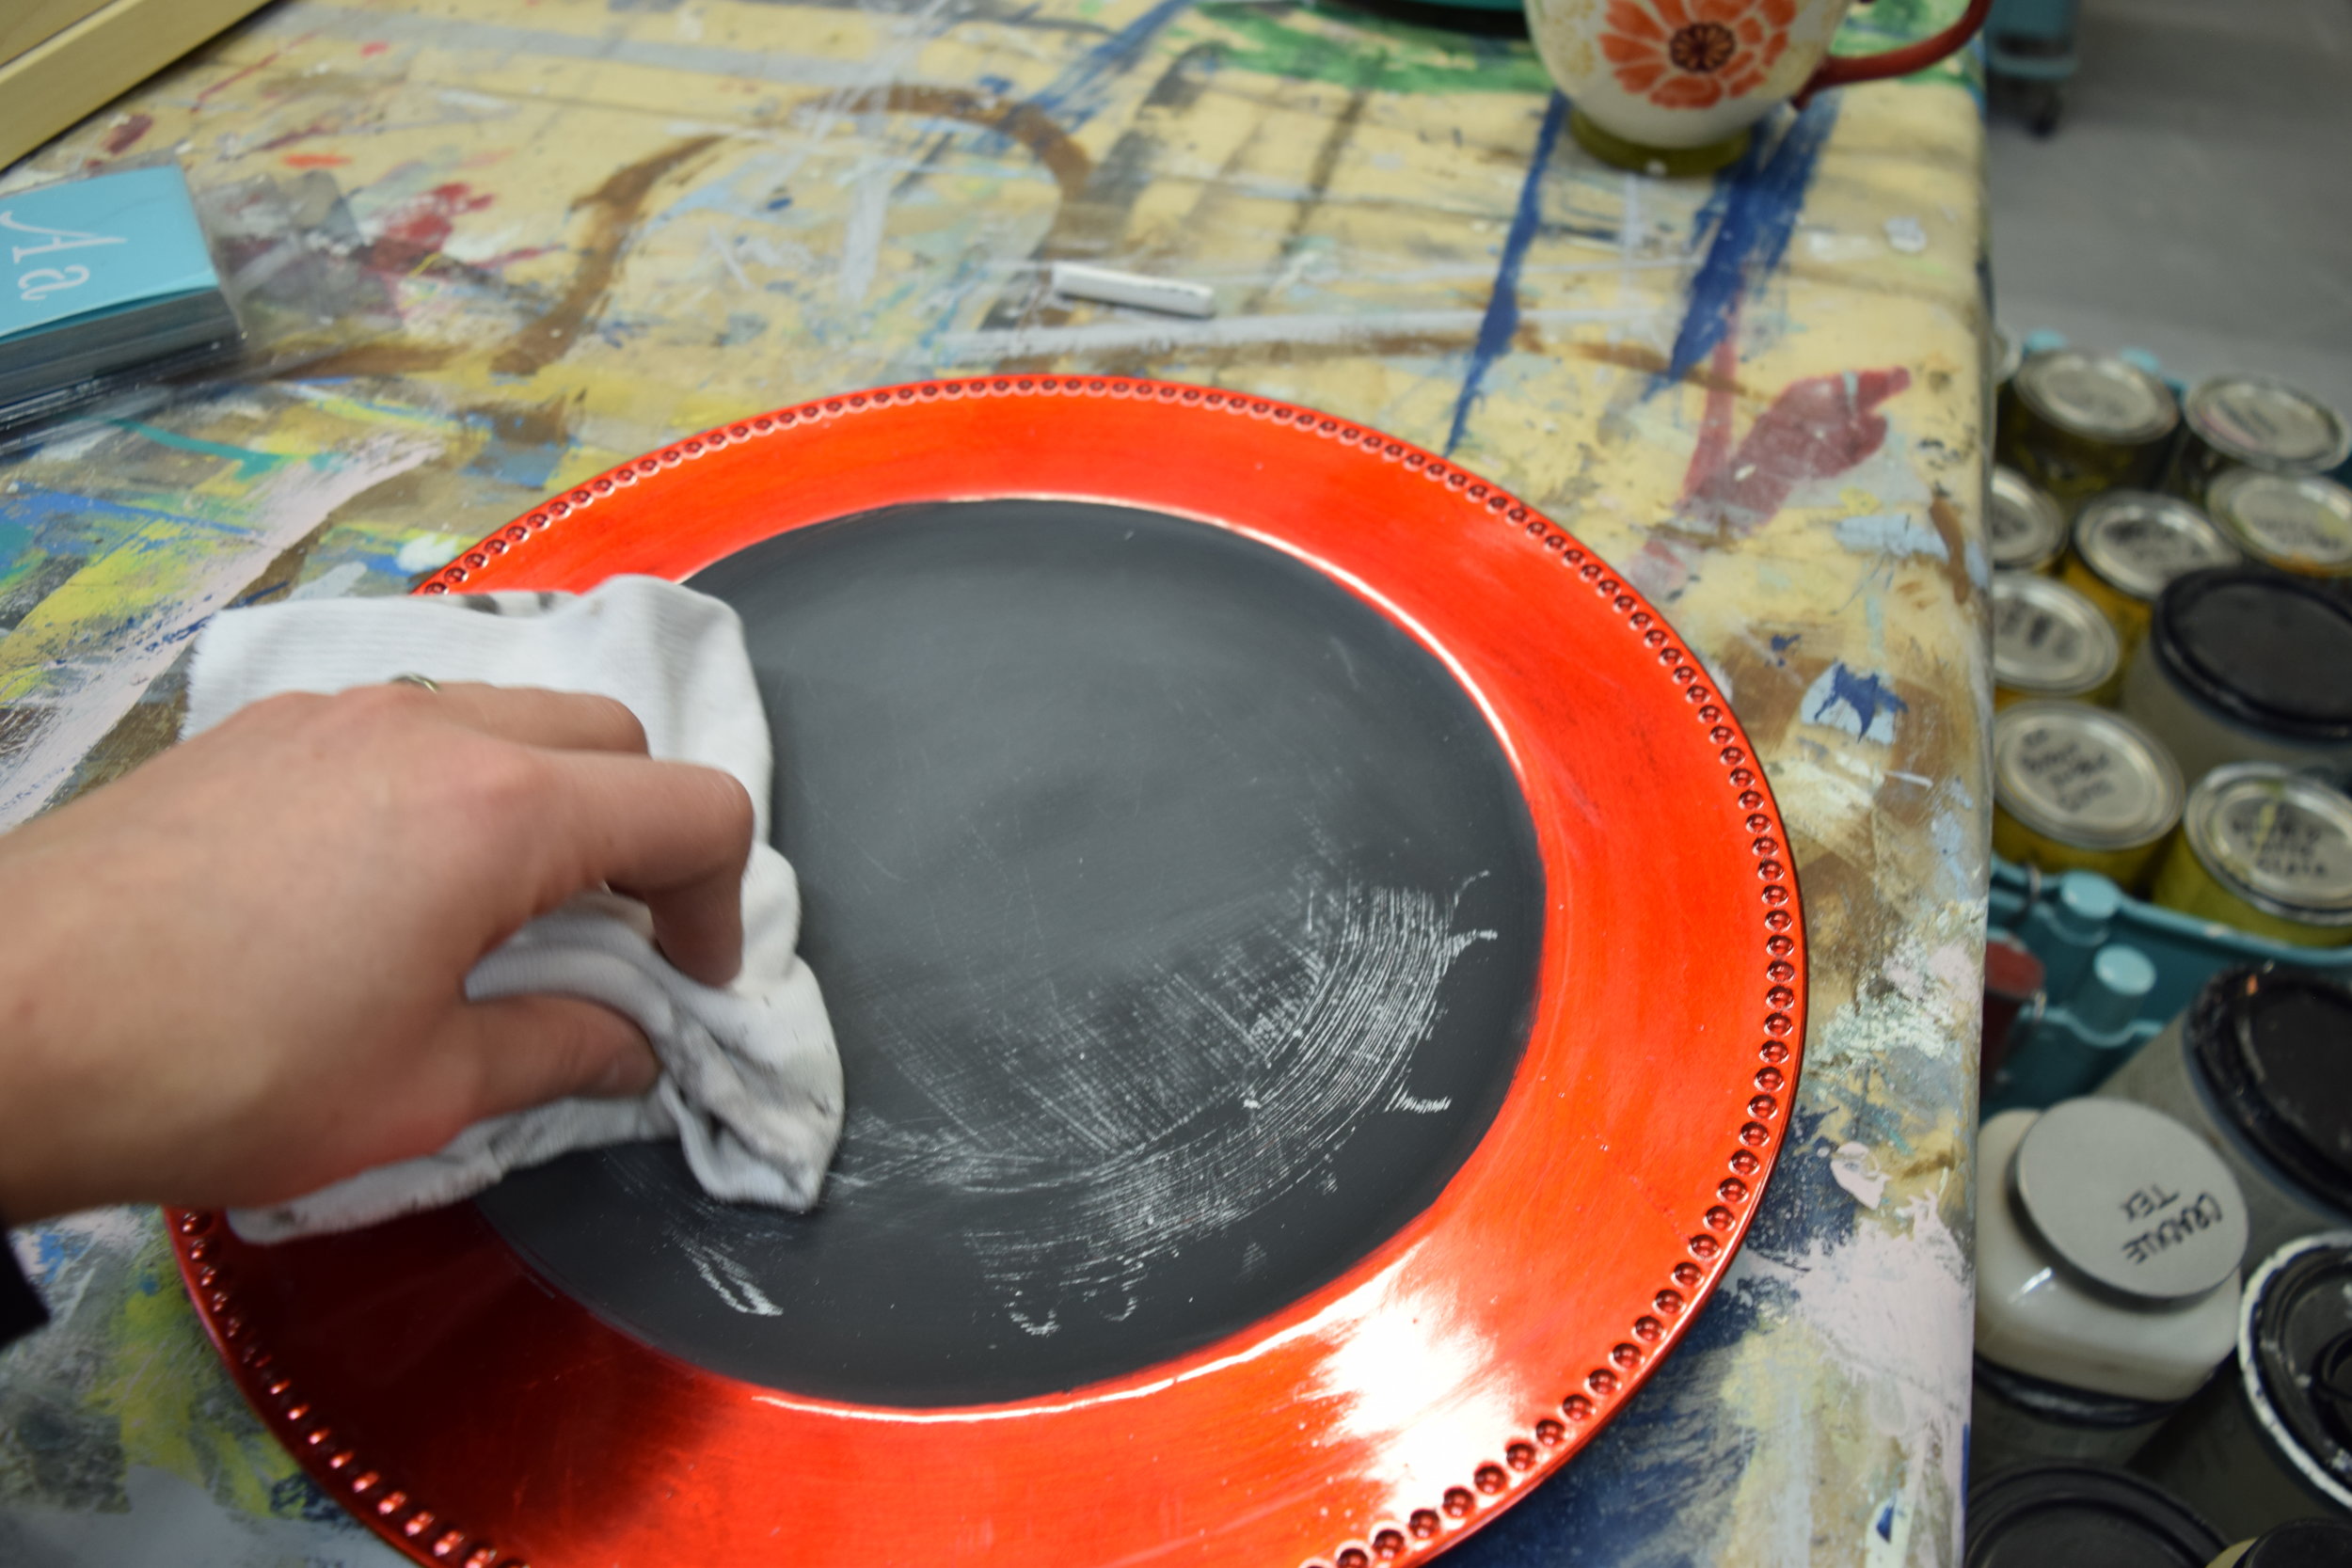
 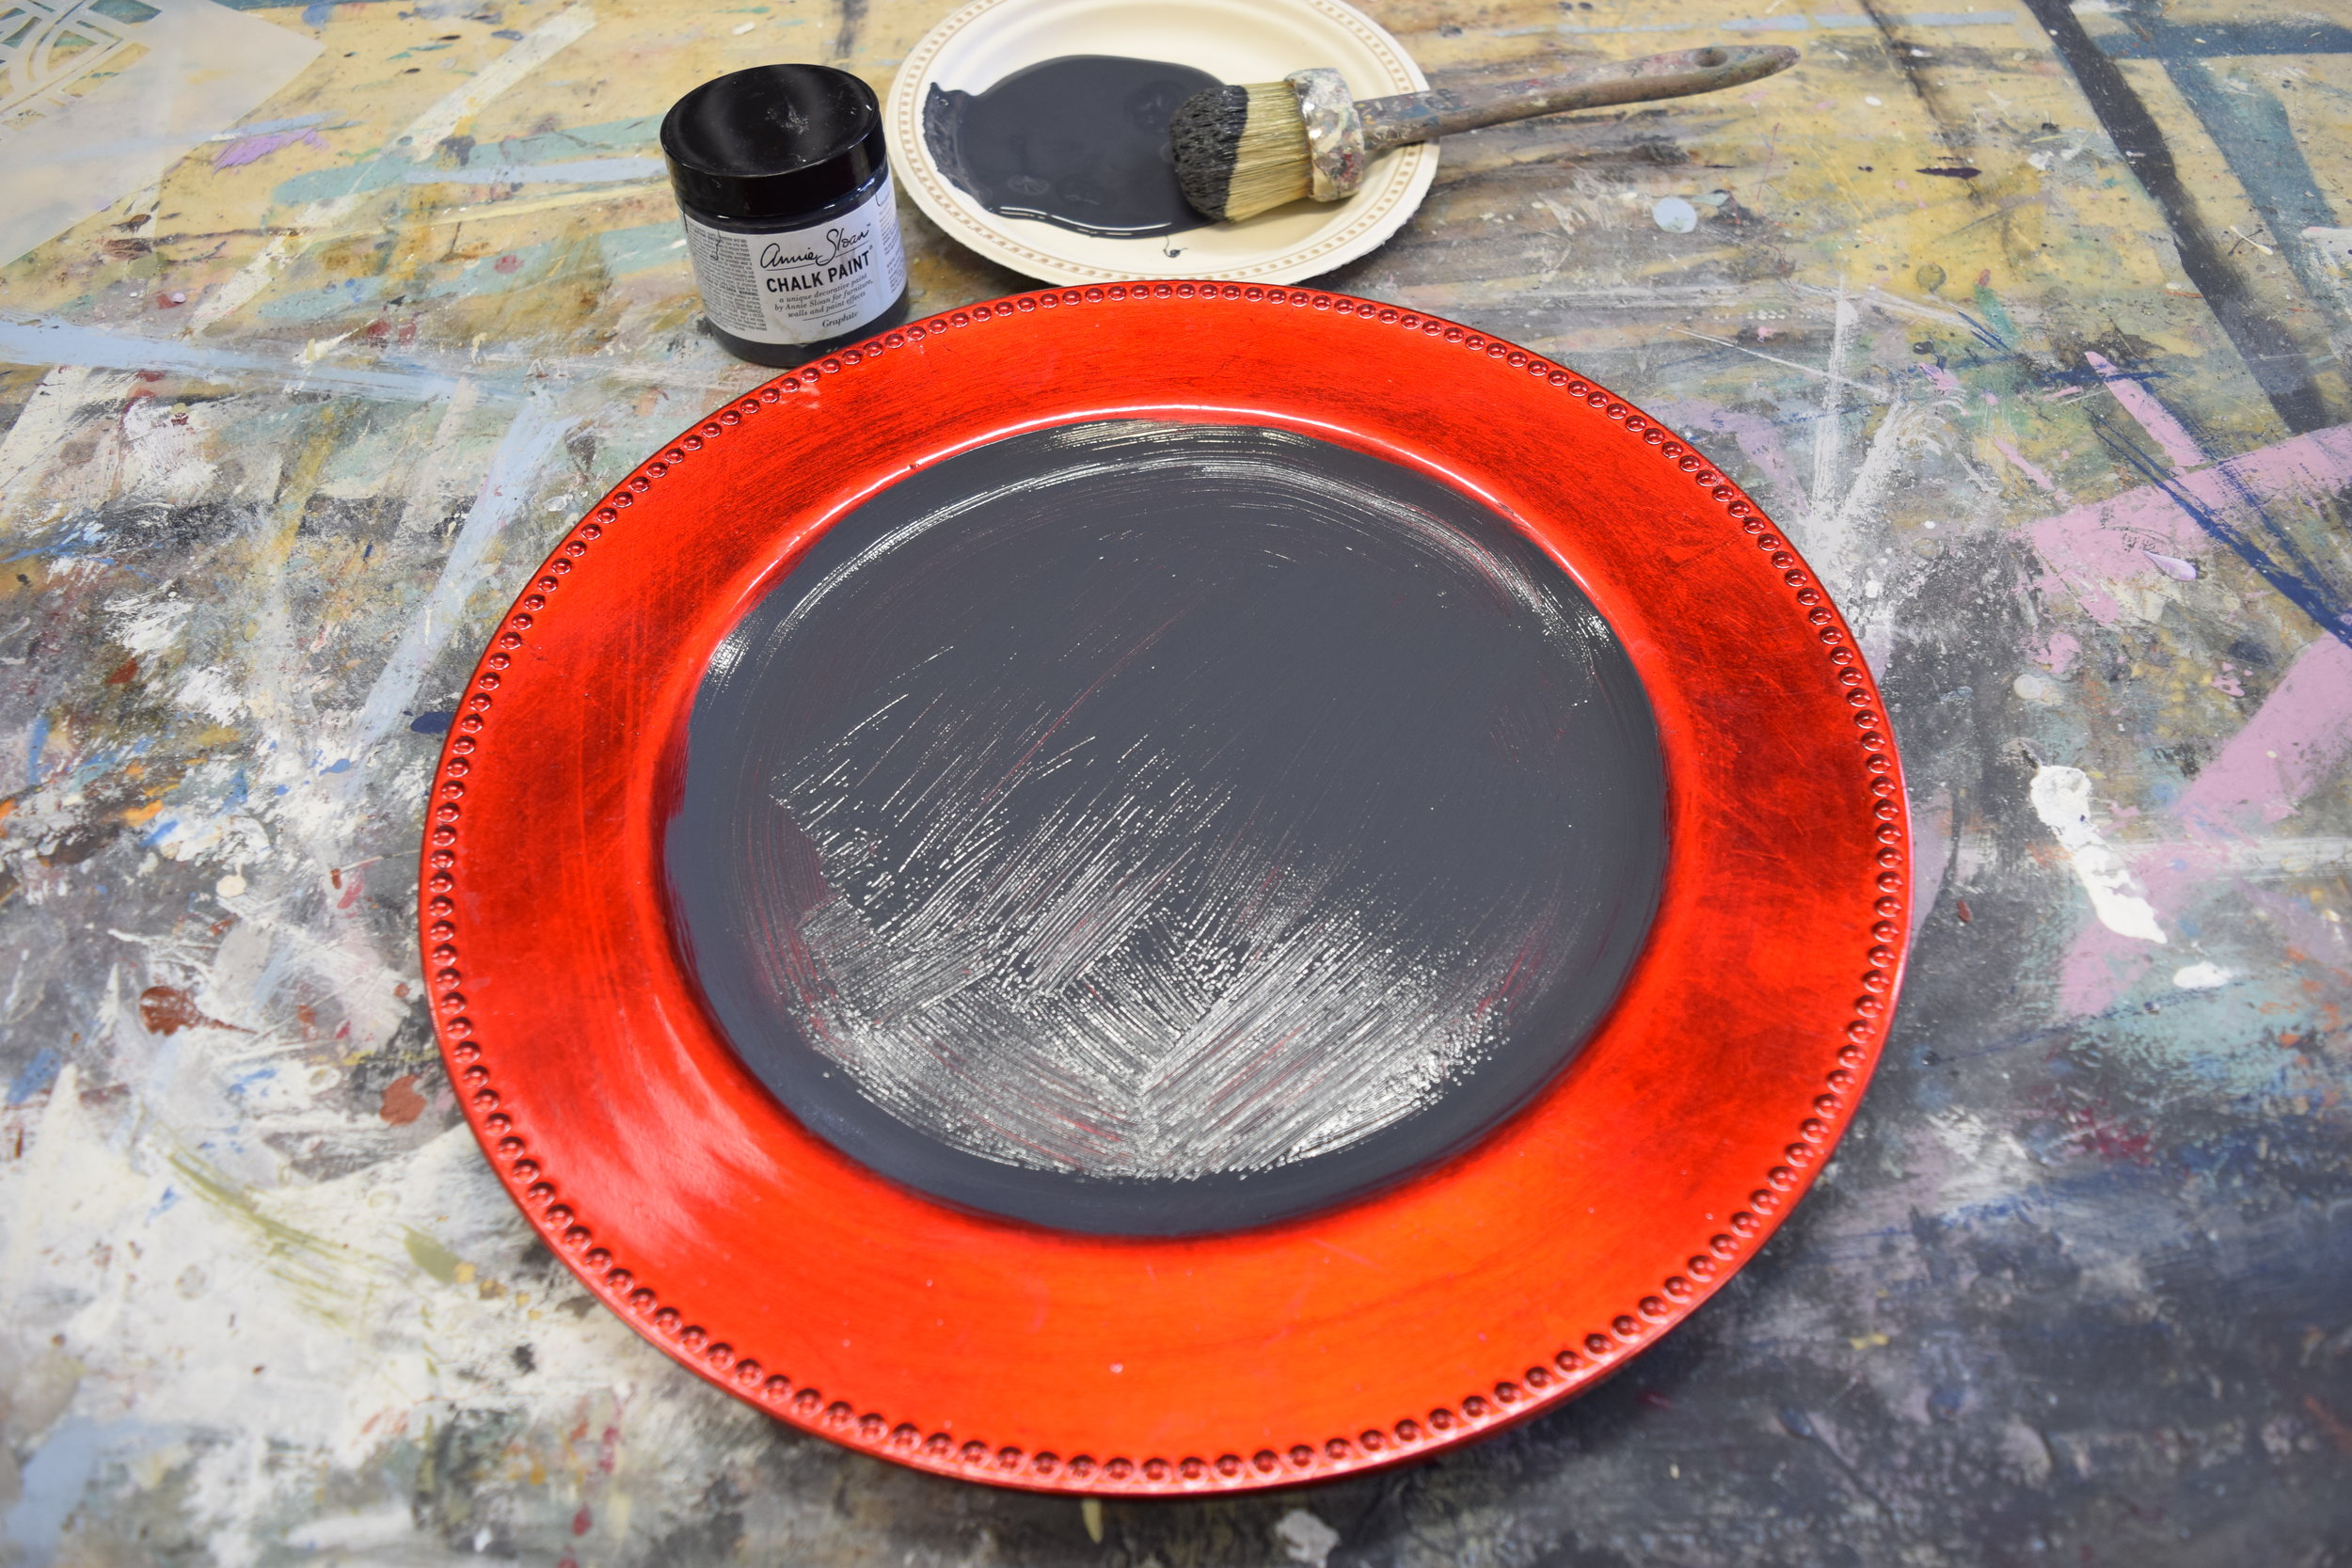 Once completely dry, it’s time to “season” your chalk board. Take a piece of chalk and gently rub the long edge all over the surface of the painted area. Use a soft cotton rag and rub this chalk dust into the surface. This fine layer of chalk dust will help to prevent your first message leaving a permanent impression.
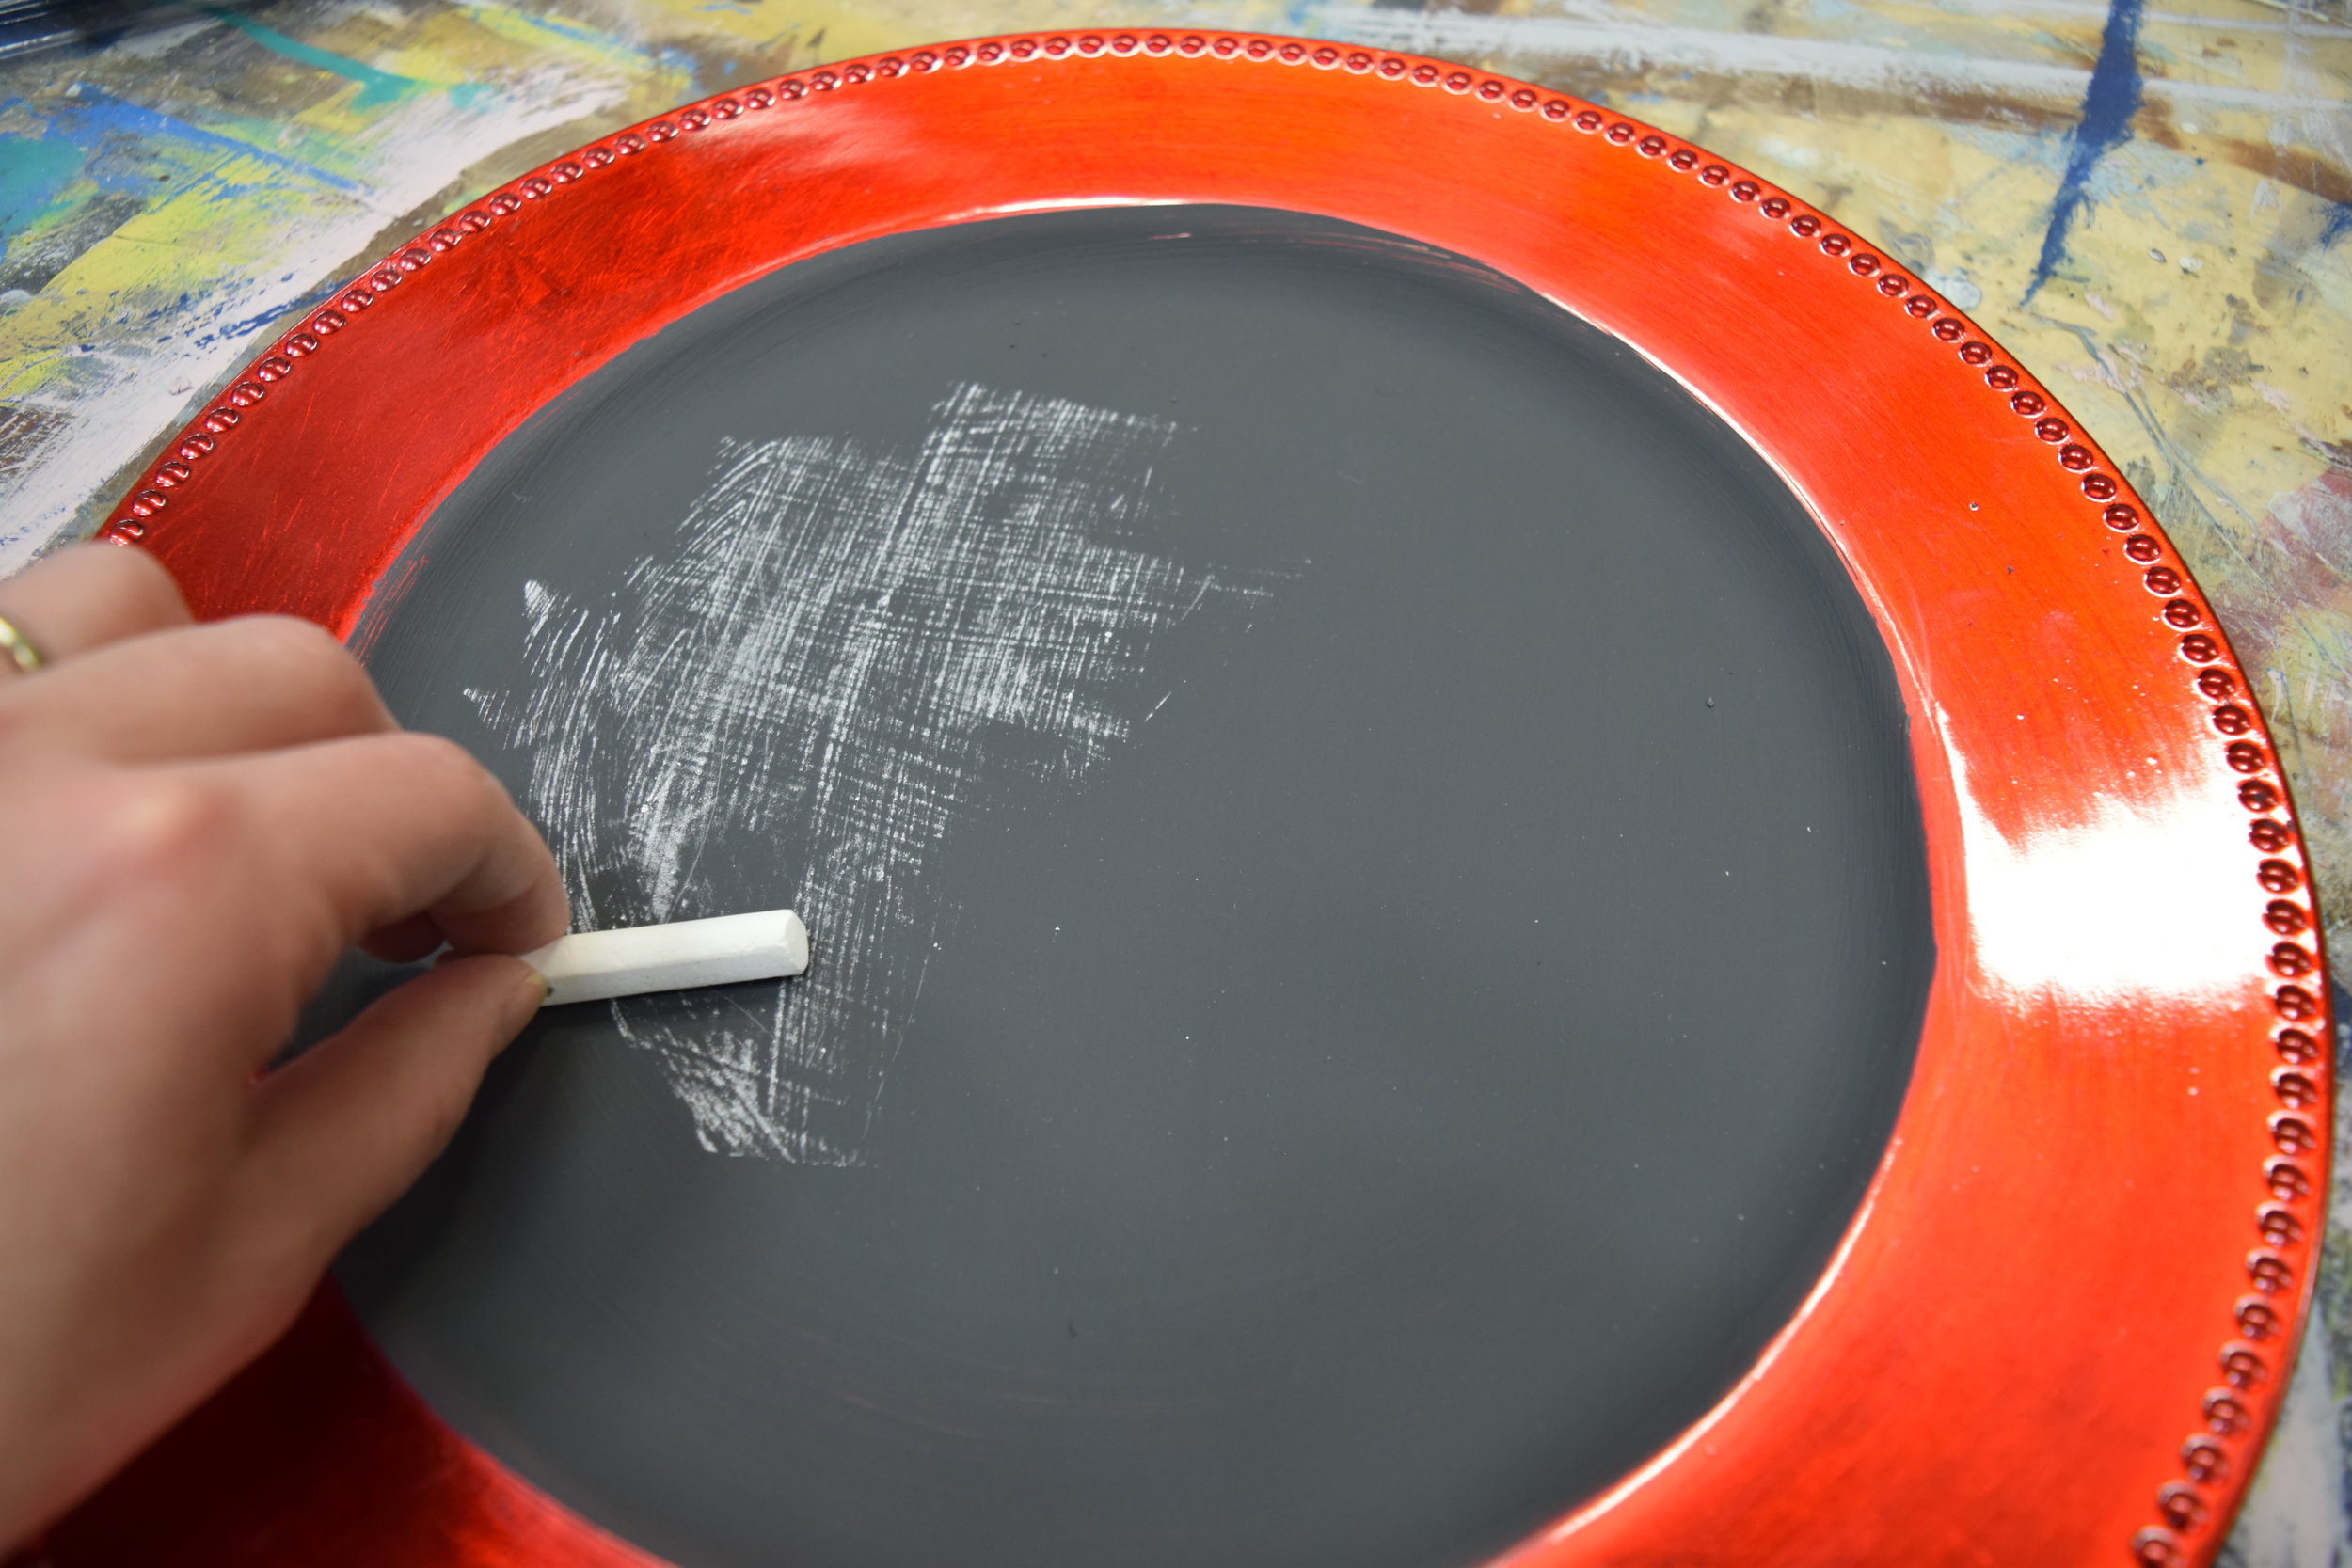
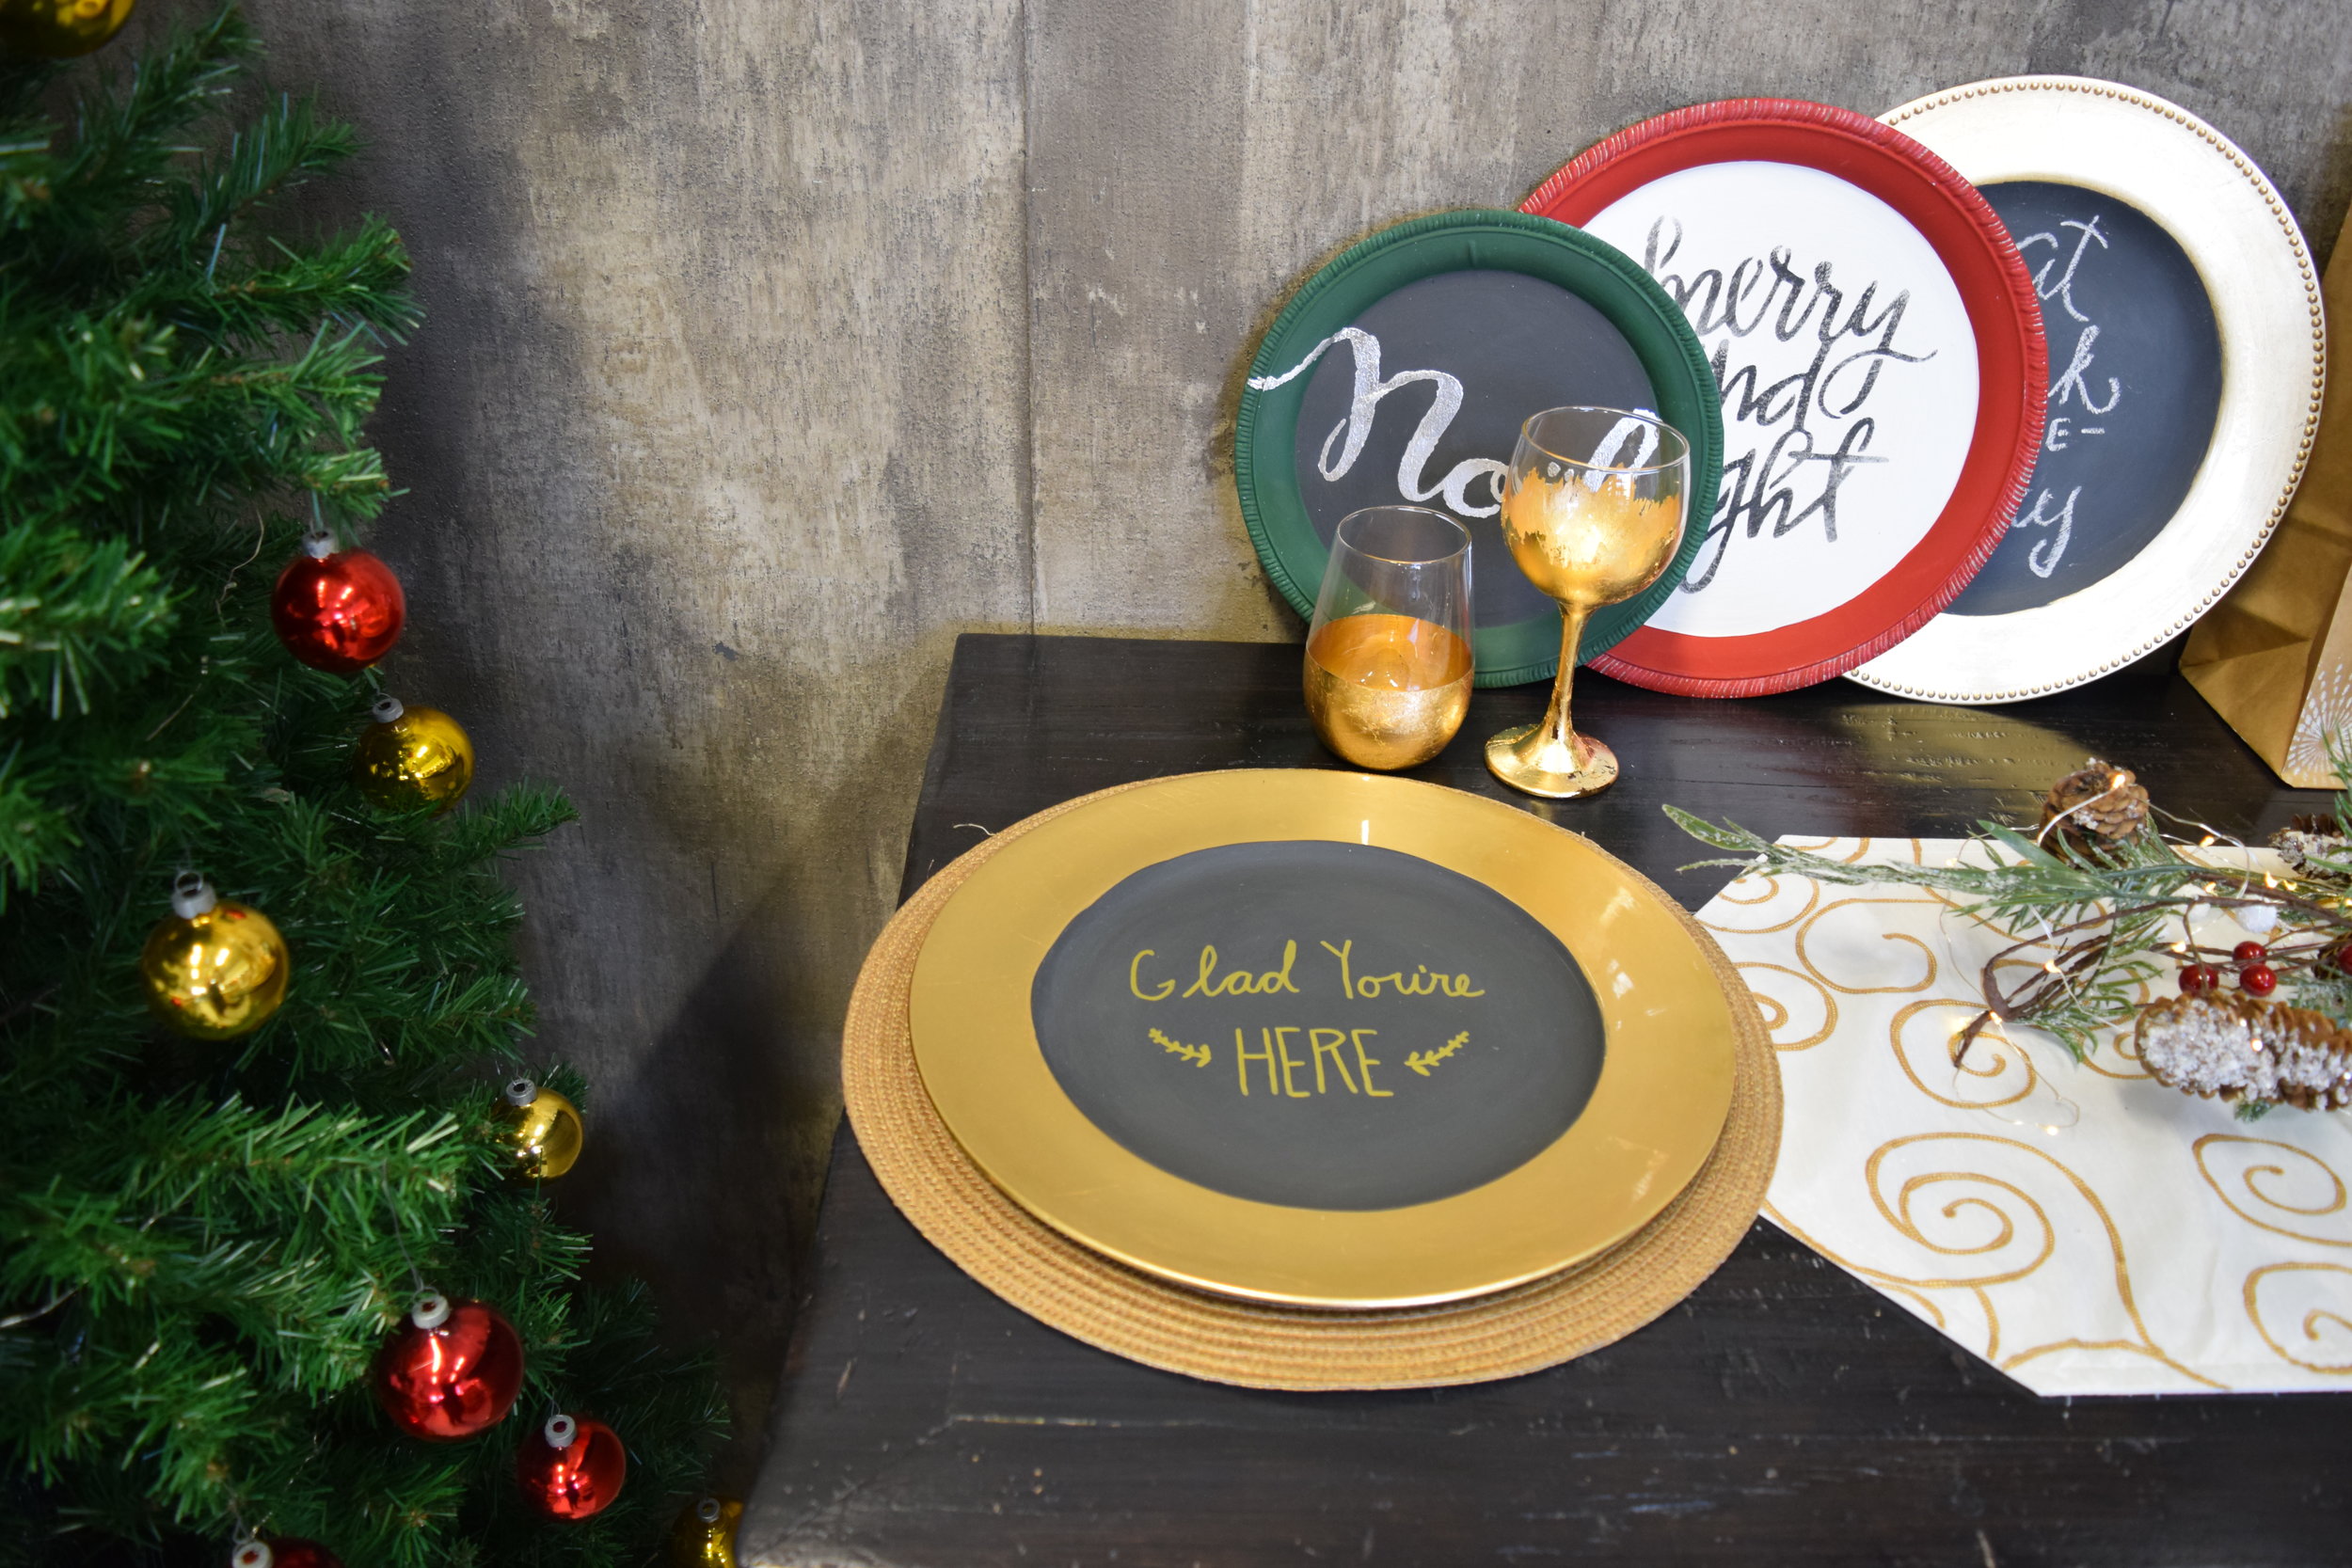
 Here’s where you get creative, you can use these as place cards and write the name of each guest on their charger. Or maybe just a festive saying like Eat, Drink & Be Merry.
 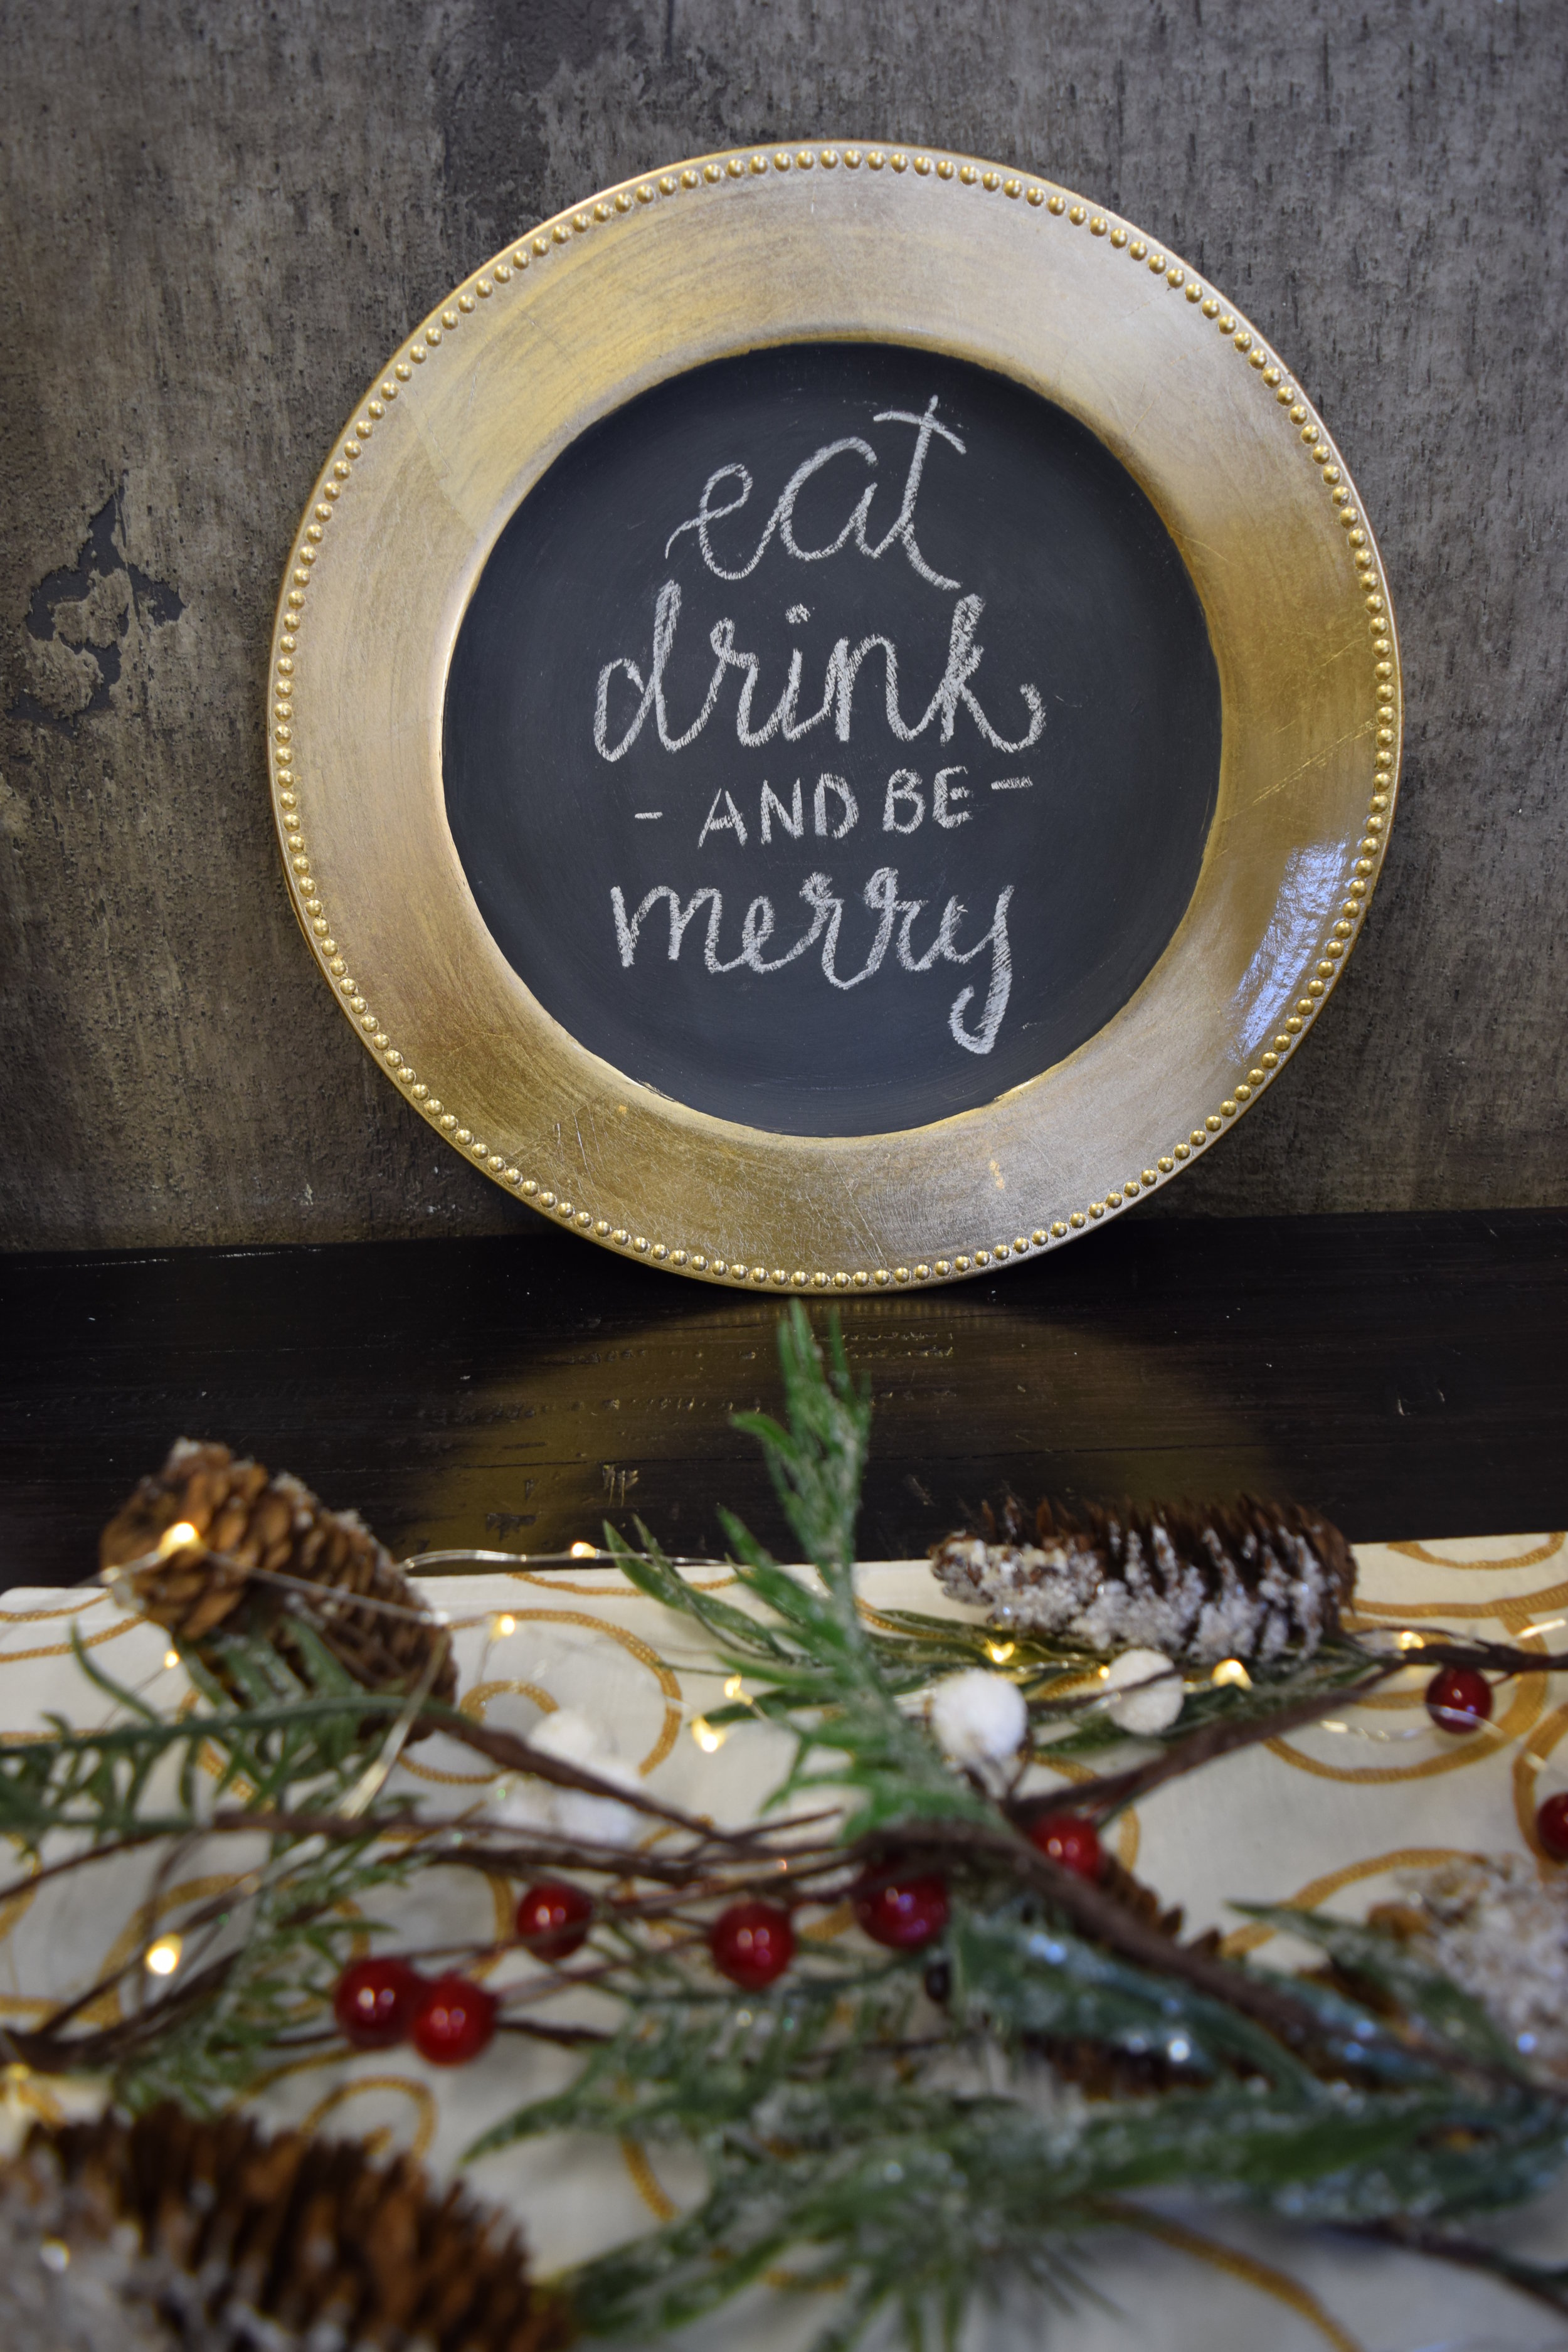 If you’re worried about your penmanship try using some simple stencils and trace the letters with chalk onto your surface. This pack of stencils in the photo I found at Michaels craft store and they are made of a thick paper.
 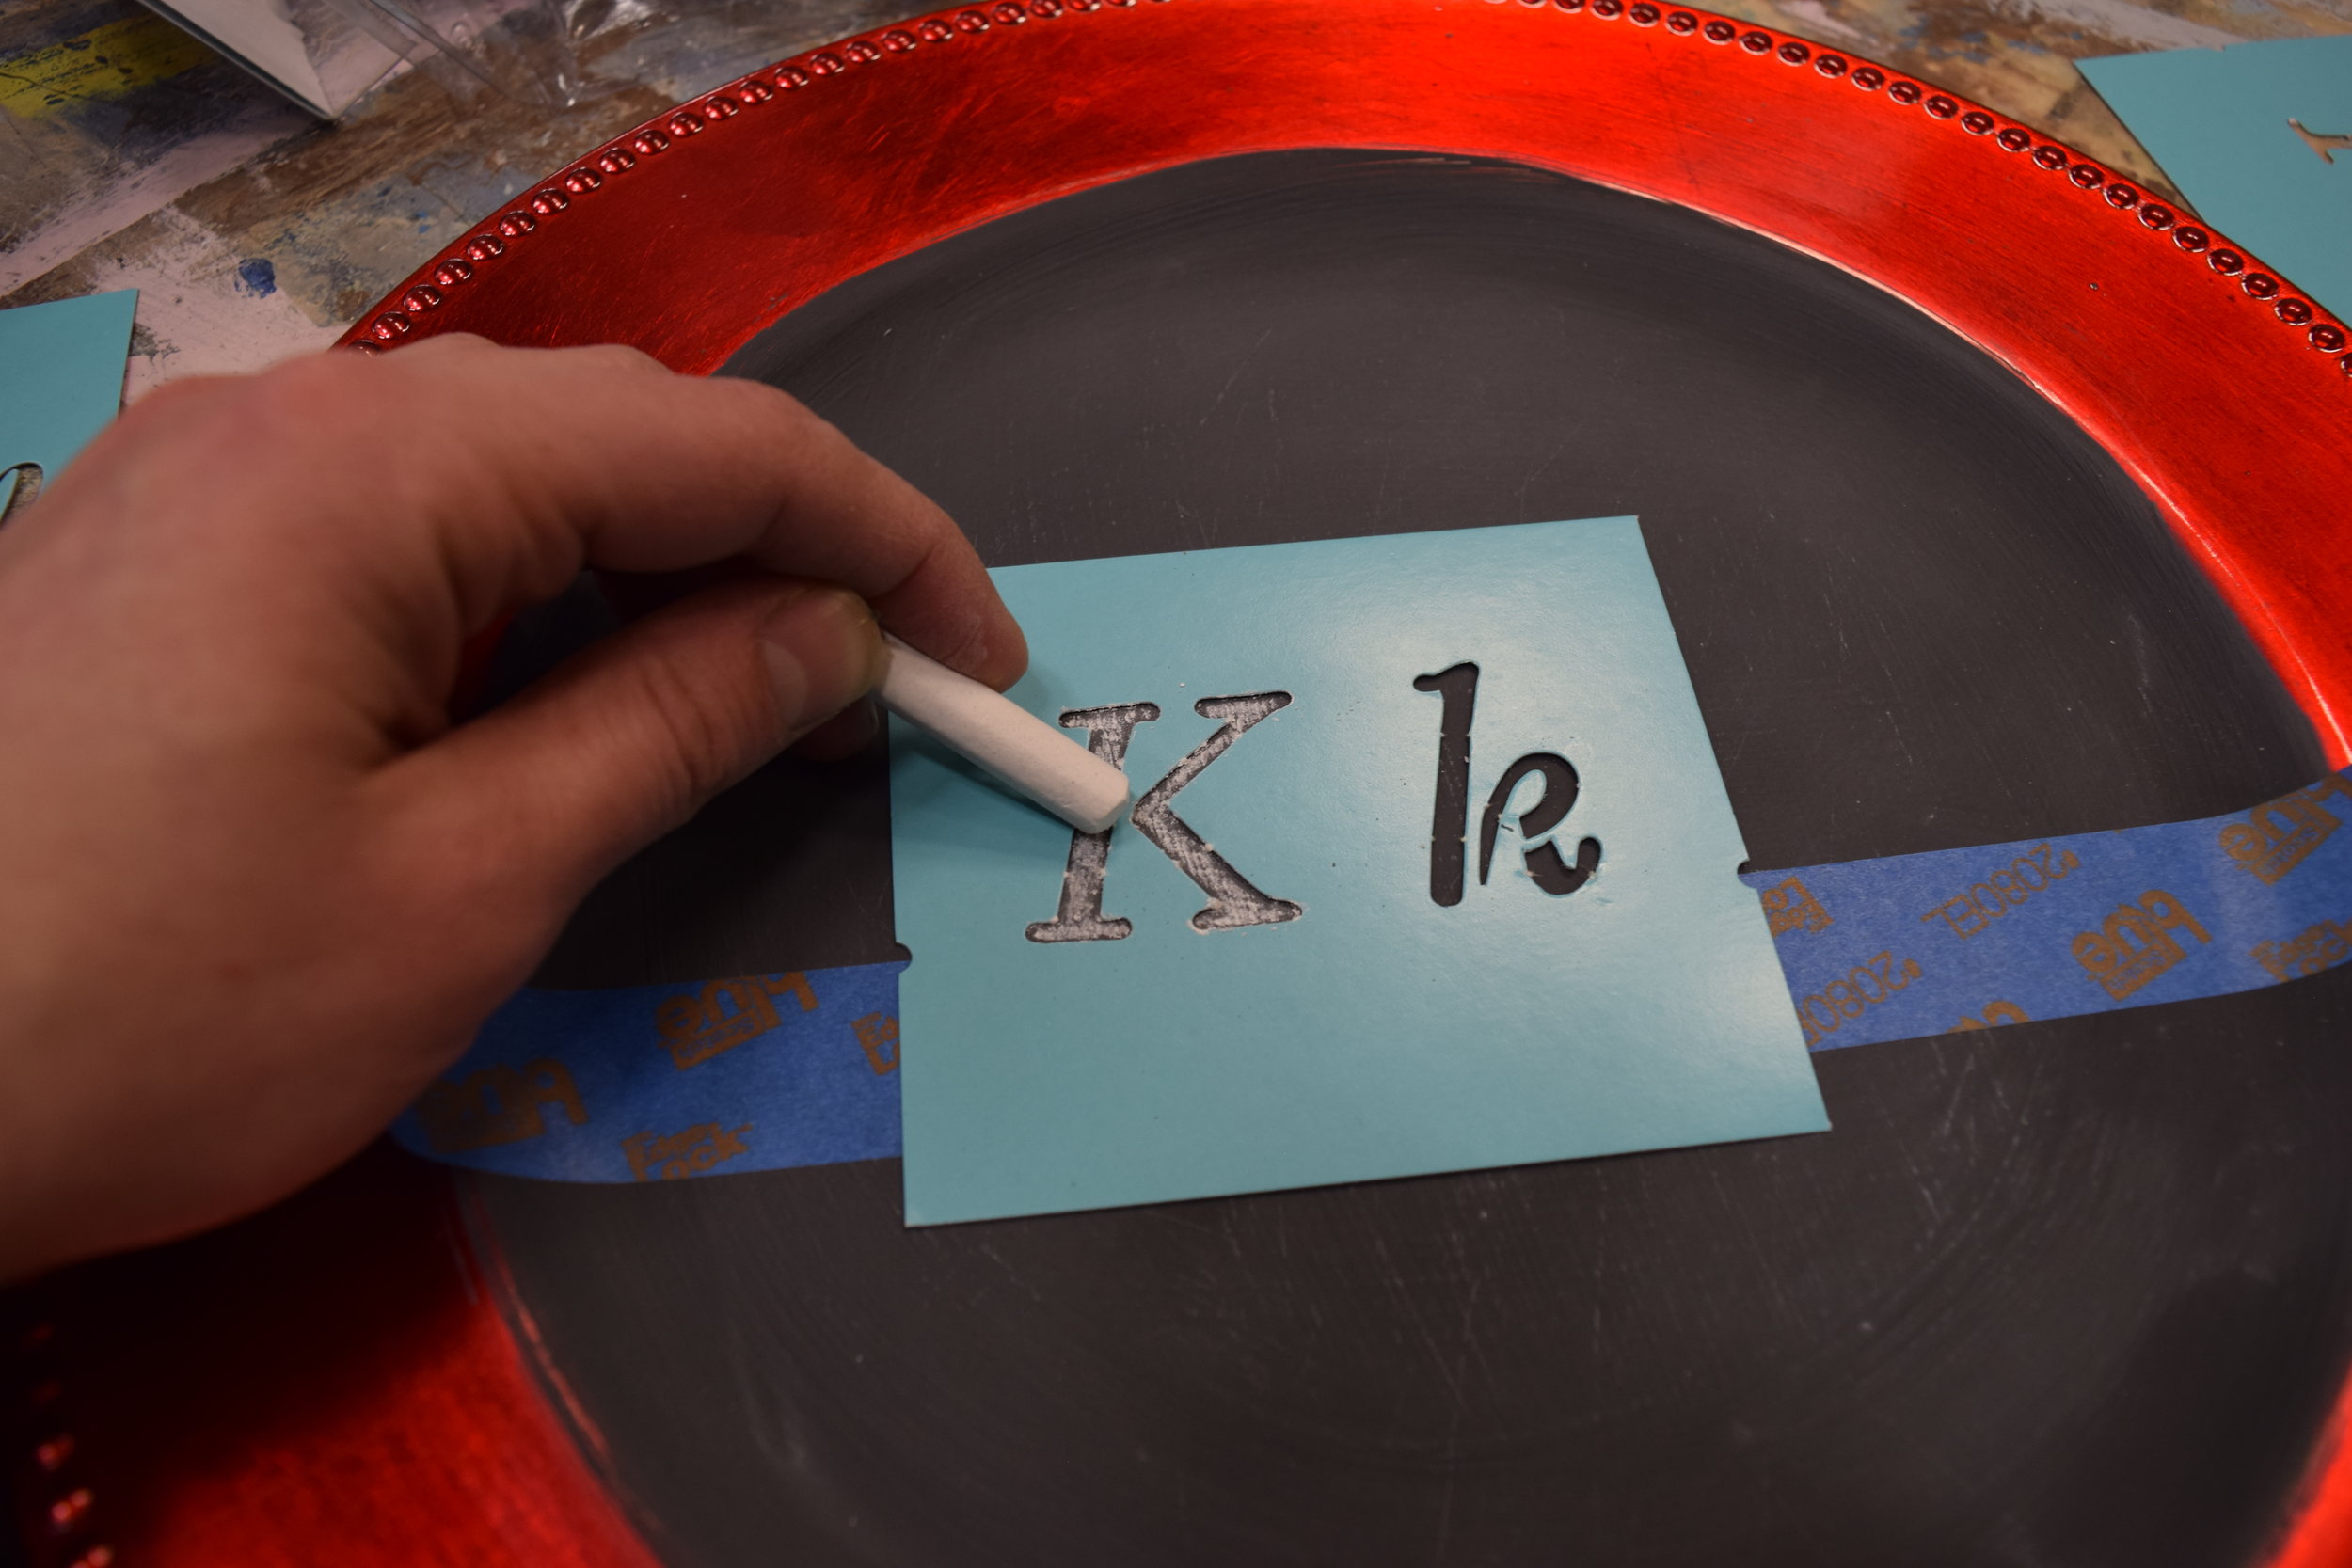 This by no means has to be perfect, after all you can erase it if you make a mistake or spell a name wrong!
 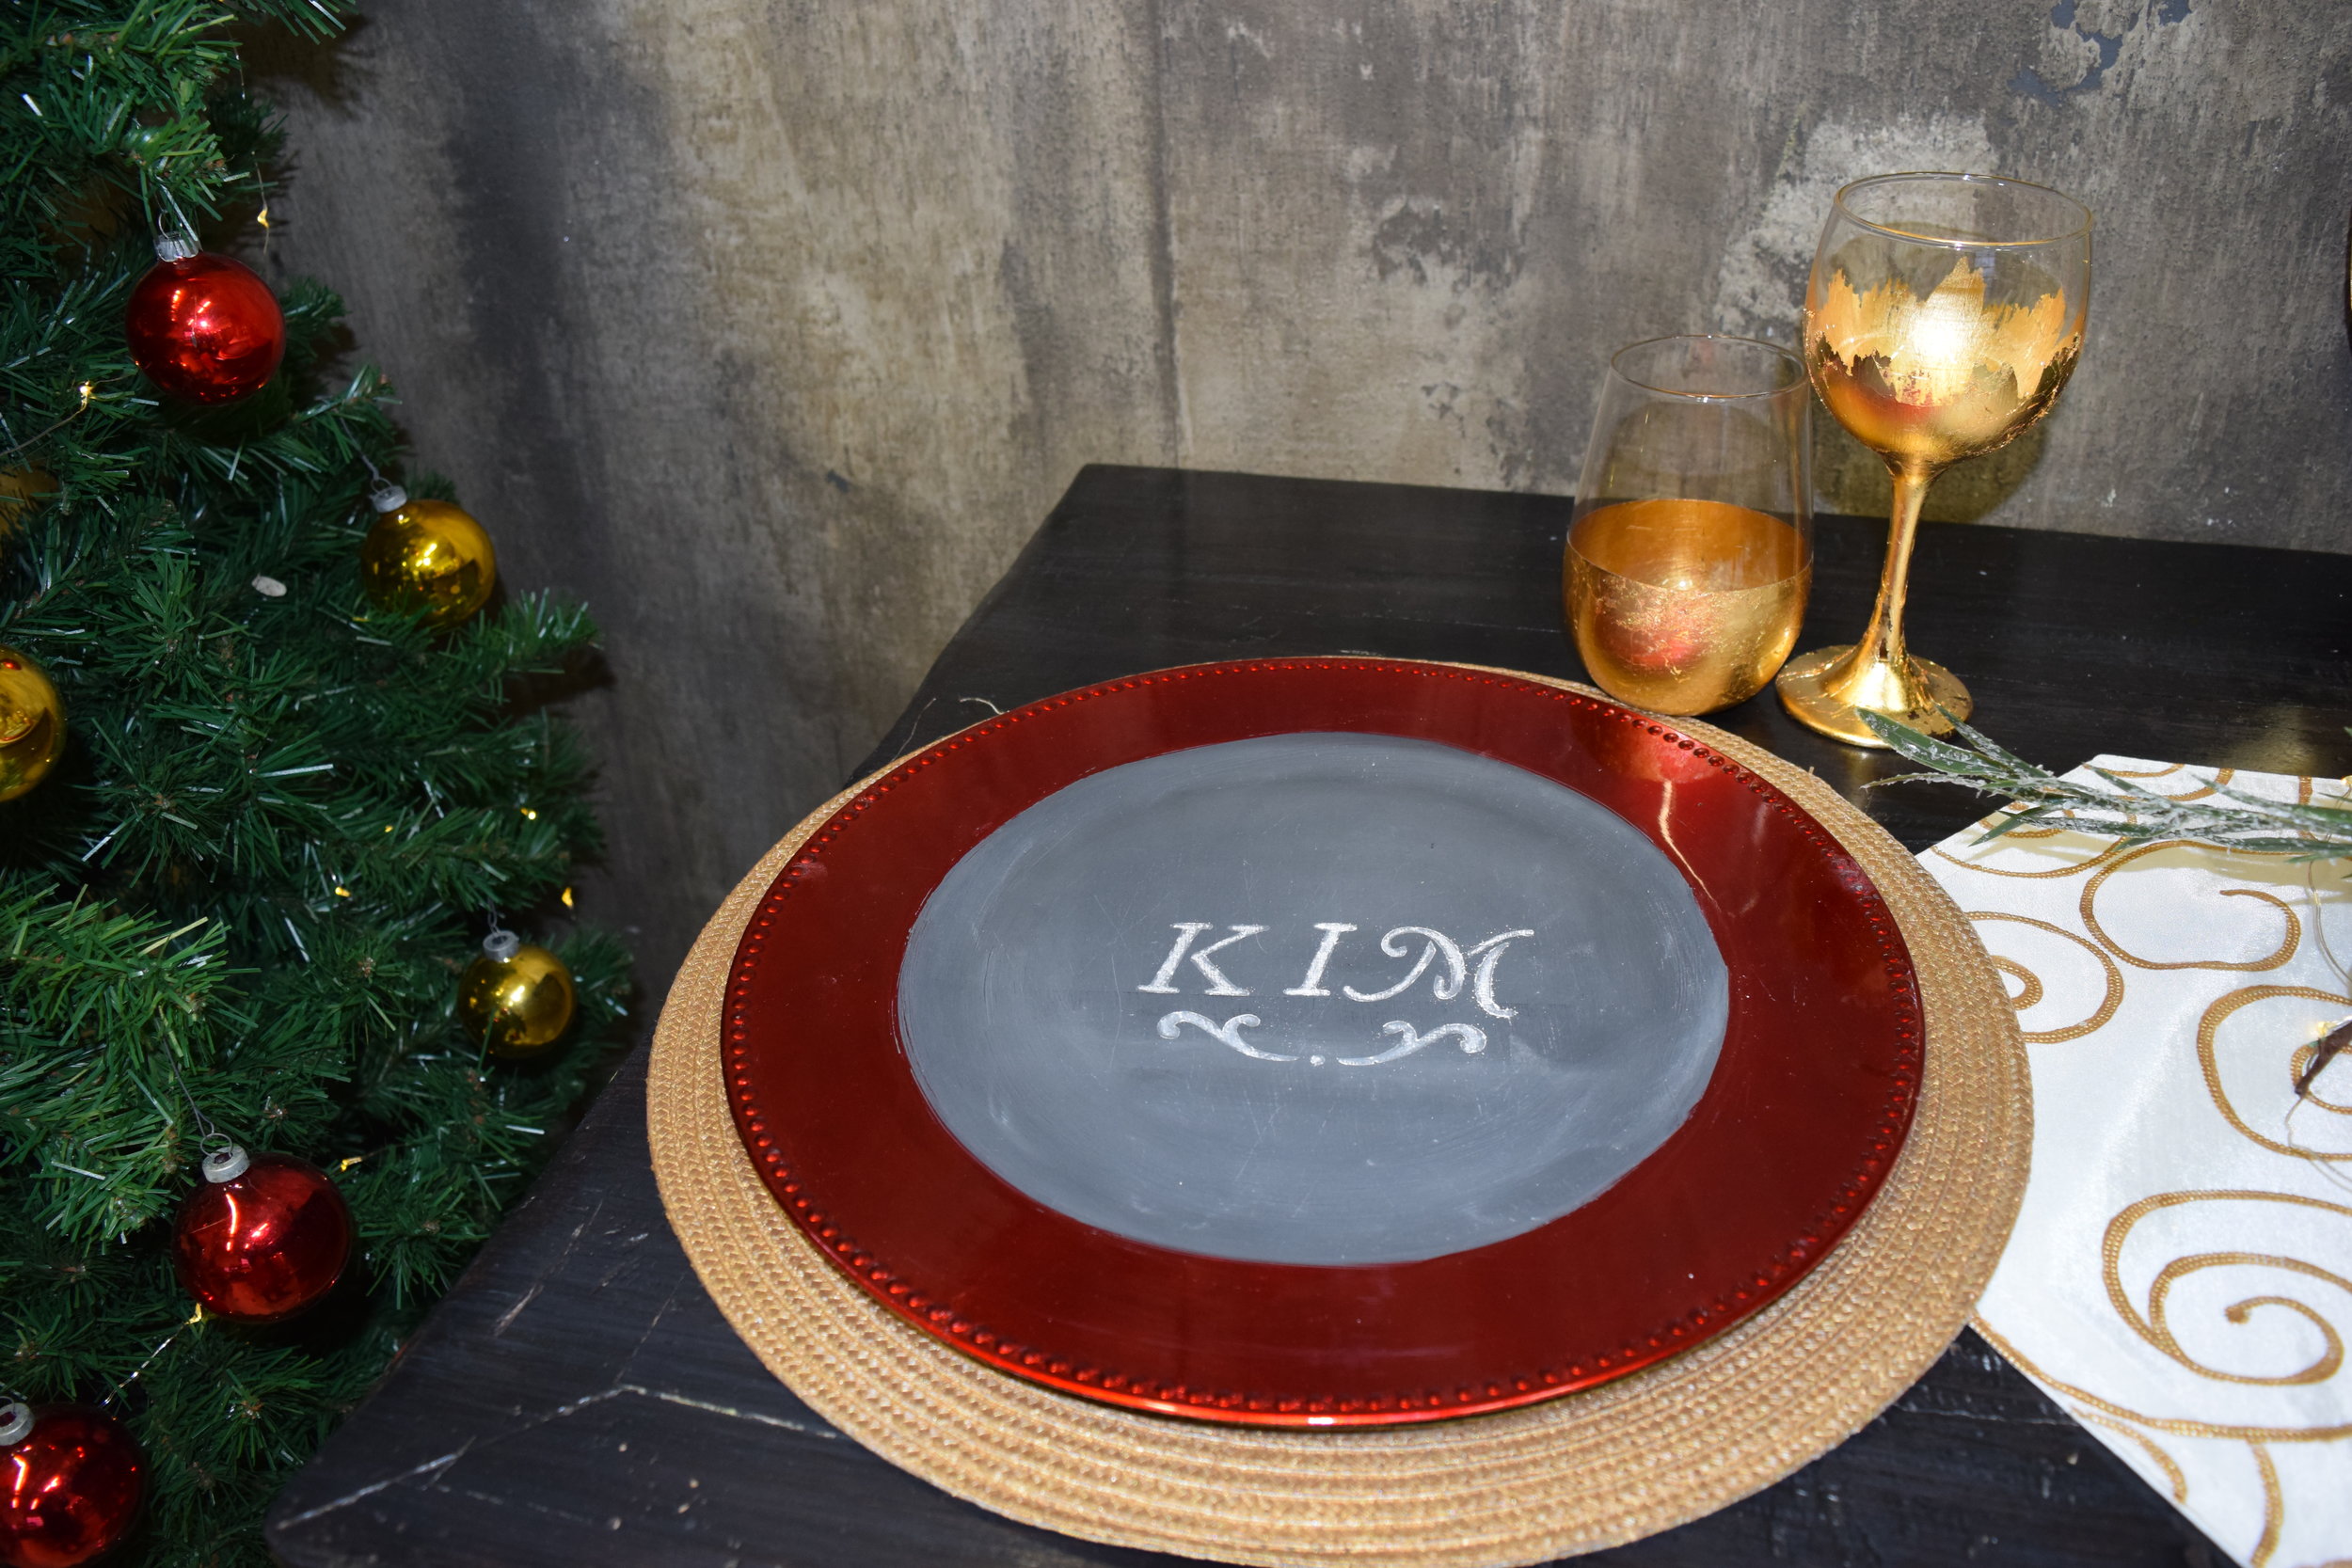 For a more permanent idea, use metallic markers to write your message, or instead of a chalkboard choose a different background colour like this example I painted with Old White Chalk Paint™ and used my gold marker to write Cheers.
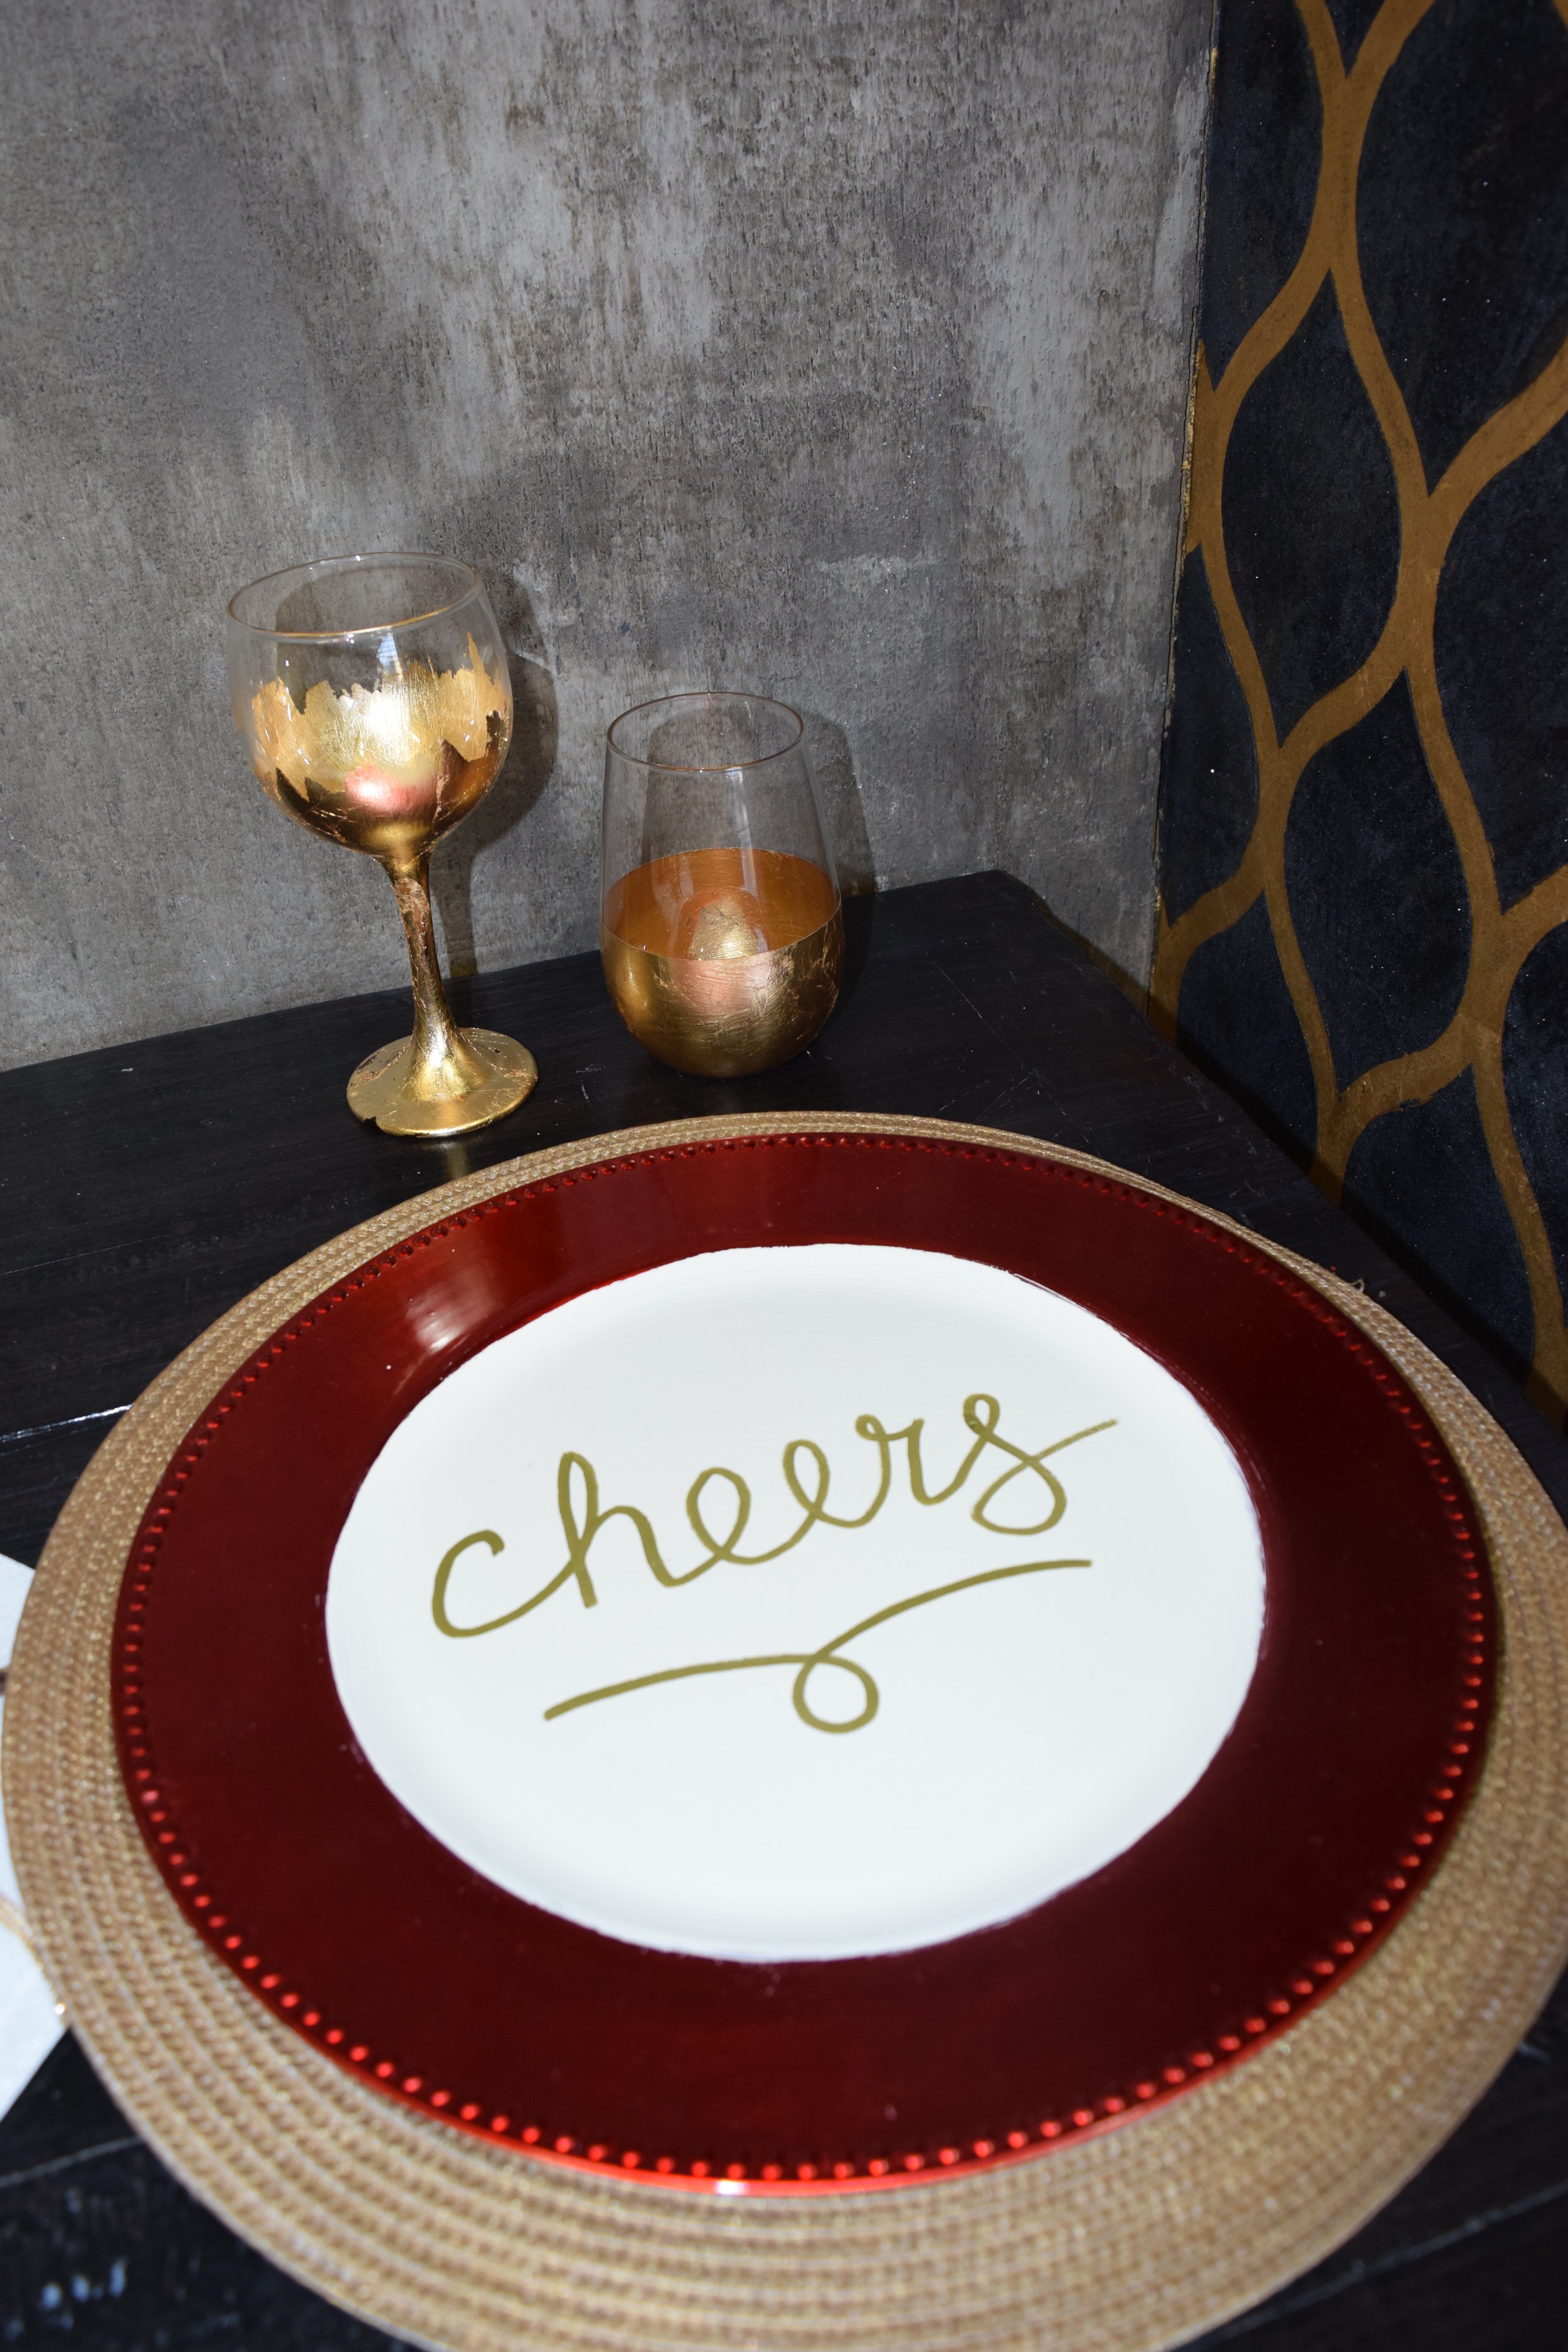
 I love this project because you can reuse these again next party and with hardly any effort change up the name or message. Even if you go with permanent message it’s as easy as a fresh coat of paint to change it up next year. So take a look around the house and see what kind of plates, platters and chargers you already have. Doesn’t that look beautiful? PS: This table is decorated with dollar store finds, can you believe it?
 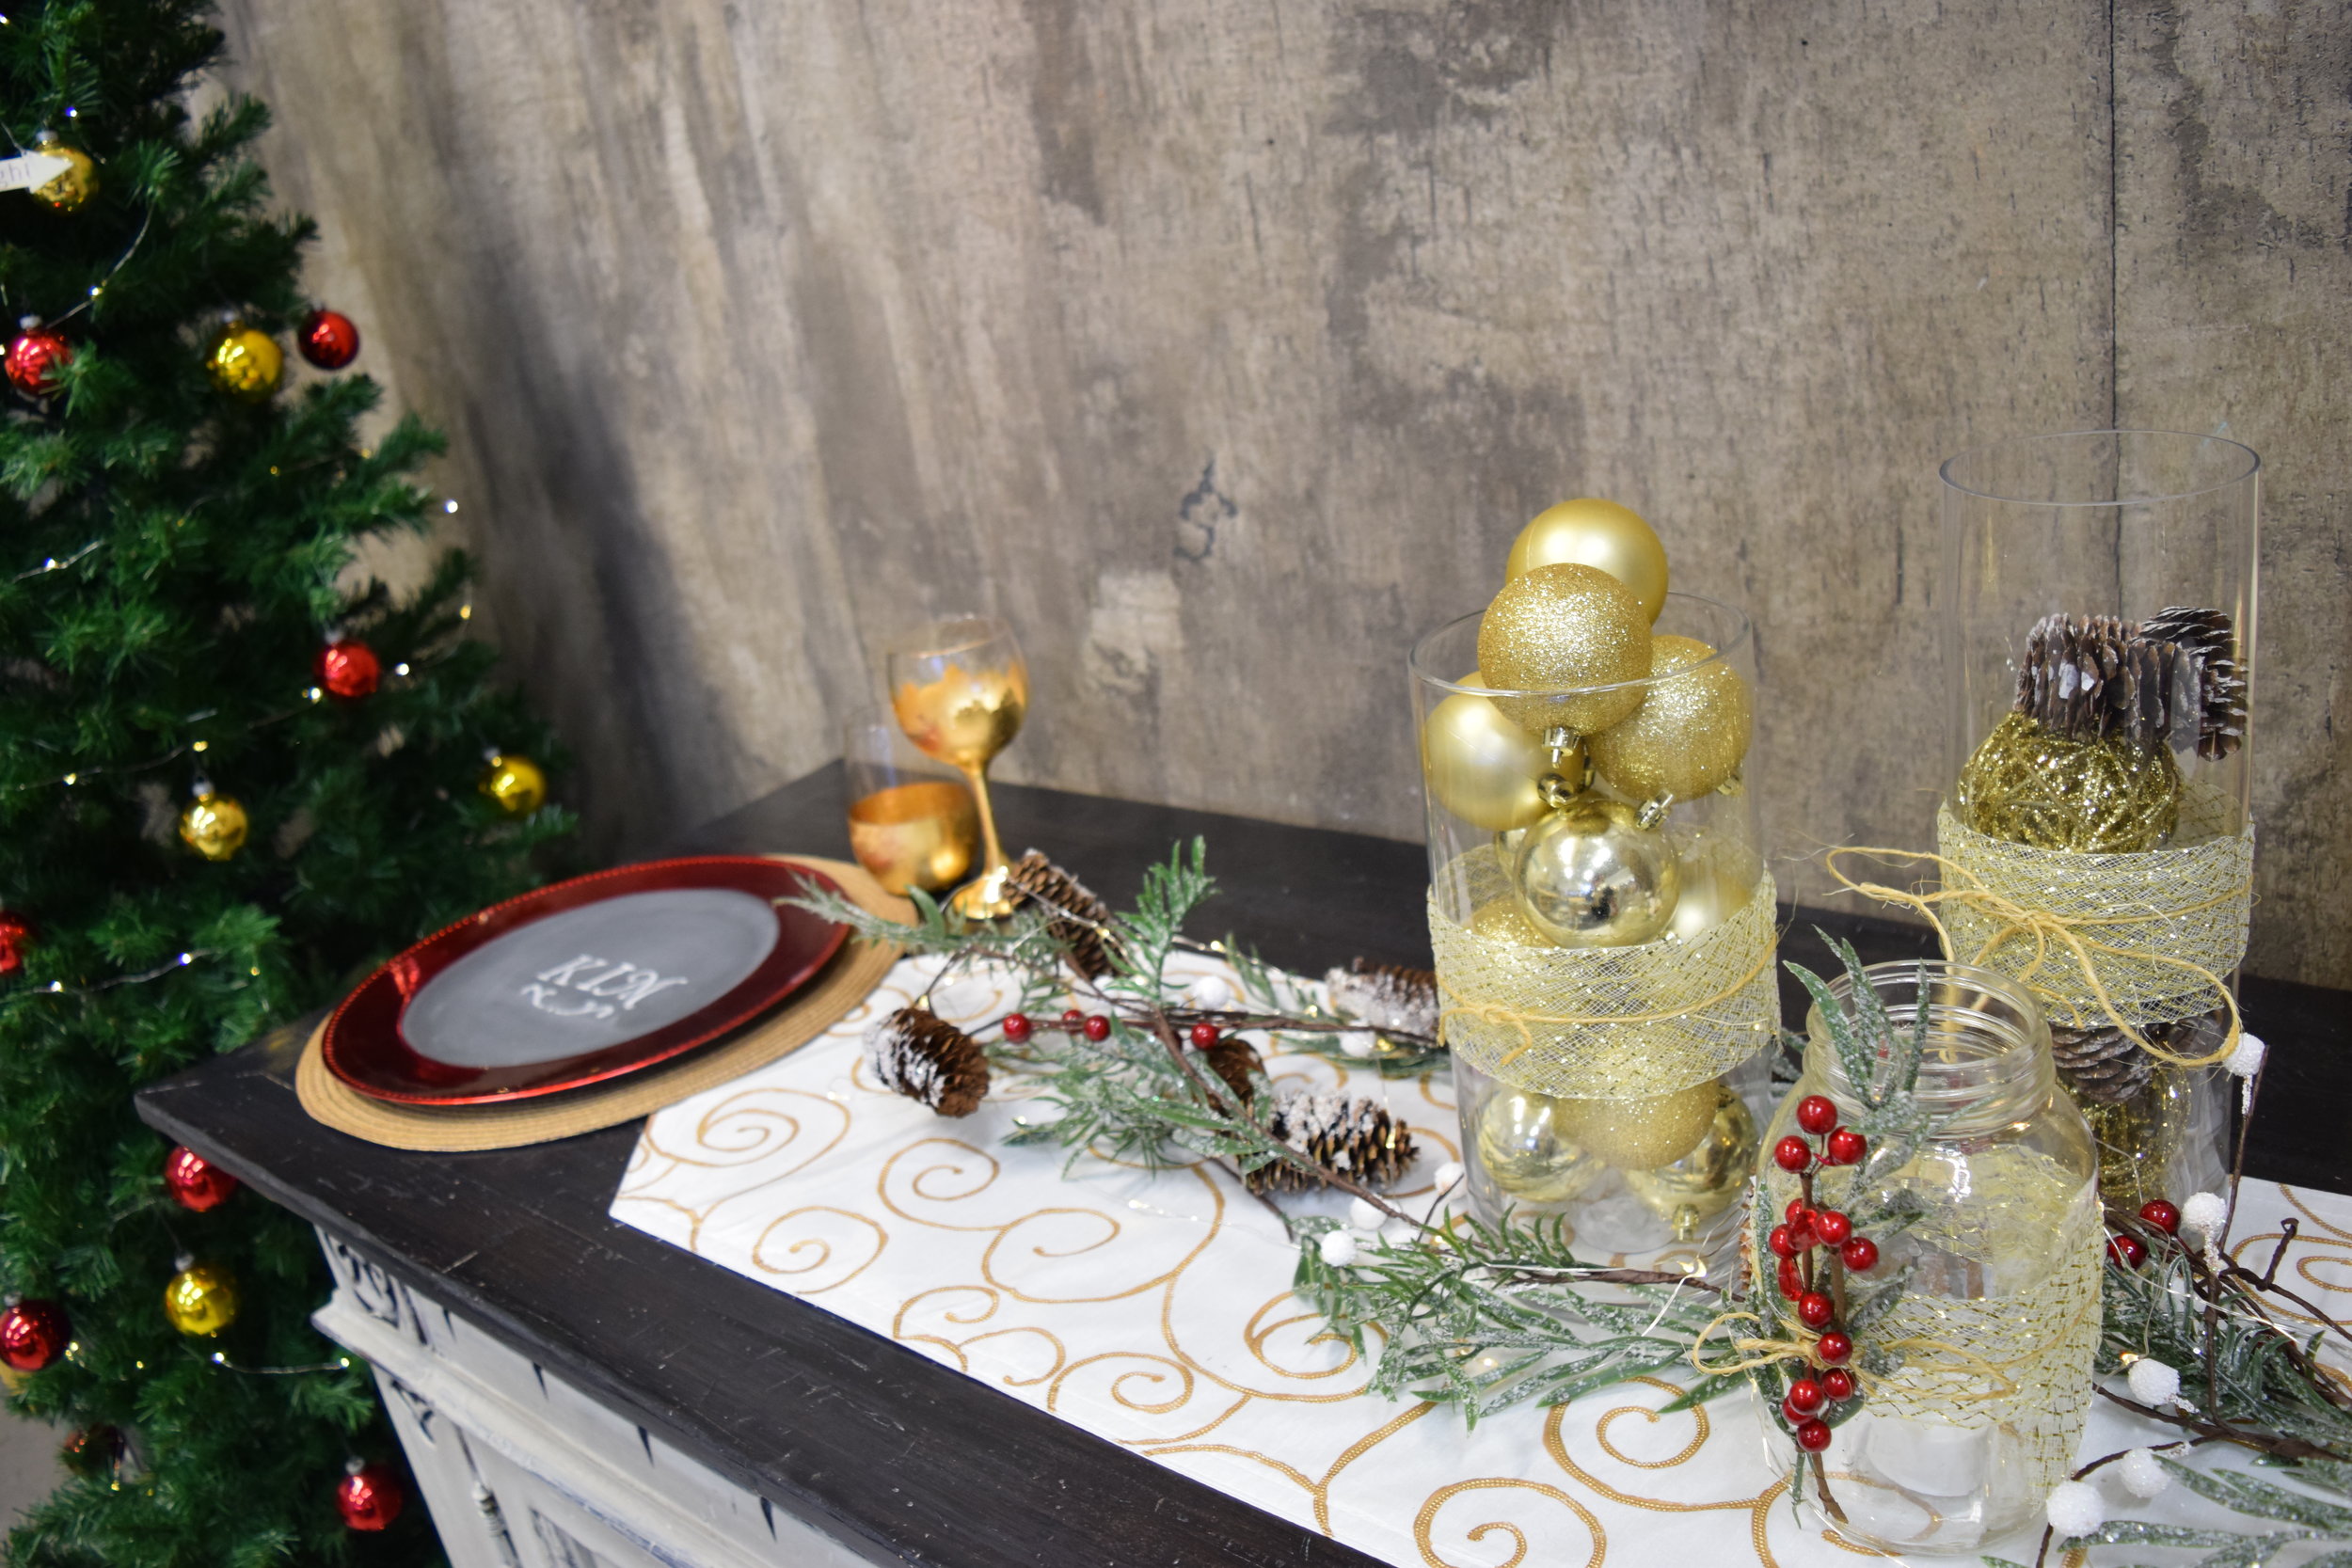 Want to see the steps demonstrated live? Watch for episodes of Kim’s Kitchen on Shaw in December to see Kim and I go through the steps live. If you have more questions about this project you can give me a call 403-243-7433 or email info@interiorstoinspire.com. Stop by our studio in Calgary, we have tons of inspiration. Need a place to work on your chargers? The Paint Bar is waiting for you to come in and play with paint!Happy Chalkboard Making!Deanna