
How to Stencil Your Walls
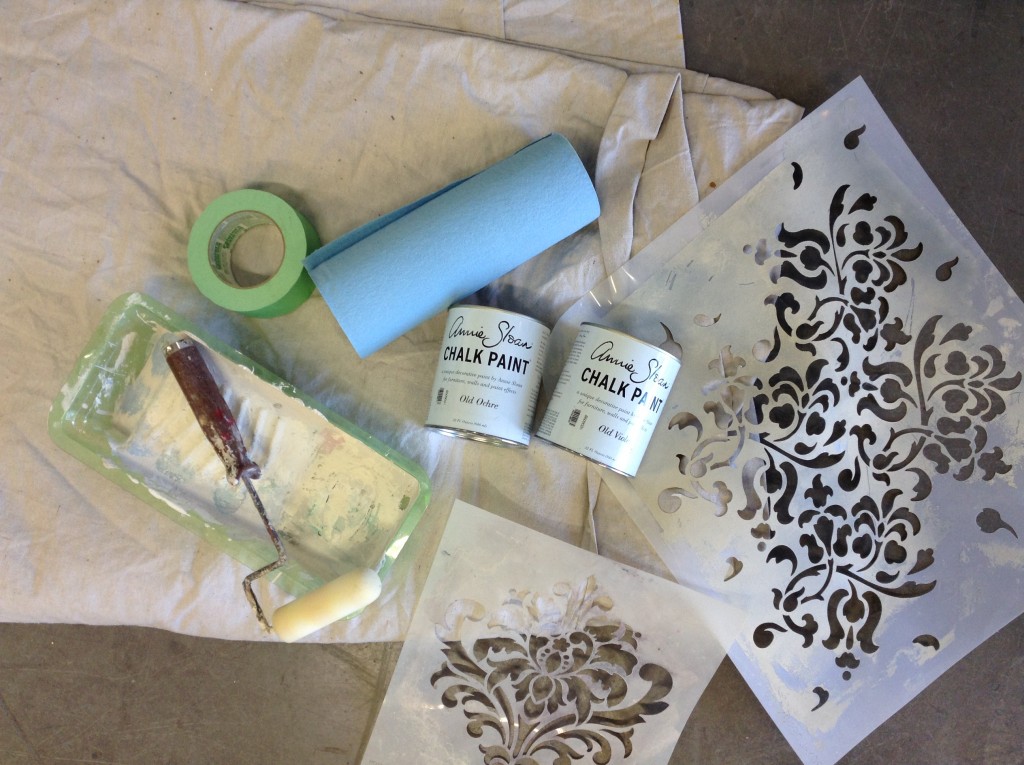
Stencilling your walls can seem quite intimidating if you’ve never done it before. In this tutorial, I am going to show you that it can actually be quite simple. It is a fast, easy and inexpensive way to update and create custom finishes in your own home. What I love about stencilling walls is that there is so much room for creativity yet you don’t have to be a designer or fine artist to tackle a project like this. The alternative to hand painting or stencilling is of course wallpaper. I have seen some truly gorgeous wallpapers but there is usually a high price tag that goes along with those. By using this technique you can create the look of expensive wallpaper at a fraction of the cost. When you do it this way, you get to decide exactly what colours to use and don't create any seams! This will be a rewarding project that you will be proud to share with your friends and house guests.If you have any questions at all about this tutorial or any of the products used, please leave us a comment! We love to help you with your paint projects. Enough with the chit chat, let’s get started! Here are the tools & materials that I used for this project:
- 2” Painters Tape
- Drop Cloth
- Old Ochre Chalk Paint™ by Annie Sloan
- Old Violet Chalk Paint™ by Annie Sloan
- 4” Paint Tray
- 4” Foam Roller
- Roller Handle
- Shop Towels
- Floral Allover Pattern Stencil by Royal Design Studio
- Ornamental Flower Wall Stencil by Royal Design Studio
- Short ladder or step stool
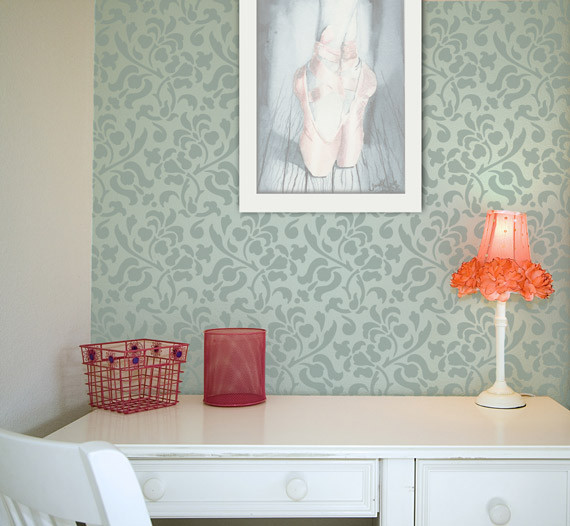
 Step 1: PlanStart by deciding on a pattern, pallet, or overall feeling you want to create with your finish. The walls in this post were done for a client, so we came up with the plan for this finish through a series of discussions with them. For this powder room, we wanted to create an allover, multi-tonal, soft pattern. Damask and allover stencil patterns offer many elegant decorating options and create a formal feeling. Keeping the colours soft and more of a tone-on-tone effect creates an elegant feel.Step 2: PrepUsing 2” painters tape, mask off any areas that you want to protect. Run the edge of your tape as straight and as close to the wall as you can (sticky side touching the surface you want to protect). In this case, we put a row of tape along the counter top, baseboards, ceiling and door frame. Tape any areas that you don’t want to get paint on. For big flat surfaces like the floor and counter top, drape a sheet or drop cloth just in case you spill or splatter.Step 3: Base CoatThe walls were already painted in a warm neutral colour so we just worked off of this. If you wanted a different background for your walls then you would start by painting your walls with a base coat. Step 4: Get Your Tools & Product Ready!As part of the plan we decided to build up two layers of stencilling to add dimension and softness rather than one bold print. The first stencil I used was Floral Allover Pattern Stencil by Royal Design Studio. This is a repetitive allover pattern. I chose two colours for these stencils; Old Violet and Old Ochre Chalk Paint™ by Annie Sloan. I decided to work with Chalk Paint™ because it has a flat finish, is easy to handle, dries quickly and can be sanded back to soften any heavy spots. In my 4” paint tray, I poured both of my colours. For the technique I used it is ok if the colours run together and mix a little in the center because they will end up softly blended on the walls.
  Next, I loaded up the 4” foam roller with paint. The colours will mix a little in the centre and that’s ok but I always keep my roller the same direction when reloading to try to keep some colour separation.
 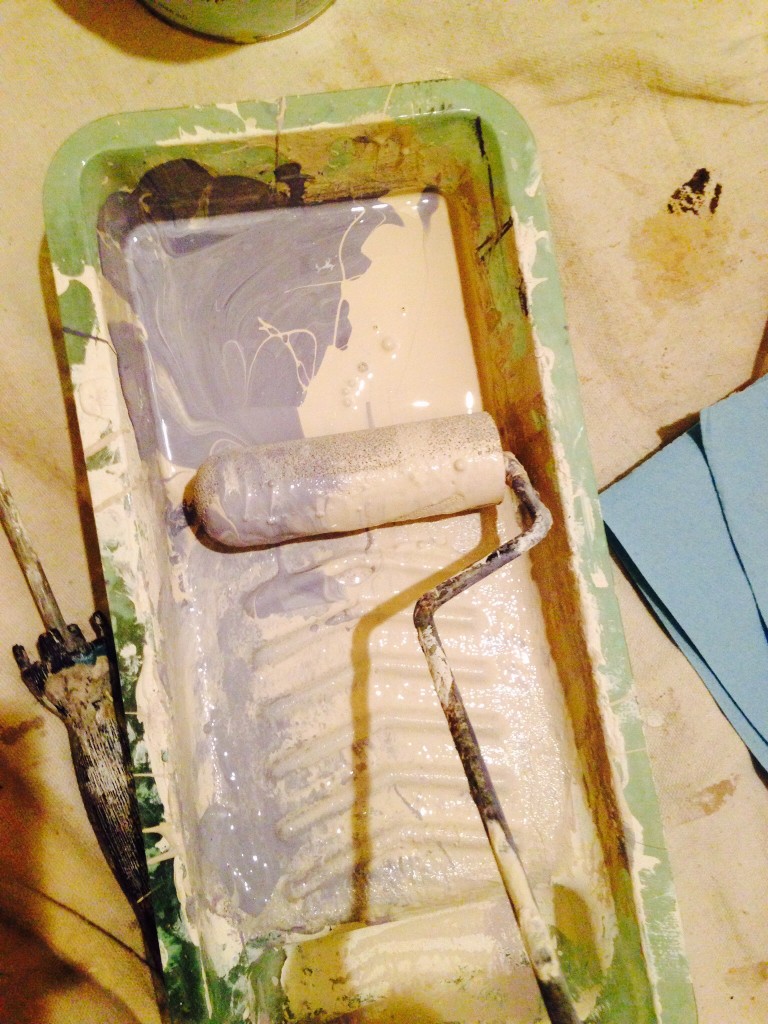 A key part to stencilling is to use a “dry” stencil brush or roller that has been offloaded so it’s not too saturated or dripping with paint. This will help to prevent the paint from bleeding through which is what most people worry about. Using a foam roller also helps because there aren’t any little hairs that will sneak under your stencil. All you do is place a shop towel on a flat surface and with gentle pressure roll off some of the excess paint. This is called off-loading your roller.
 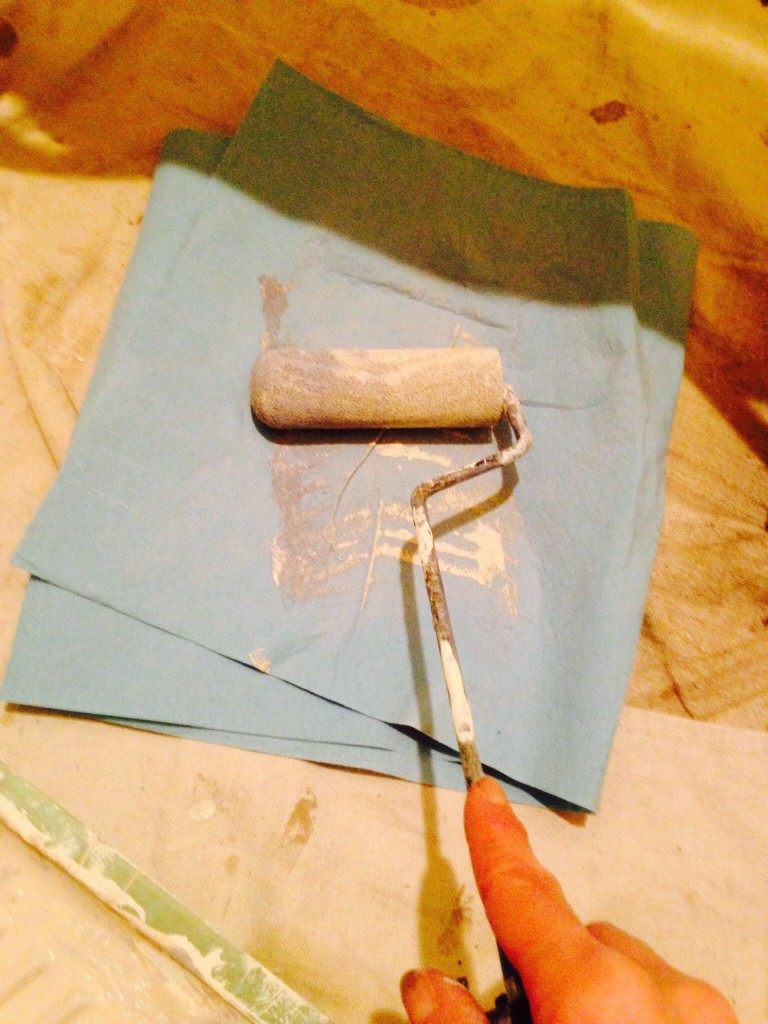 Step 5: Stencil #1Here comes the fun part! Our first stencil is an allover pattern which means it has been designed to be repetitive and cover the entire surface continuously. Take a look at your allover stencil and you will see that there is the main bulk of the stencil and then a few little bits that are scattered at the edges. These little bits are your registration marks. When you see these, you know you have a good quality stencil. They have built in these markers to make stencilling easier for you.
 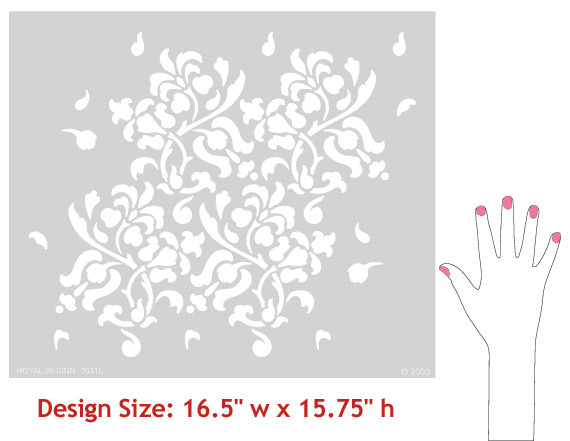 Because I knew we were doing another layer over top, and by the random nature of my design, I wasn’t too worried about keeping my pattern straight. But if you are, a good tip is to find the centre of your wall, align the stencil along the roof line and then use a level to check that your pattern is level. Because my finished product was going to be so random, I didn’t bother with this step. Holding your stencil in place, use a couple of torn pieces of painters tape and secure the stencil to the wall. You could also have a friend help you to hold the stencil in place. Once you get started and your confidence builds you might feel comfortable holding with one hand and rolling with the other instead of stopping to tape it in place each time. With gentle pressure, randomly roll your foam roller over the entire pattern. Be mindful of the edges and that you don’t roll paint off the edge of the stencil. Because this was a soft effect, I applied hardly any pressure. It might seem like no paint is transferring but wait until you lift your stencil to see if you need more. You can always put it back in place and add more. Once you have gone over the entire area, lift your stencil to reveal your pattern.
 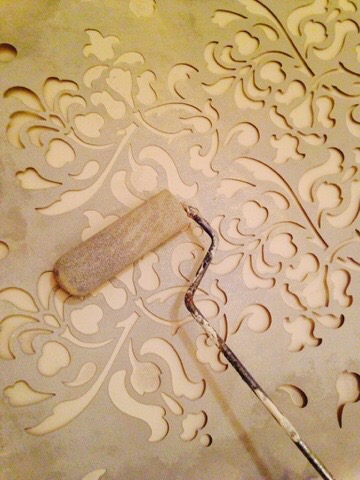 Step 6: Repeat, Repeat, Repeat…Since Chalk Paint™ dries quickly and my application was so very thin, I didn’t have to allow for drying time in-between layers. You can see below that when I lifted my stencil and moved it to the right I easily found my registration marks.
  After lining up my marks I was ready to paint again. With this style of stencilling, you may get a couple of passes with your roller before you have to reload it. Just remember to unload a bit on your shop towels so you don’t end up with heavy paint or bleed through.
 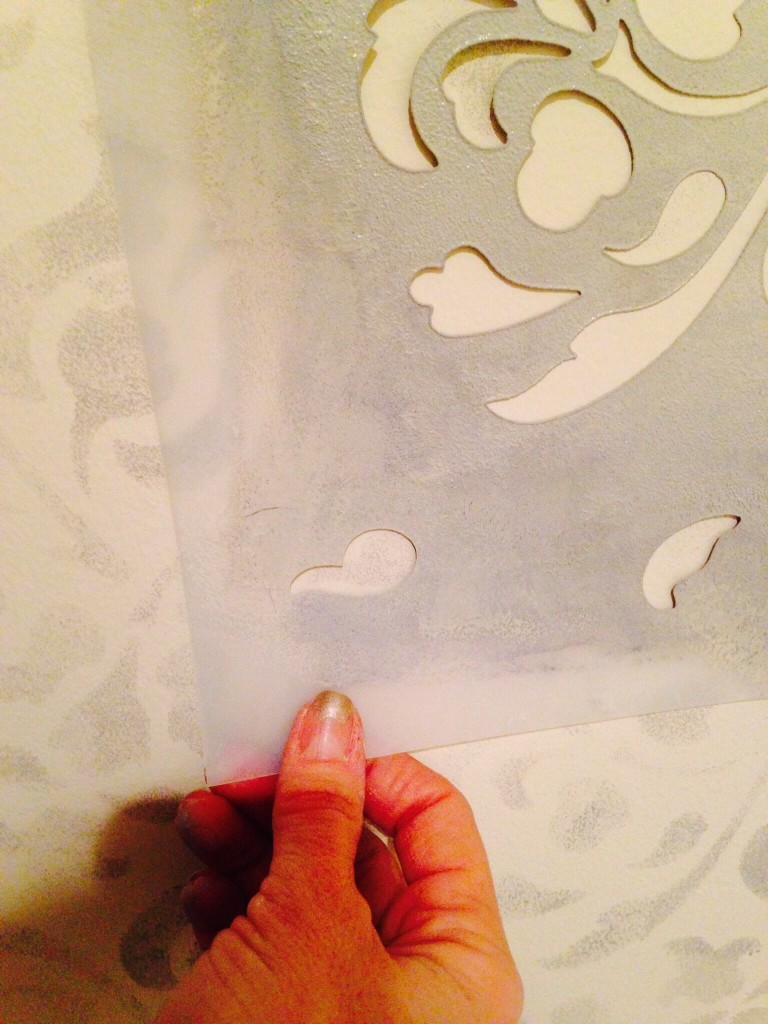 Just keep going until you have covered your entire surface. Here are some samples of the same stencil painted in a different style to give you an idea of how versatile one stencil can be. There are endless possibilities! These images are taken from Royal Design Studio’s website.
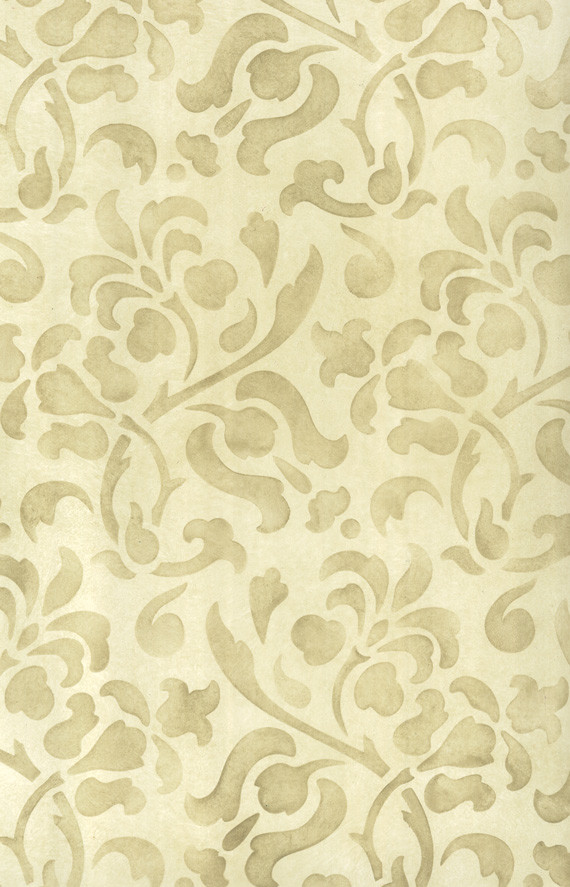
 Step 7: Stencil #2For my second stencil I used another beautiful mylar stencil Ornamental Flower Wall Stencil from Royal Design Studio. This single design stencil can be used as an allover pattern, as a single, or random like I chose. Here’s a look at the pattern.
 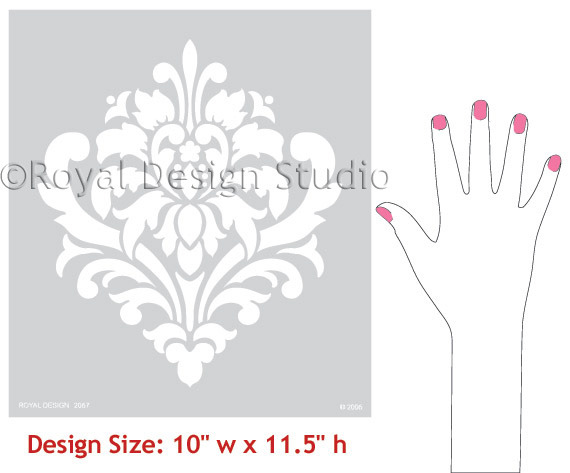 I used the same paint colours, tray, roller and soft application as with stencil #1. I created a somewhat random pattern with this stencil. I kept apply paint until I had a second layer allover. See the photo below for a detail of both layers done.
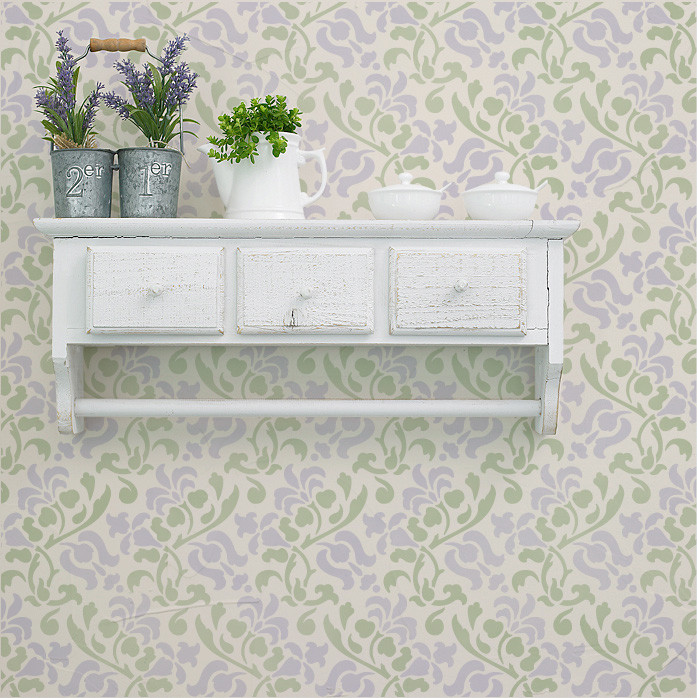
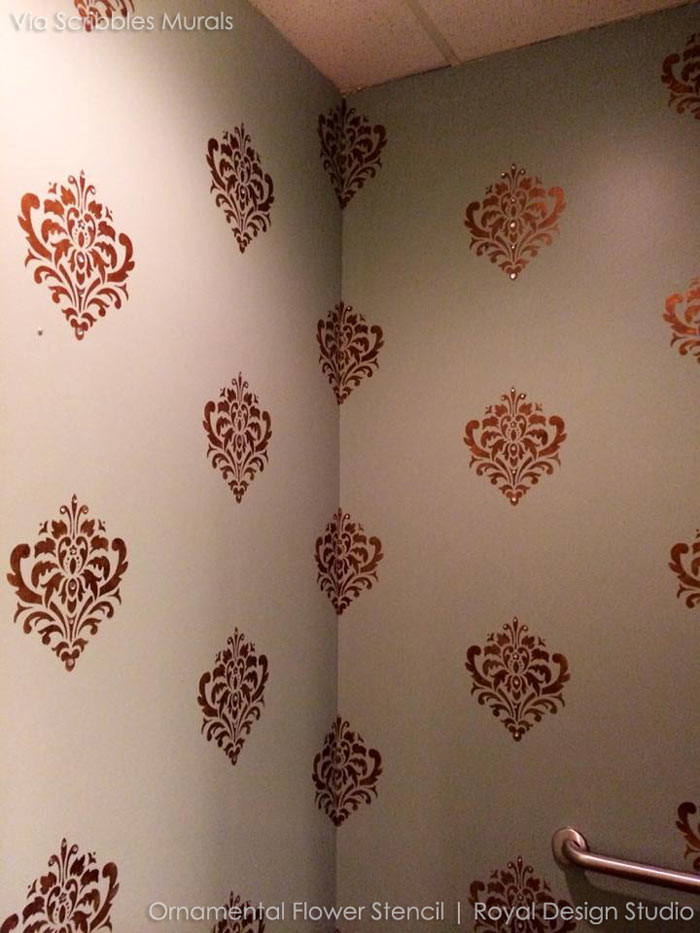
  Again, here are some samples of the same stencil painted in a different style. These images are taken from Royal Design Studio’s website.
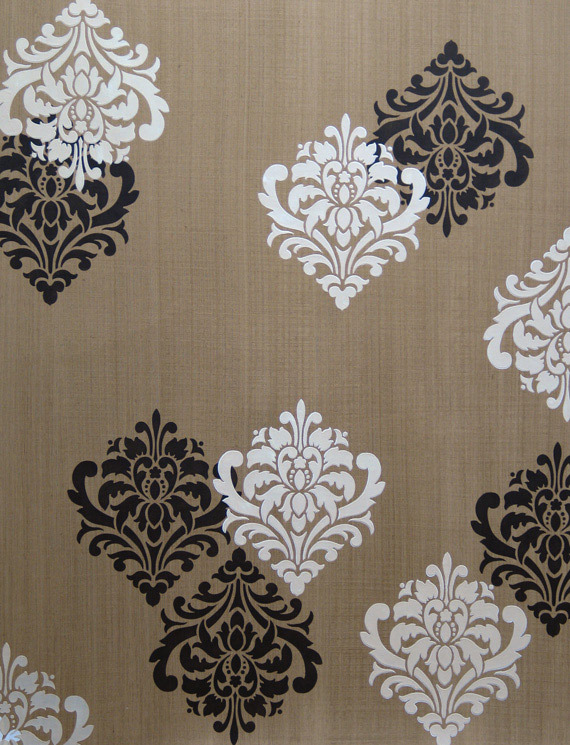
 Step 8: Clean UpAfter you have finished painting, you are ready to clean up. Gently pull off your painters tape to reveal a nice clean edge. Should any of your tape peel away your paint, just use a small brush and do touch ups as needed. Wash your paint tray and roller in some warm water with mild soap like dish soap or lye soap. Because Chalk Paint™ dries so quickly, the walls should be basically dry at this point. They are still fresh and paint does take time to cure so just be mindful not to bump or touch the walls. Step 9: Admire Your FinishWait until you have cleaned up your mess to take a step back and really admire your work. My favourite part is pulling away the tape and seeing how beautiful my finish looks. If you try this, don’t forget to snap a few photos and share with us on Facebook! We LOVE to see what you have created.
 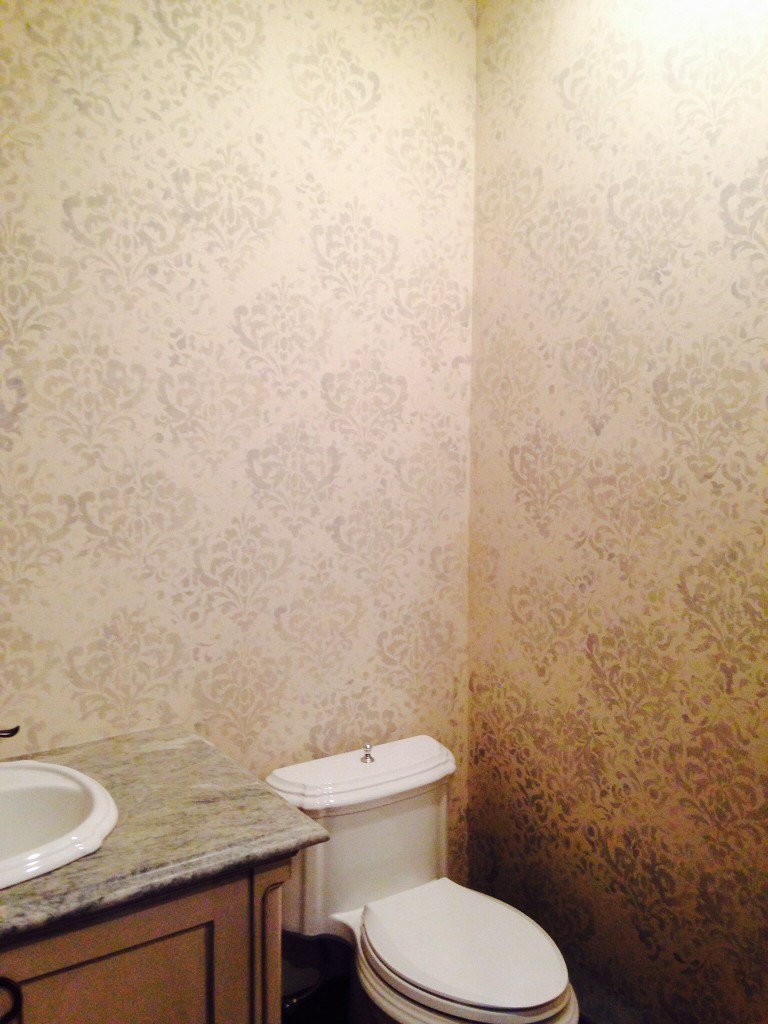 Thanks so much for following along! I hope you are inspired to tackle your own stenciled wall project. Please post your questions, comments, feedback below! Happy Painting!Deanna