
Painted Burlap Christmas Bow
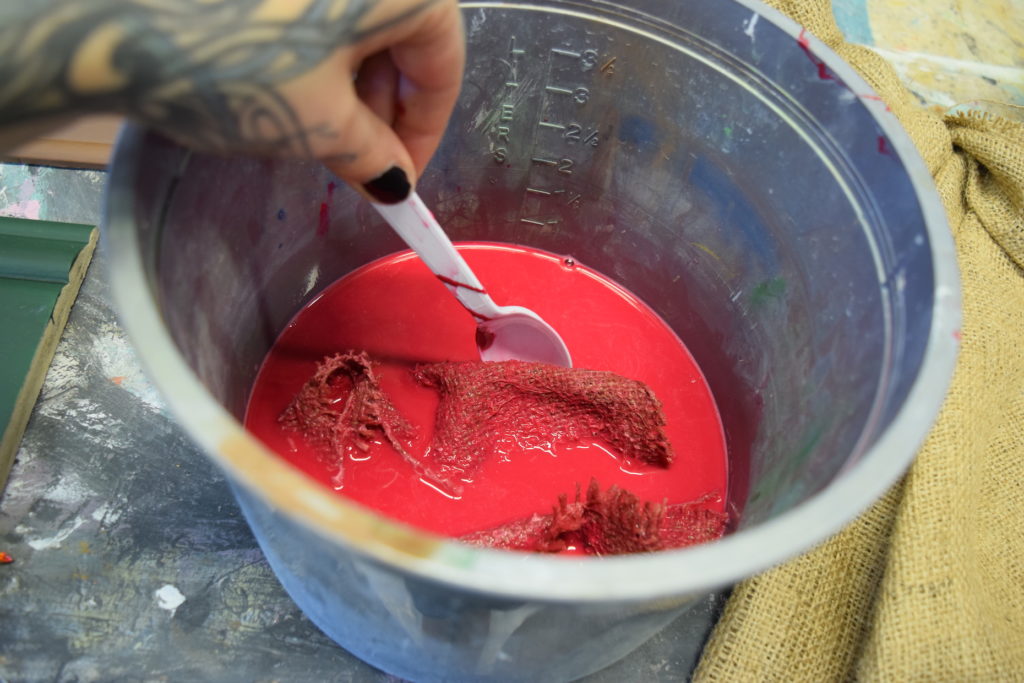
 Homemade Christmas ornaments and décor always seem to make the holidays a little homier. I wanted to created a large bow that had a bit more personality than some of the ones you might find in the Christmas aisle at the hardware store.For this project I’m using:BurlapBurgundy Chalk Paint™Annie Sloan’s Medium Oval BrushWhenever I’m trying something on the experimental side I like to create some samples. I knew I wanted to create a big beautiful Christmas bow but I wasn’t positive on the technique I would use to apply the paint. I started by cutting two small swatches of the burlap to play around with. The first swatch I dyed. Dying fabric with Chalk Paint™ is fairly easy. Annie Sloan recommends to use a ratio of 1 part paint to 20 parts water. Since I’m creating an ornament I’m wanting the burlap to be a bit stiffer, therefore I used a ratio closer to 1 part paint to 8 parts water. I chucked the paint and water into a bucket, stirred and then let my swatch marinade for a few hours.
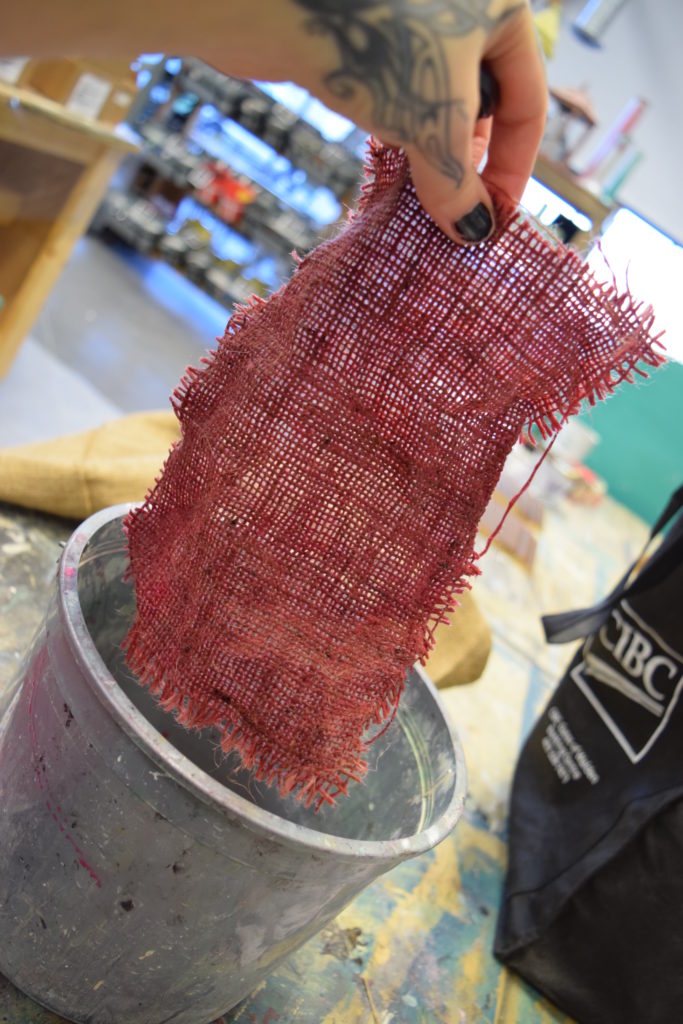
 For my second swatch I watered down my Burgundy Chalk Paint™ a little, roughly 20% water and then just painted it on. As you can see in the photos below I’m getting a little bleed through on the back side but for this project I think it’ll be cool.
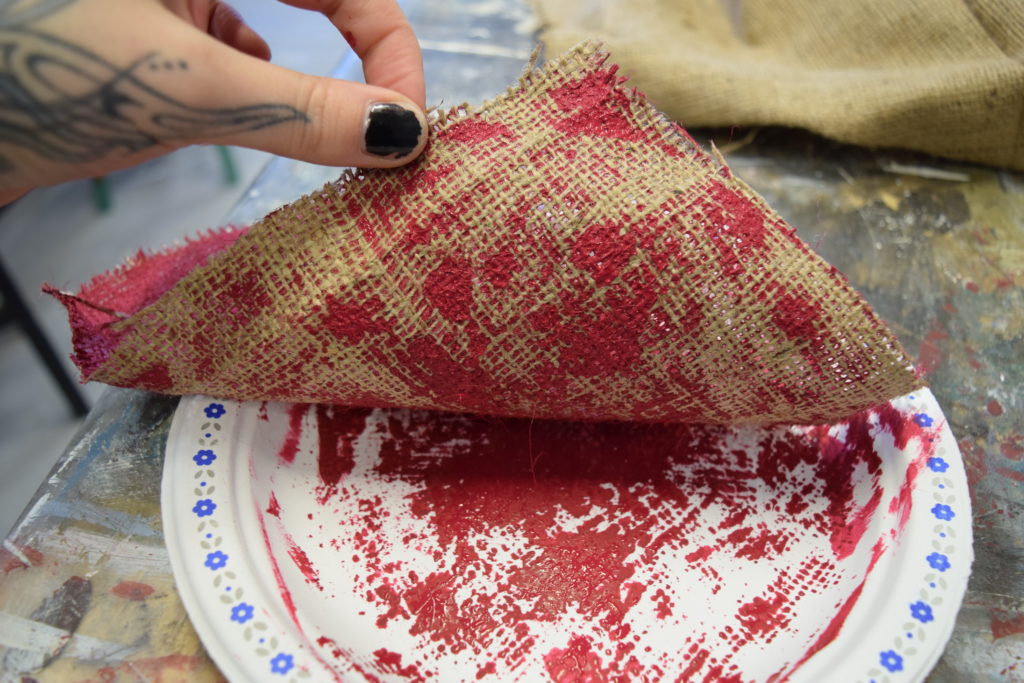
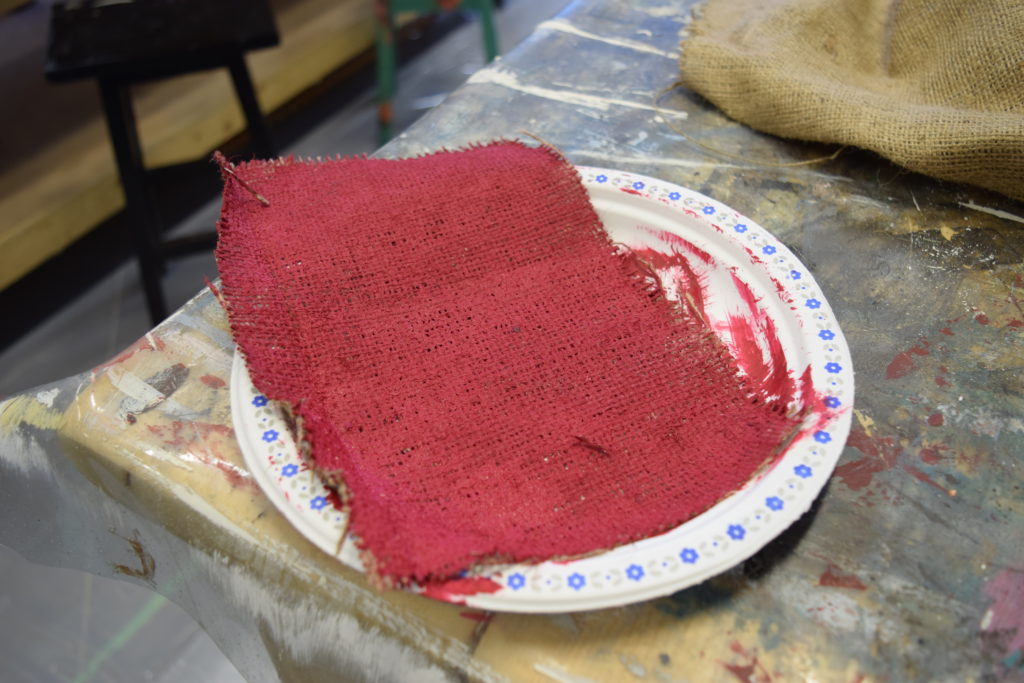 Once they dried it was pretty obvious to me which process I wanted to use. In the photo below the swatch on the left is dyed and the one on the right is painted. The painted swatch was more vibrant and the stiffness will ensure my finished bow will be able to keep its shape.
 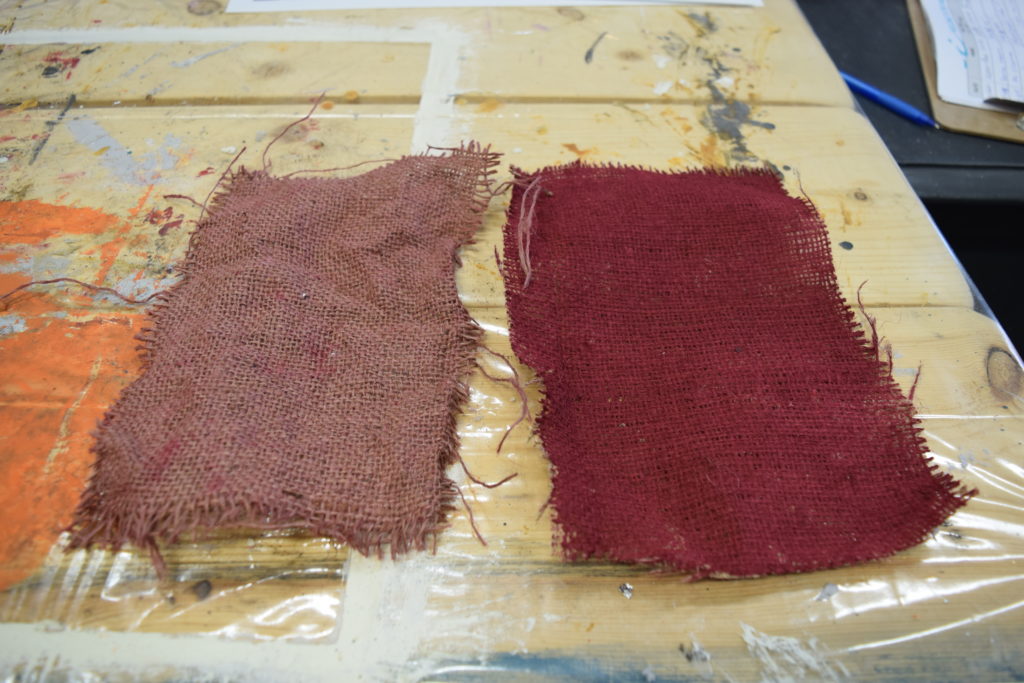 Next I measured out how much burlap I would need by tying a rough bow.
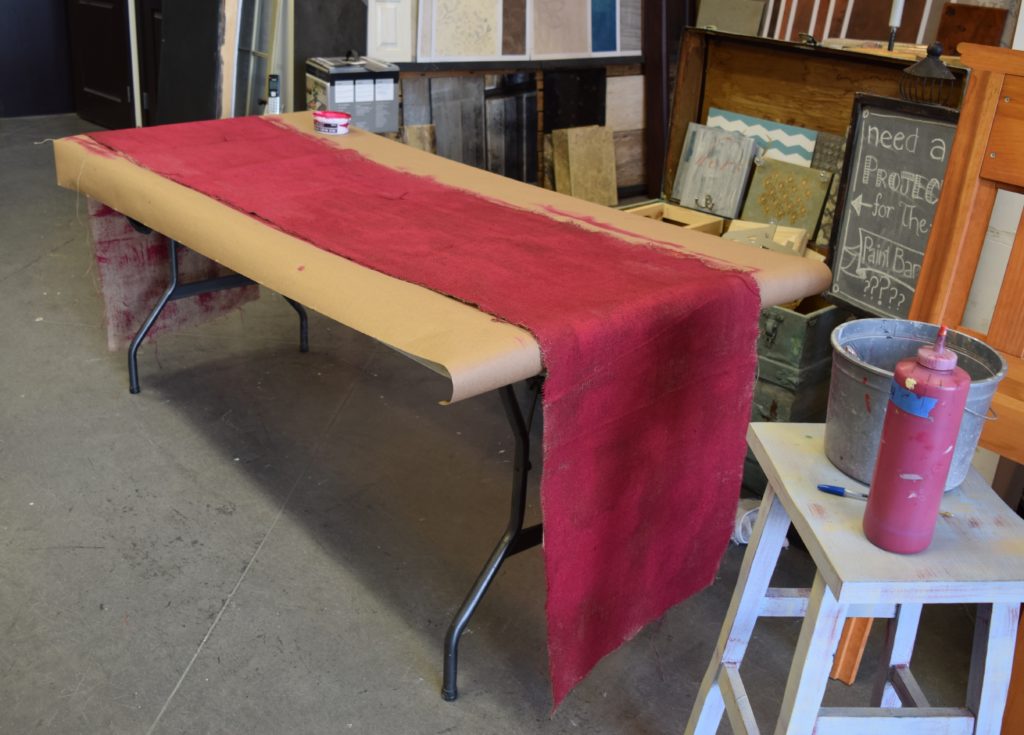
 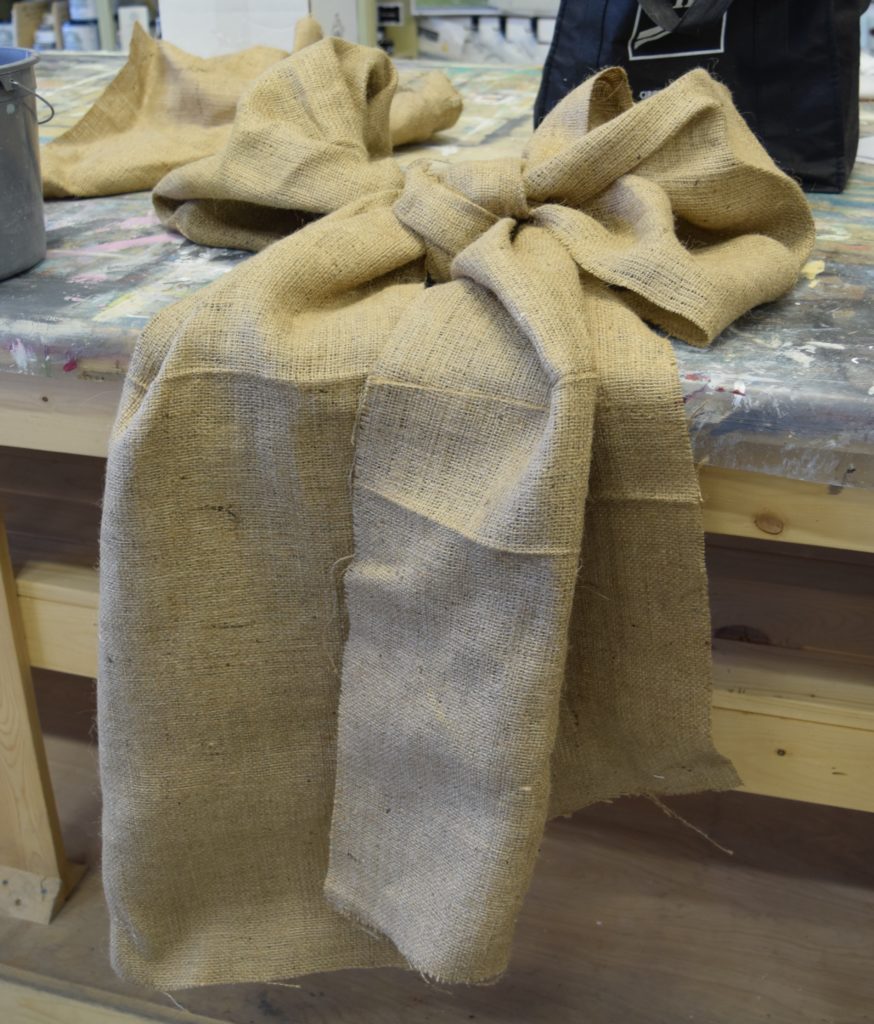 By experimenting first I now have a solid plan to get exactly what I want. I stretched out the burlap and threw some water in my paint and just went for it. I wasn’t too worried about getting my finish super even.
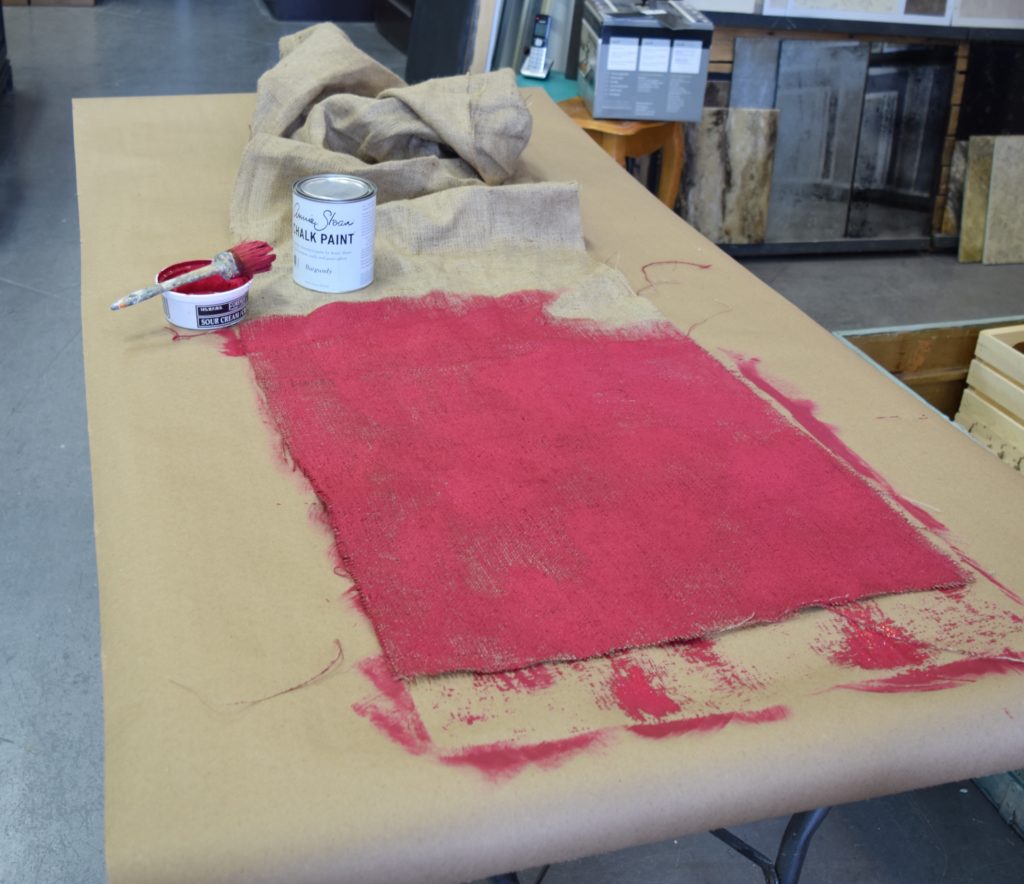
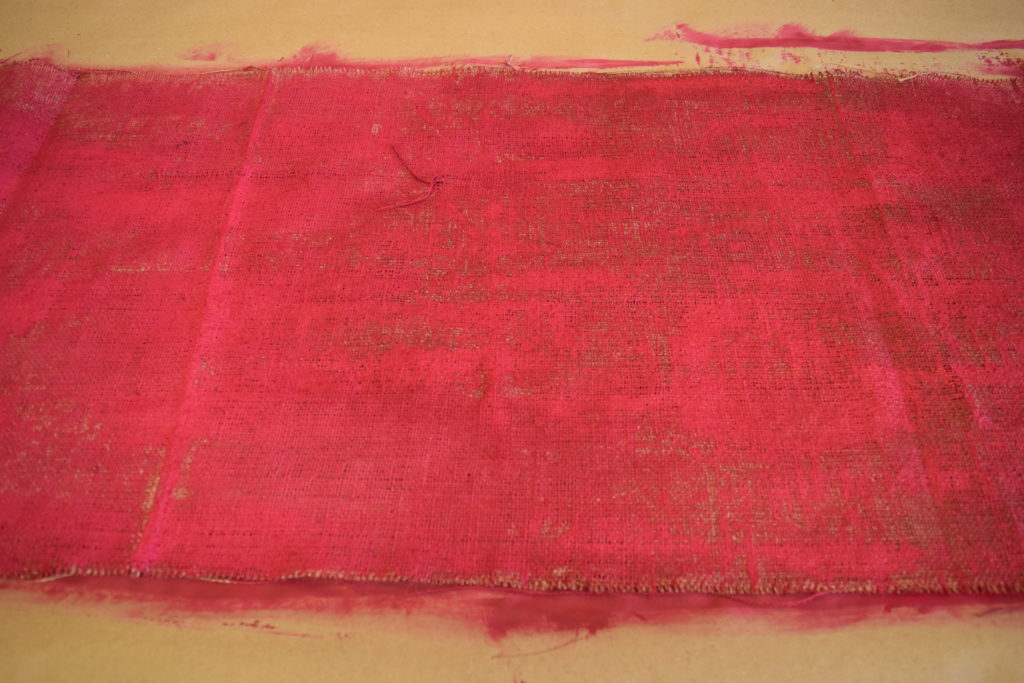
 Then I just let it dry. When it was almost dry I crumpled it a bit to loosen it up and then started to pull it into a bow.
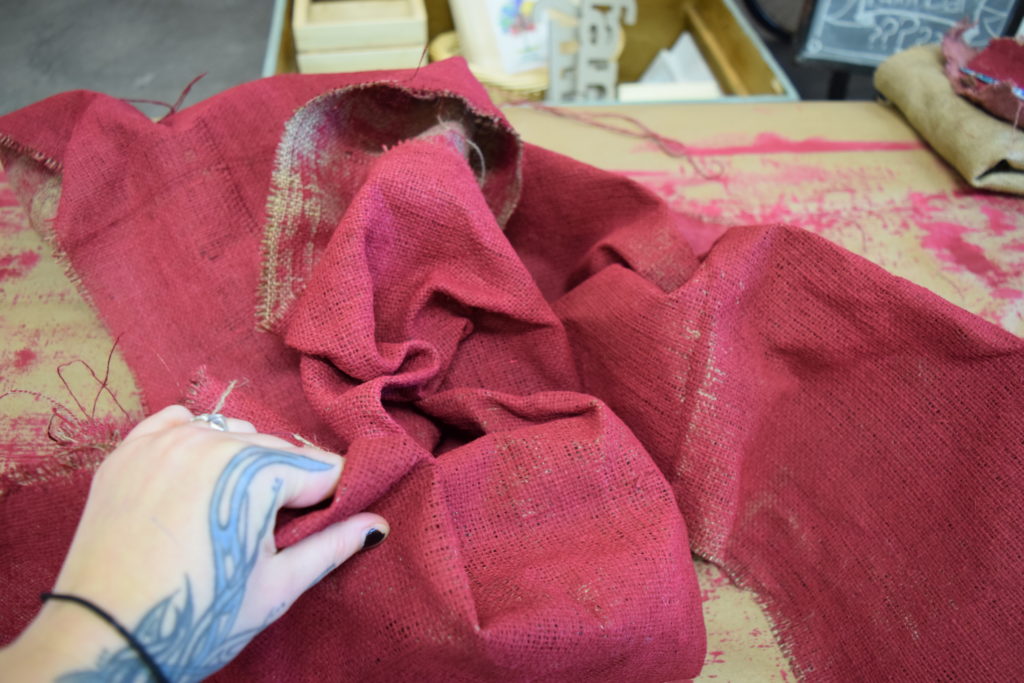
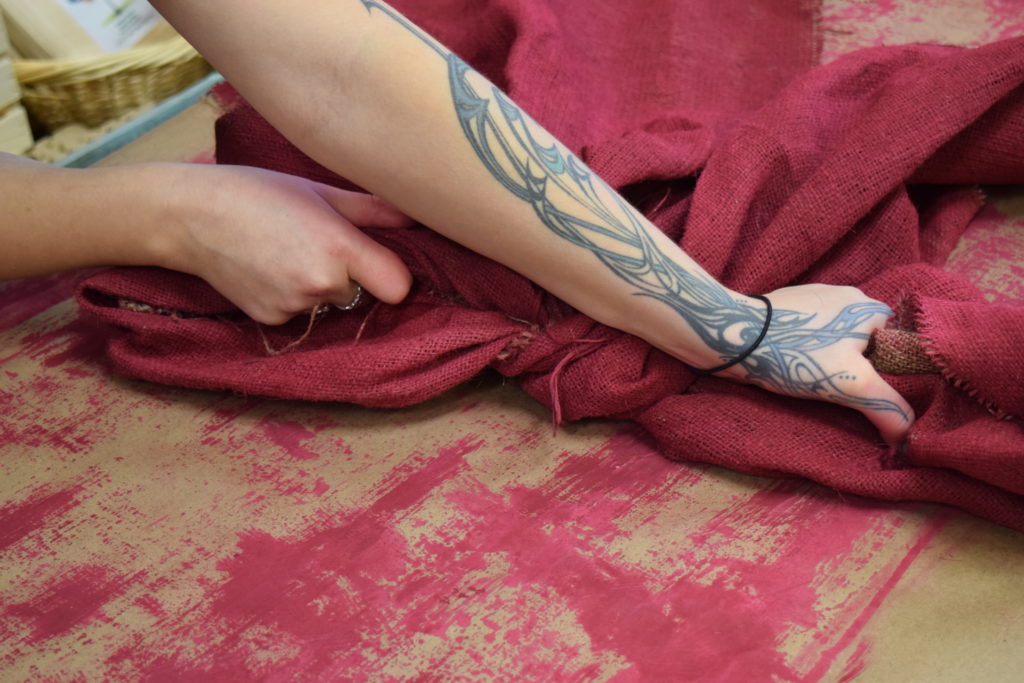 It took a bit of elbow grease and some fussing to get my bow into a shape I was happy with. But it’s looking pretty good at this point. Next I trimmed the ends to give it traditional points.
 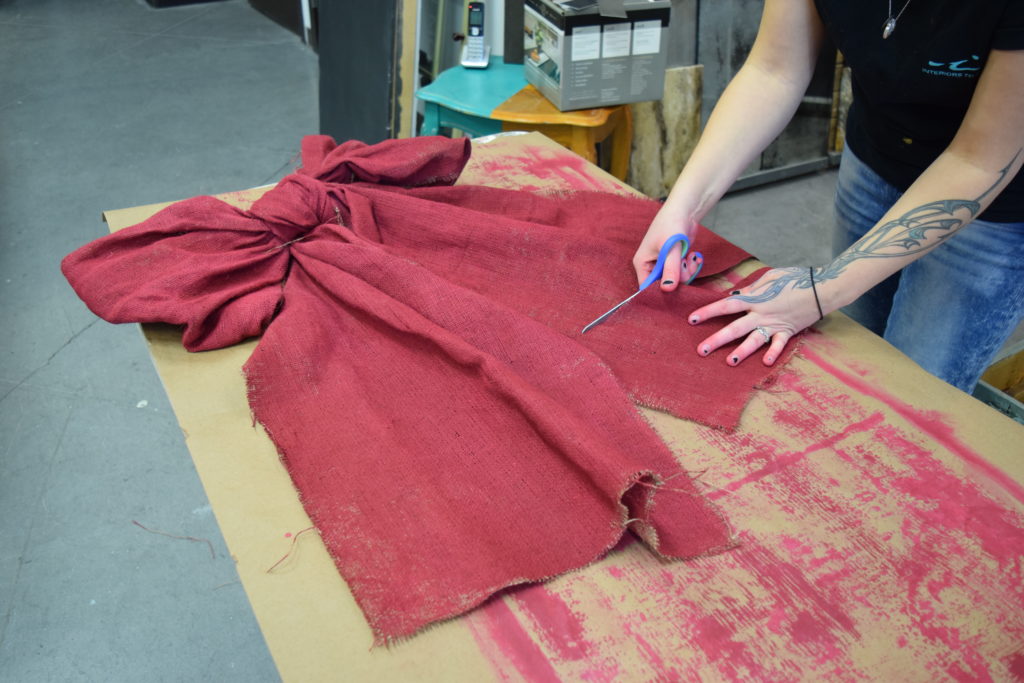 I left it to dry overnight.
 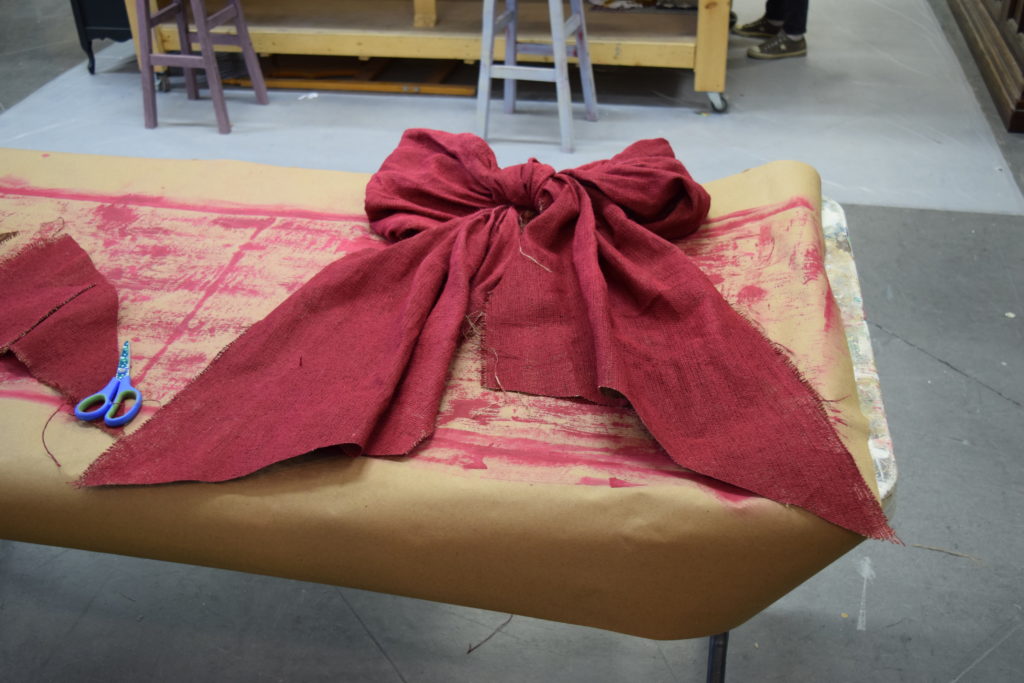 In the morning I tied some of the loose burlap strands into a knot on the back of the bow.
 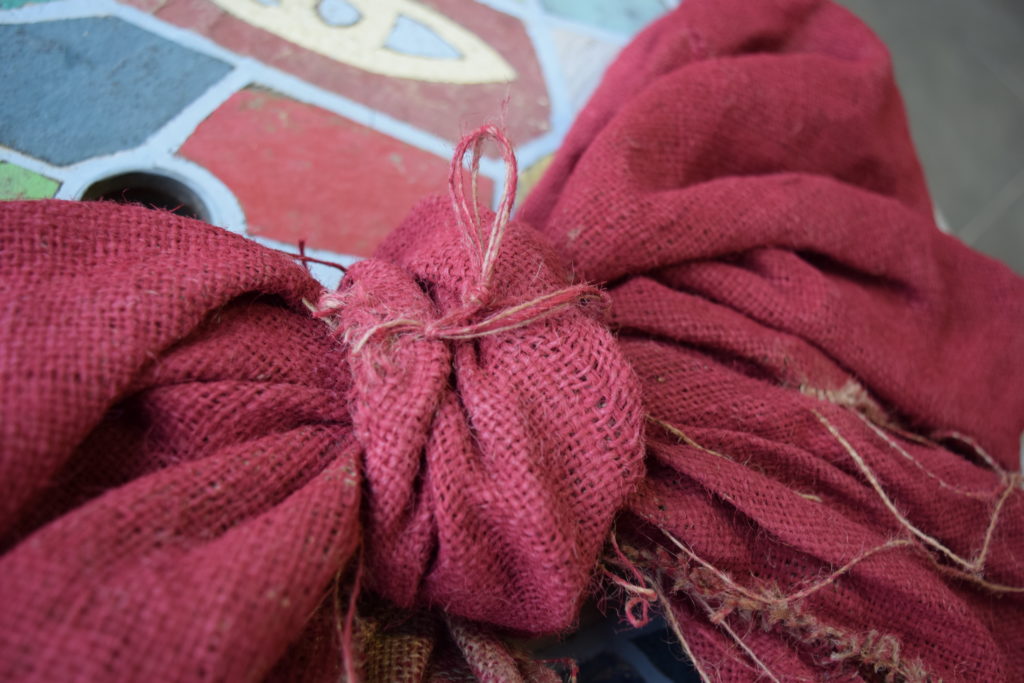 And Voila! A Christmas bow for the front door, front entrance or any place. ☺
 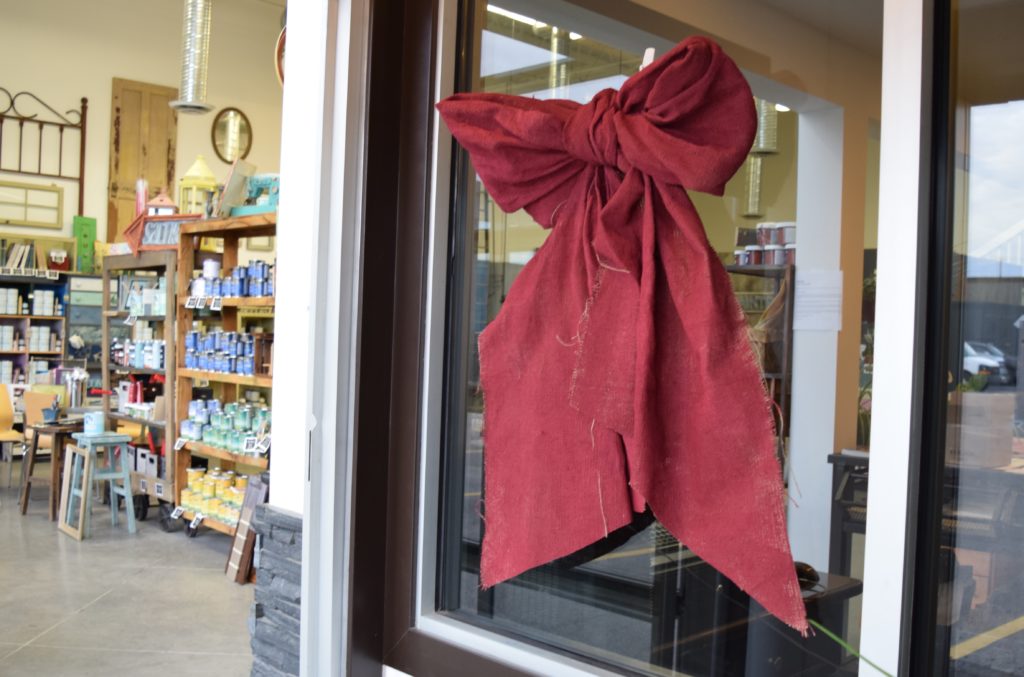 We love hearing your questions and comments. On Facebook we are @interiors.to.inspireAnd on Instagram we are @shop.interiorstoinspireThanks for reading,Anna