
Painting and Waxing a Wall
Inspired by page 84 in Annie Sloan’s Quick & Easy Paint Transformations Book. If you are looking to create a beautiful feature wall in your own space consider using Chalk Paint™ and Soft Wax. This Do-It- Yourself finish is easy to do and since everything dries quickly can be done in a day! This tutorial follows the steps we took in our studio bathroom to create a couple of feature walls, leave your questions in the comments section below. 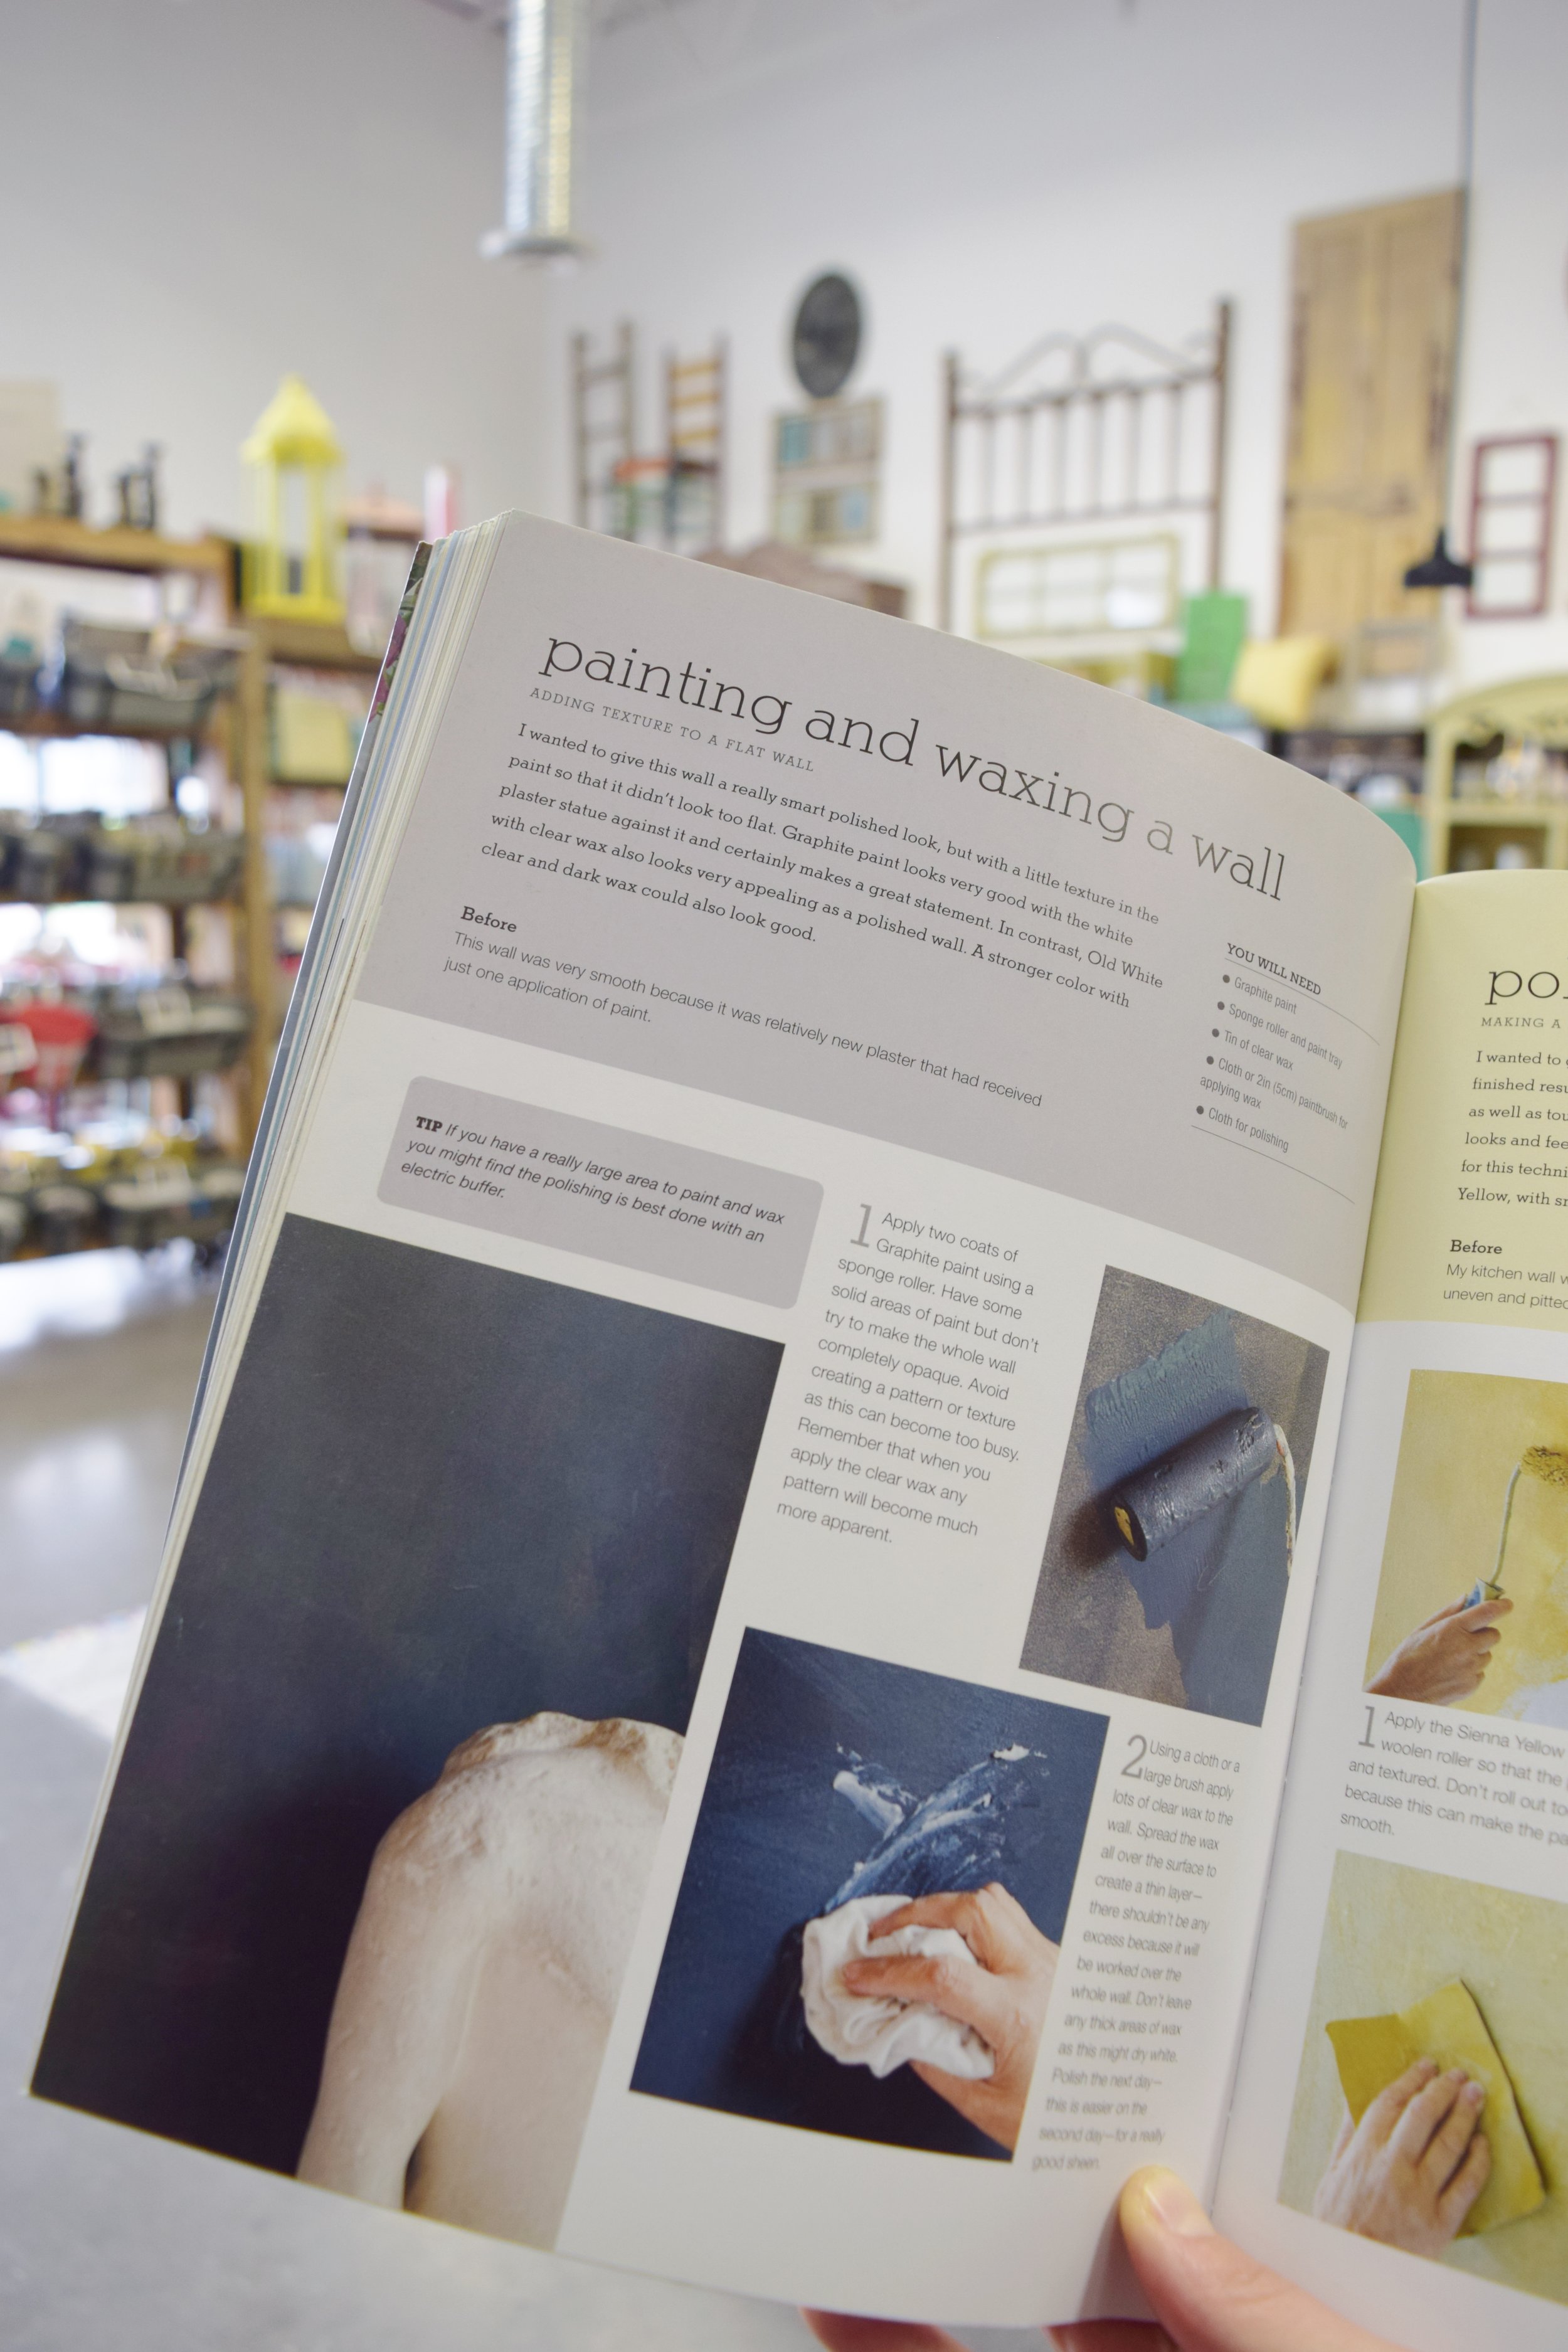 Here’s a photo of our bathroom before we got started. The walls were already painted with a latex paint in a colour that we just didn’t love. It was time for a change!
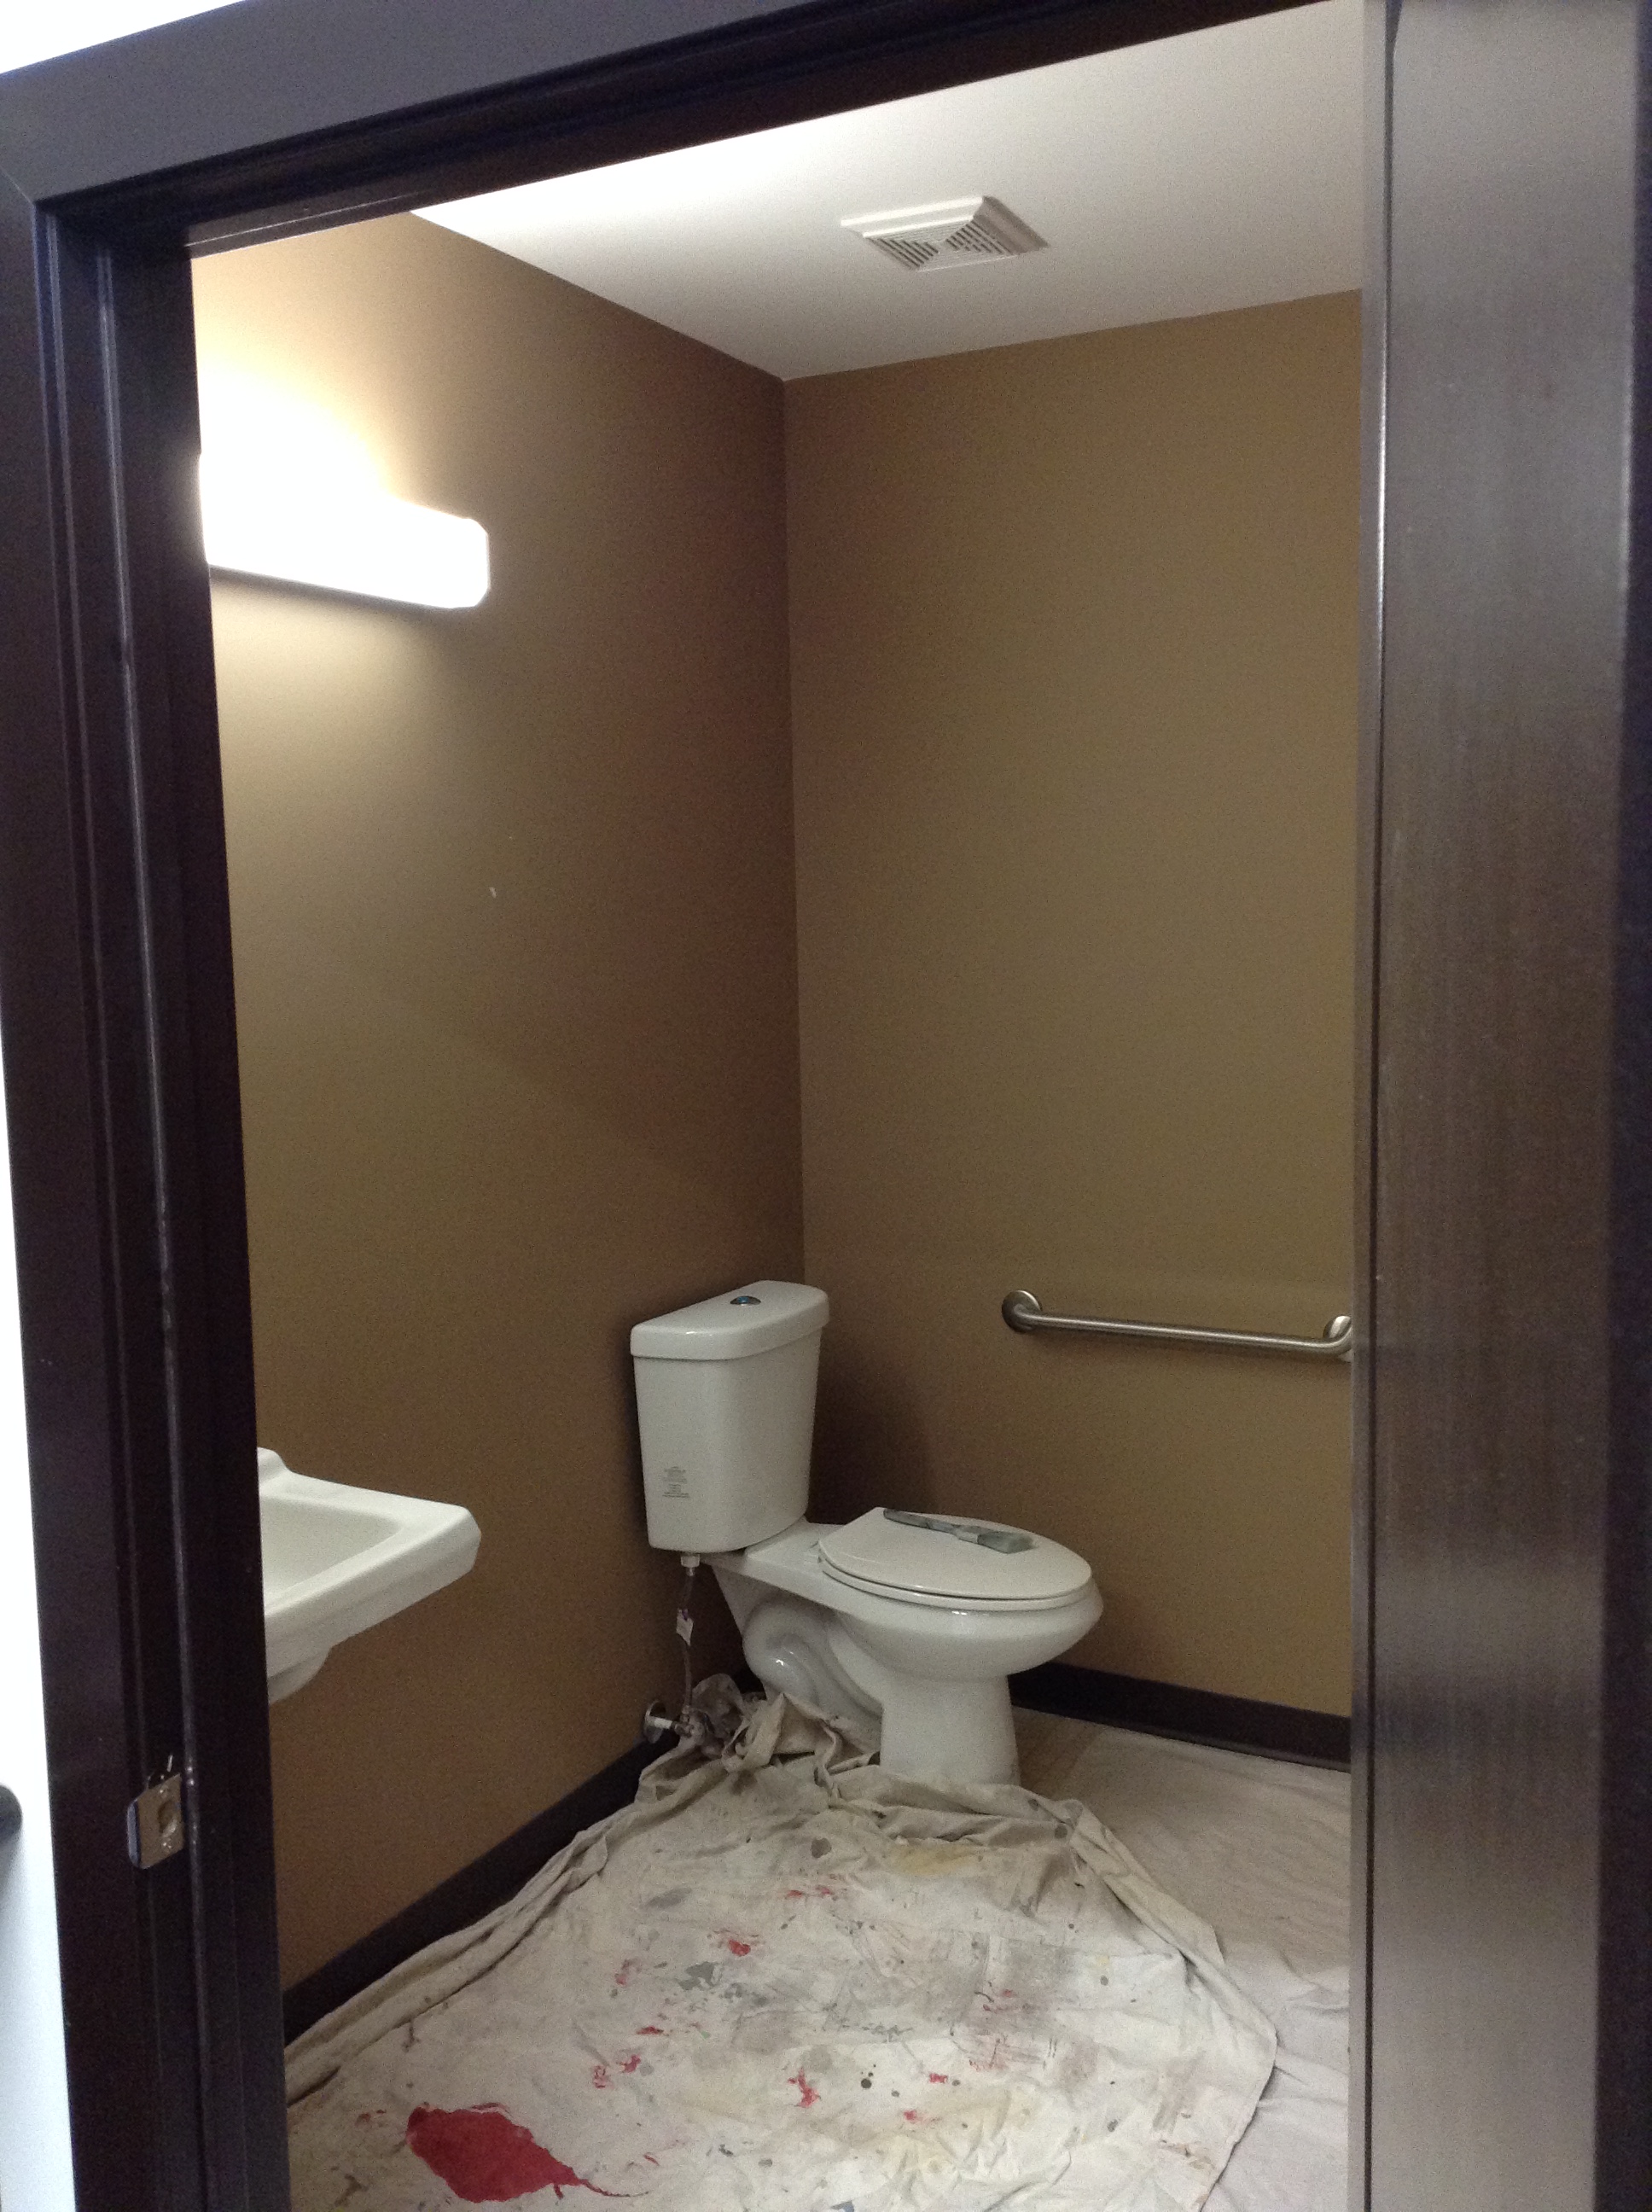
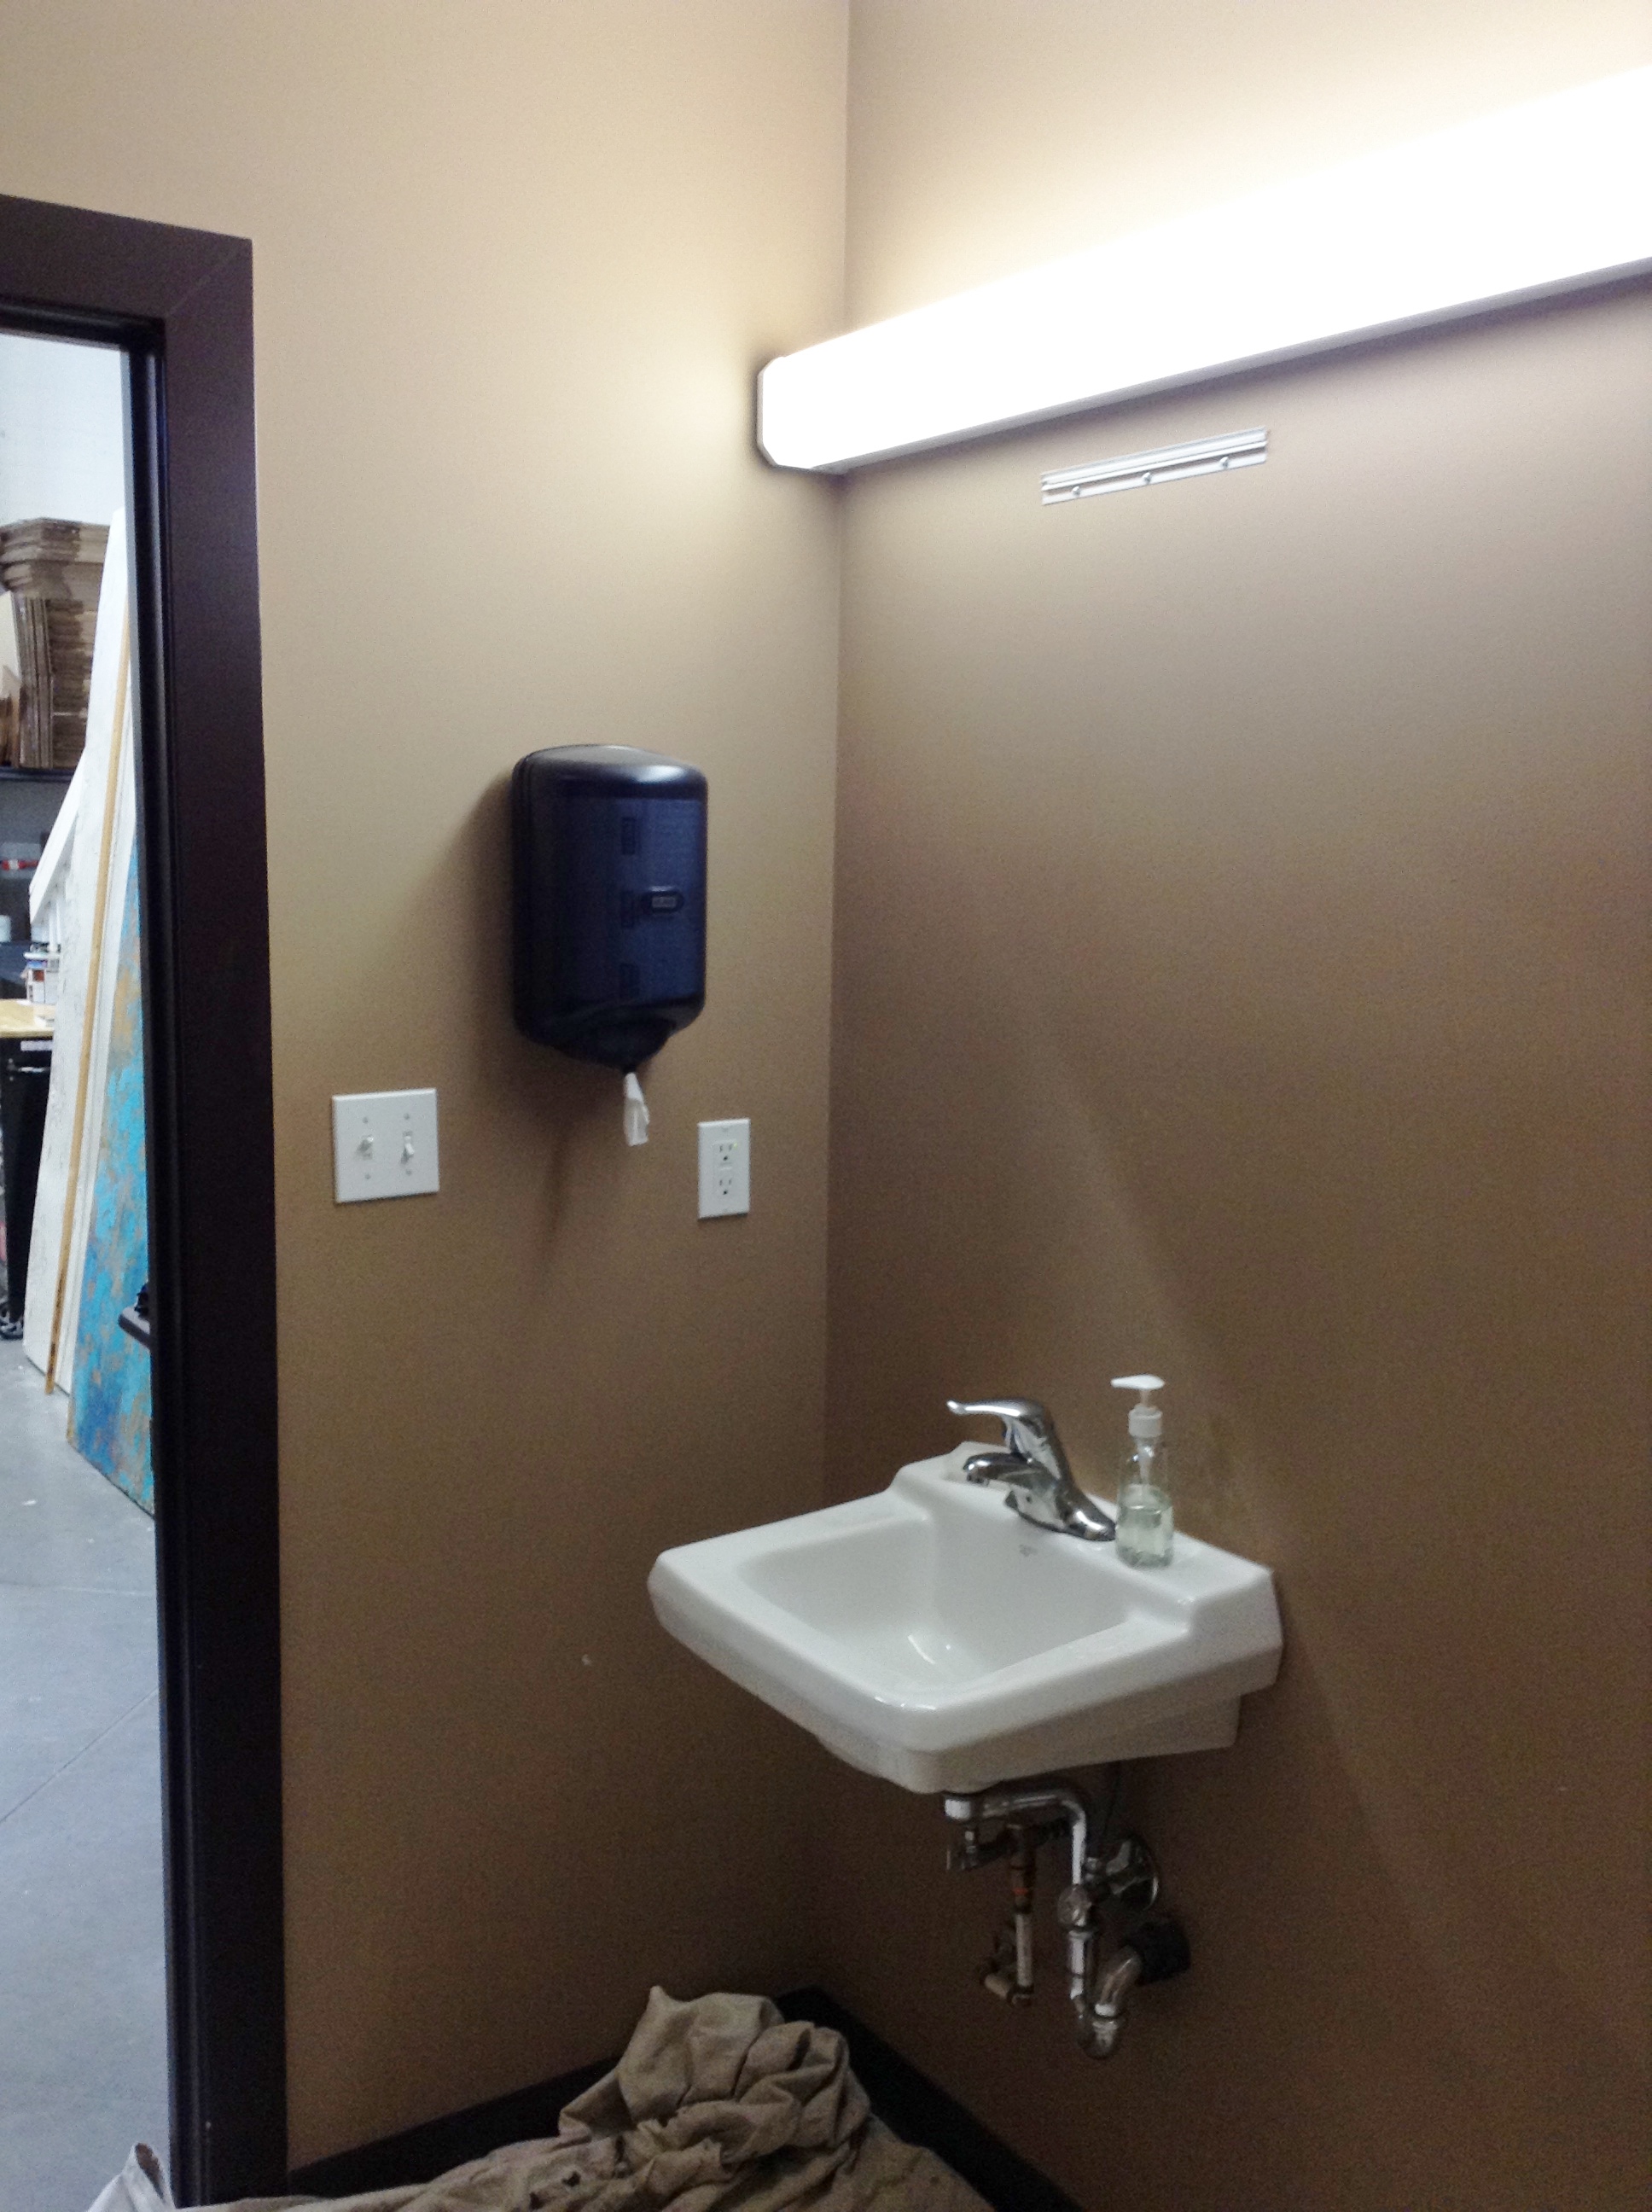 Prep: Tape a row of painters tape along the ceiling line and any door trim, mirrors, sinks etc. that you do not want to get paint on. Lay down a drop cloth to protect the fixtures and floors from spills and splatter.
  Get started: We used Graphite Chalk Paint™ by Annie Sloan and a velour roller to apply 2 coats of graphite paint to the walls (a sponge roller would also work). We used a small 6” roller and randomly rolled on our coats being sure not to create a pattern or any hard straight lines knowing that the wax sometimes makes these lines stand out more. Next Step: Once the second coat of Graphite is dry we sealed the walls with a layer of Clear Wax. Also applied this in a random all over motion using a large wax brush and a lint free cloth. The cloth was used to wipe away the excess wax and spread it around. The wax should be immediately touch dry, if it is sticky or tacky then you have applied it too heavy. Almost Done: To deepen the Graphite and add a little more texture we applied a layer of Dark Wax over top of the Clear WaxWatch this video to see the painting and waxing techniques we’ve used. https://youtu.be/hf-YYoQmLJ8 Finishing Step: Using a buffing cloth, we rubbed the walls by hand to polish the wax for a bit of a shine. Maintain: From time to time the walls might get bumped or marked up and even in the bathroom some drips around the sink. Not to worry, just lightly wash or finely sand any areas that show a lot of wear and then apply a bit of wax to the areas that need fixing. You’ll be amazed at how easily you can touch up and keep your wall finish looking new!If you have any questions at all about these techniques or any of the products used, please leave us a comment below! Thanks for checking out this week’s How-To! Happy Painting!Deanna