Chalk Paint™ for Beginner's
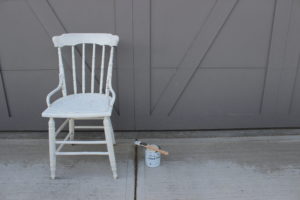
A Beginner's Experience with Chalk Paint™ by Annie SloanAre you new to the wonderful world of Chalk Paint™ by Annie Sloan? Are you looking to start your very first project? Are you feeling intimidated by the whole process? Well read on my friends, because we have a lot in common! This post is something a little different, because instead of coming from the experts at Interiors to Inspire, it's coming from a beginner. And when I say beginner, I really mean beginner!I love the idea of bringing new life to old furniture. I love perusing through project ideas on Pinterest, and envisioning all of the things I'd like to do in my own home. But when it comes down to actually getting started, I always feel so overwhelmed. I've done a few very minor paint projects in the past, most notably a couple of bedside tables, and they were a bit of a disaster. I just had no idea what I was doing, and didn't like the products I was using. When I came across Chalk Paint™ I felt like I had finally found a paint that I could have some major success with! It really seemed like an easy paint to use, and the most enticing part for me was that I wouldn't have to sand or prime my project first, which was ideal because I just wanted to get to the fun part! So when I found a really cool vintage chair at a garage sale, I knew it would be the perfect way to try out Chalk Paint™ for the first time.This is what the chair looked like when I found it. I loved the shape and style, but wanted to change up the colour and add some distressing to give it a lived-in feel. I will be putting this chair in a room that has a lot of blue, so I wanted to paint it a nice soft white to balance everything out. I decided to go with Chalk Paint™ by Annie Sloan in Old White. I didn't sand the chair before starting, just cleaned it up a bit and got right to painting!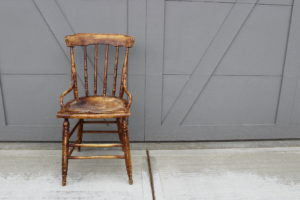 This is after the first coat. I did this first coat in a bit of a haphazard manner, using the "slip-slap" technique and not trying to make it too perfect. With any projects I've done in the past, by the time I reached this point I'd be panicking, thinking "What have I done!?" But honestly it was so easy, and even after one coat I thought the chair was looking pretty great!
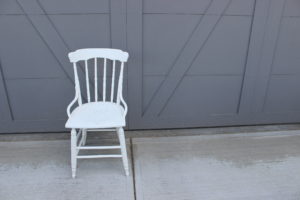
  For the second coat, I was a bit more careful with my painting technique to smooth everything out. I loved the way it looked at this point, but it was just a little bit too sweet so I decided to add some distressing.
  This was my very first experience with distressing and it was definitely my favourite part! It was so much fun. I just used a light sandpaper and I was able to get the exact look I wanted to achieve. I think it added some fun interest and character to the chair.
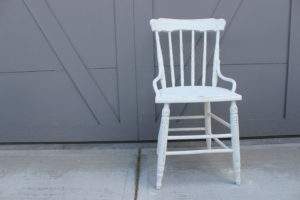
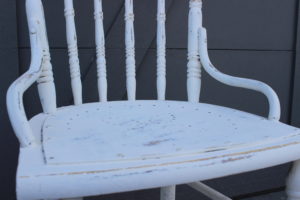 There you have it! This was by far my most successful DIY project to date, and it was a lot of fun too. I am definitely a Chalk Paint™ convert! Trust me: if I can do it, you can too!-RhondaIf you have any questions about this post, or Chalk Paint™ by Annie Sloan, please leave us a comment below! We love to help you with your DIY and paint projects!
