
Bar Stool Revival: Vintage Rose
You may have seen our recent posts on Facebook about a new project we are working on called Bar Stool Revival. Just in case you aren’t already following us on Facebook, I’ll explain:The Paint Bar Stools in our studio are plain and boring *yawn*, so we thought time to bring a little colour and life into our space. We will uniquely finish each stool with a promise to Inspire you! So watch for emails & social media posts to see what we are working on and when you can stop by to catch some of the action. We're bringing you 12 Stools, 12 Unique Finishes and 12 Step by Step Tutorials for you to follow along with. So pull up a seat and continue reading to learn about Stool #1! 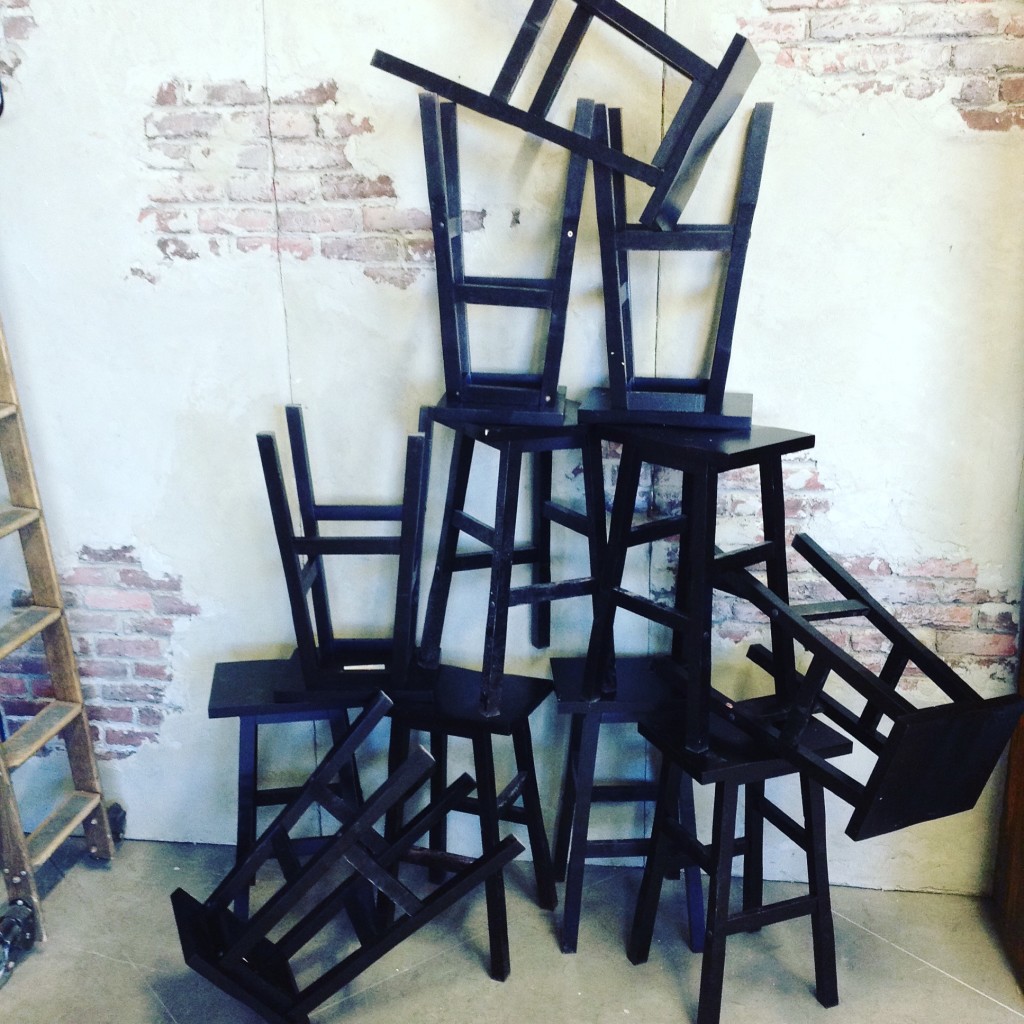 This stool was Inspired by my Grandma’s China set, old fashioned, beautiful rose pattern, slightly antiqued and fine little cracks. For those of you who know your china patterns I’m talking about Old Country Roses!
 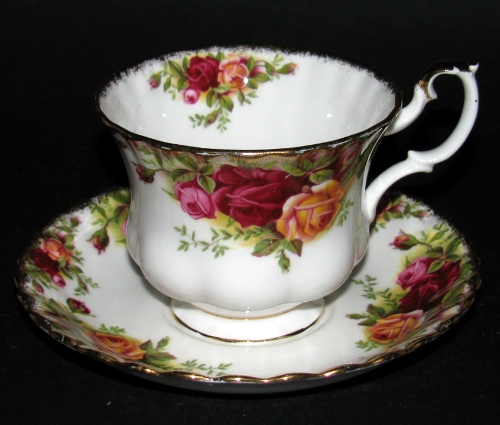 So how do you take Old Country Roses and add a modern twist? Bold fun colours of course! And so the idea for Bar Stool #1 was formed. Follow my 6 easy steps below to create your very own Vintage Rose Garden Piece!Here is my materials list, in order of appearance:
- Plain black stool.
- Florence Chalk Paint™ by Annie Sloan
- Annie Sloan Small Oval Brush #8
- Easy Crackle by Artisan Enhancements
- 2" Chip Brush
- Cream Chalk Paint™ by Annie Sloan
- Mixing Container & Stir Stick
- Scissors
- Rose Images, printed from my laser printer on 20lb bright white paper (AKA regular printer paper)
- Découpage by Annie Sloan
- Small artists brush from craft store (about half inch wide)
- Craqueleur by Annie Sloan
- Dark Wax by Annie Sloan
- Wax Brush
- T-Shirt Rag
Step 1: Base Coat – The first step is to base coat the stool. Our stools are wood with a deep black opaque stain and slightly shiny surface. Let me remind you that NO PREP WORK is required before you begin painting. I just dipped my brush in the can of paint and painted it on! For the base colour I chose Florence and used an Annie Sloan Small Oval Brush to apply the paint. Florence is an amazing vivid colour that is bold and fun and was a perfect choice as a backdrop for this project. I love using the Small Oval Brush for projects like chairs and stools as it is small enough to get into the tight spaces but nice and full to hold a ton of paint.A tip for painting chairs and stools is to start on the bottom. I like to flip my stools upside-down and get all those hard to reach areas first and then flip the stool over and finish on the visible top parts of the stool. Once completely coated, (and it does not need to be perfect by any means), rinse your brush in some warm water and mild soap. I like Lye Soap because it’s a natural product and great for natural bristle brushes because it conditions the hair as it cleans! Think of it like using conditioner in your own hair, nice and silky clean. 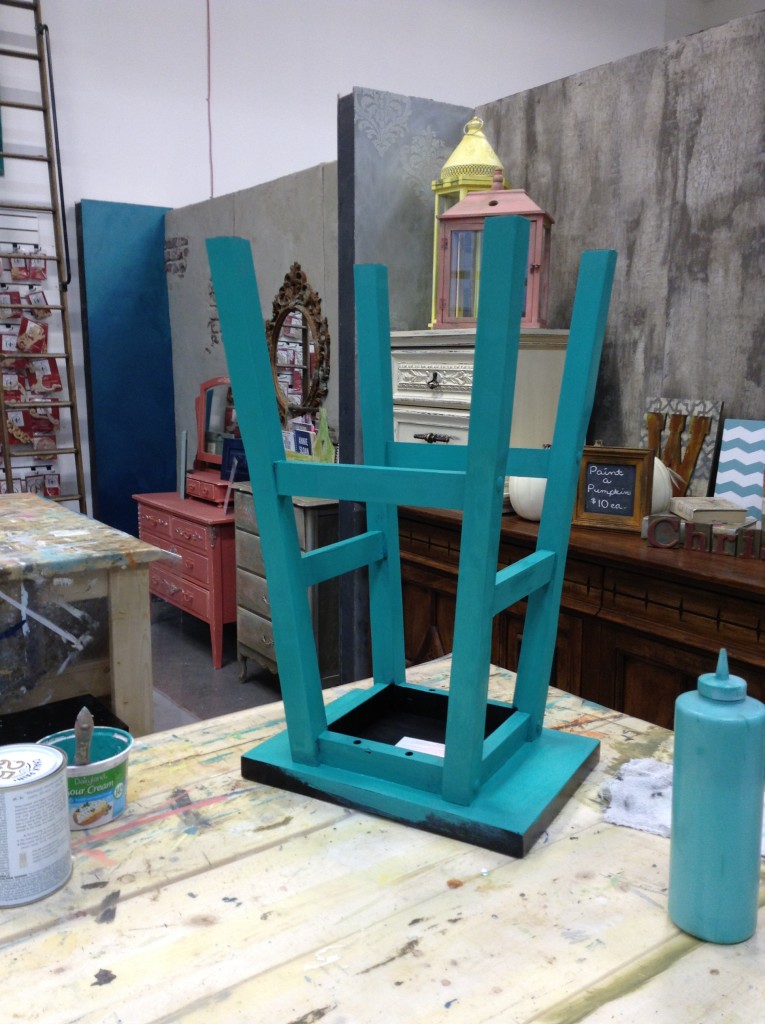 Step 2: Easy Crackle – Once my base coat was completely dry, which only took about 30 minutes, I was ready to continue. Using my chip brush, I painted on some random spots of Easy Crackle by Artisan Enhancements. When I was done this step, about 20% of my stool was covered with Easy Crackle. I used a chip brush because the tips are jagged and I don’t want this application to be perfect. Just slip slap it on! Wherever you put Easy Crackle, your next layer of paint will crack and allow you to see your bottom colour (Florence in this case). This stuff takes a little longer than paint to dry so it's a good time to make some coffee and look for ideas and inspiration on Pinterest! For those who do not know what Pinterest is, (GASP) click here: Your Inspiration Awaits! Make sure you wash out your chip brush in warm water right away. Easy Crackle is water based but can really make a sticky mess if left to sit on your brush.
 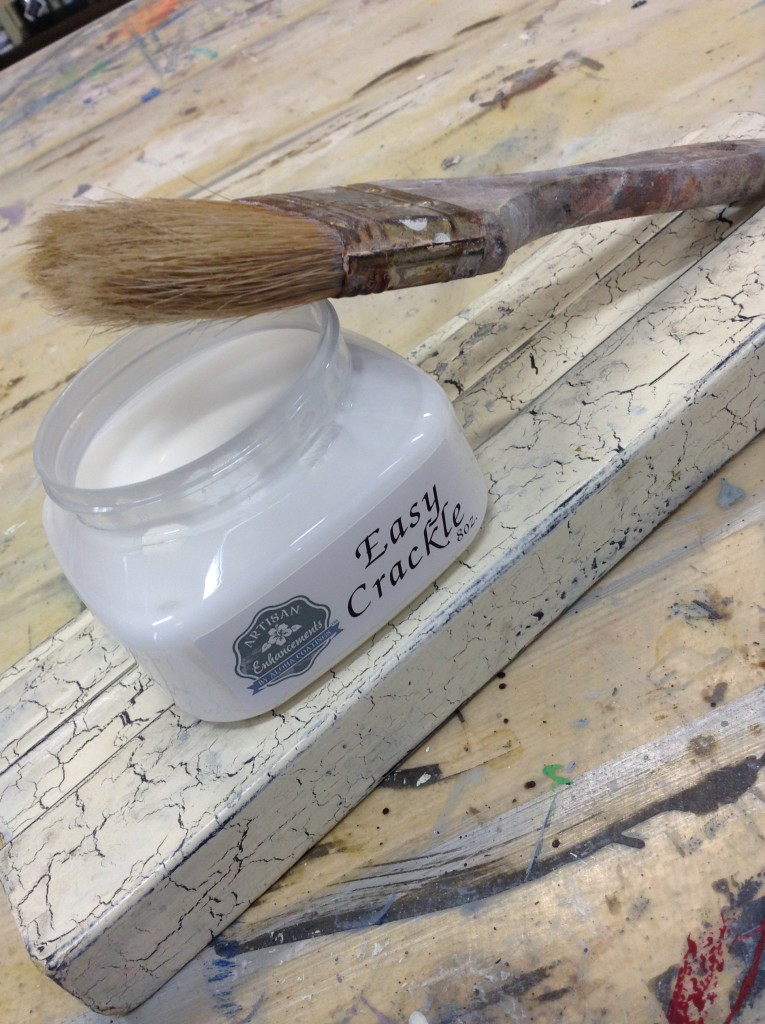 Step 3: Second Paint Coat - You know your Easy Crackle is dry when it has dried clear and is no longer wet or sticky when you touch it. For paint coat two, I made a mix of Florence and Cream Chalk Paint™ by Annie Sloan. I wanted to create a slightly lighter version of Florence but to keep the green tone. I chose Cream which is quite yellowish rather than just adding a white. The mix was about two parts Florence to one part Cream. Just as I did in round one, flip your stool over and paint on another coat using the same small oval brush. Try not to overwork the areas that have Easy Crackle as this could cause the crackle medium to lift. I know it’s hard but you have to just slip slap it on and move on! As your paint layer starts to dry you will notice the paint starting to crackle. Because my colours are similar, the cracks are subtle. If you choose colours like black and white it will be more noticeable like the sample in my photo above.
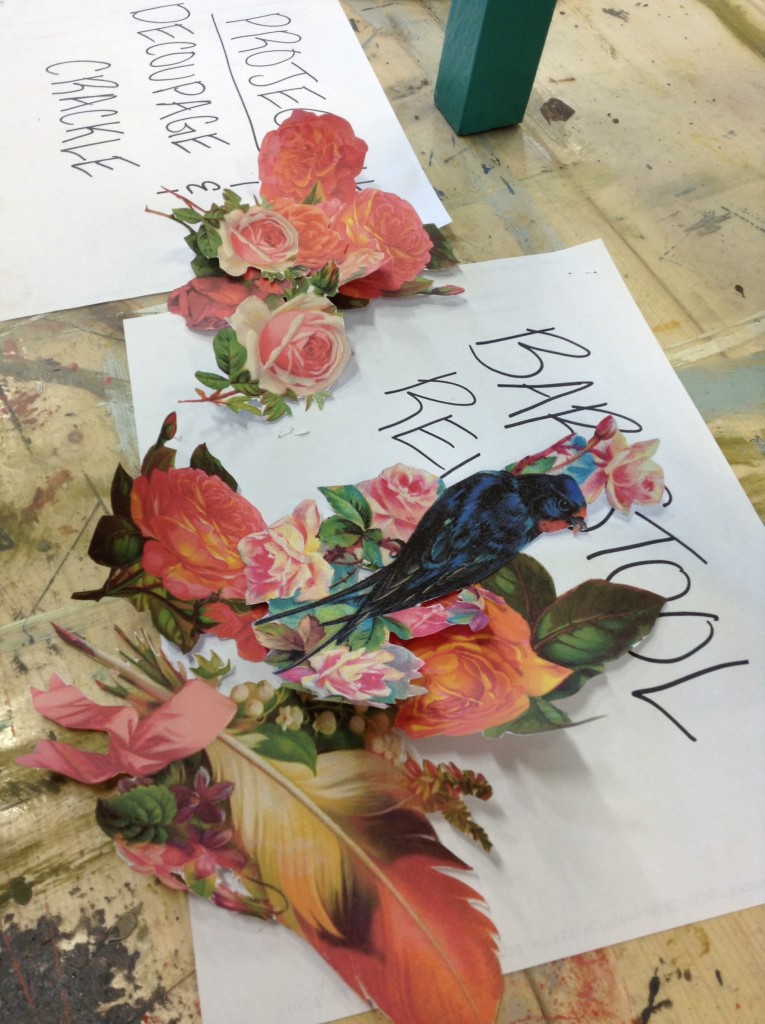
  Step 4: Images – Keeping the Old Country Roses china pattern in mind, I searched online for images that had a similar feel but were bright and whimsical. Make sure when you are looking online that you have permission to use the images. Look for sites like The Graphics Fairy, which contain thousands of images that are free to use on your own projects. Type in a keyword like roses and see what comes up! But be warned, you can literally spend hours sifting through images so try to stay on track. When I found an image I liked, I copied and pasted into a new Microsoft Word document so I could resize the images. Sometimes I used the same image multiple times but changed the size or mirrored the image so it looked a little different. I printed about two pages of images varying in size from an inch up to about three and half inches.This is where your creative freedom comes in and you can really do as much or as little as you like. Another option would be to select one really awesome graphic and transfer it to the seat. The next step is to cut out your images. This part is tedious but it's worth taking the extra time to get rid of as much of the white background as you can. Take a seat, put on some relaxing music and get cutting!
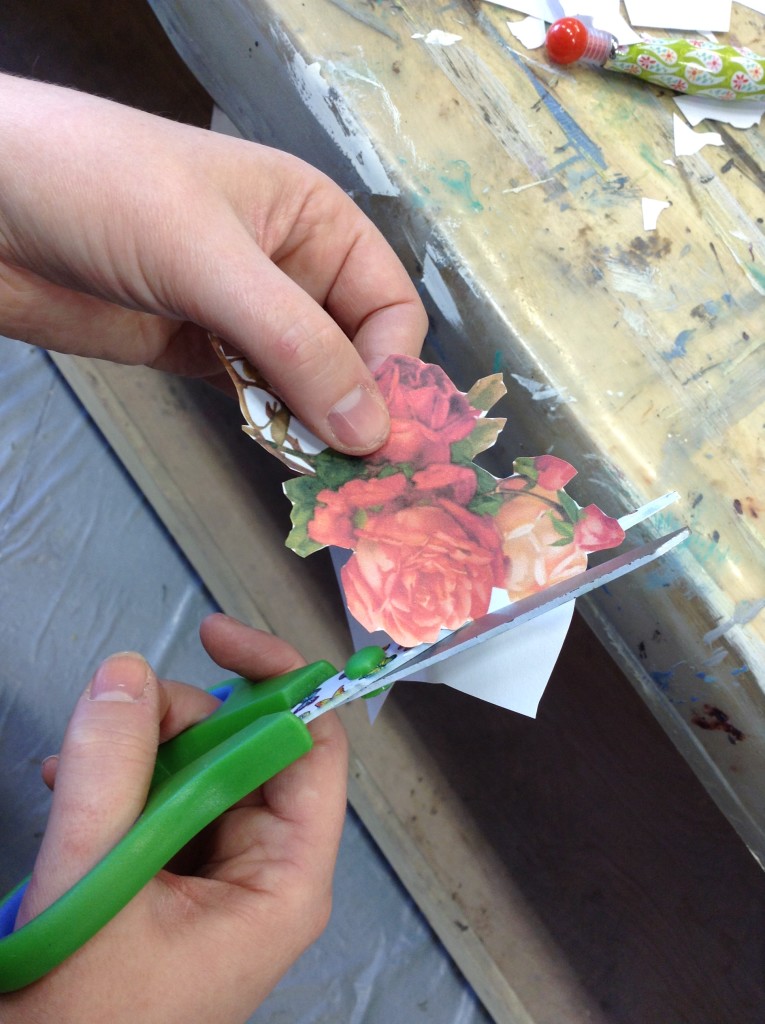
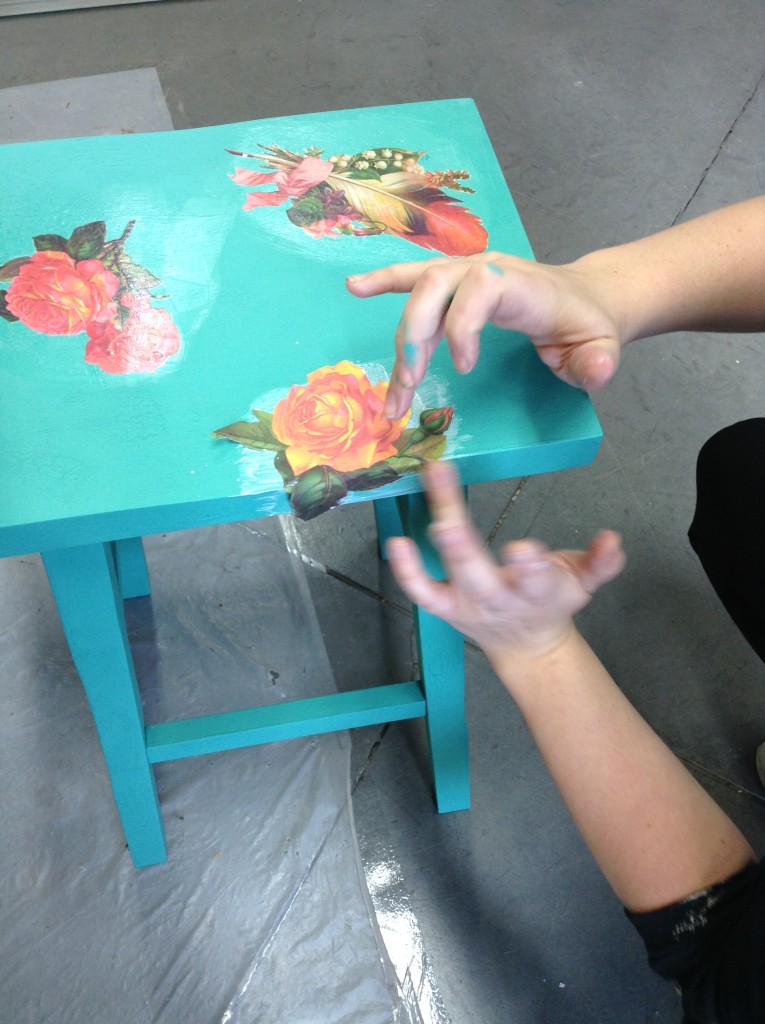
 Step 5: Decoupage – Use a smallish artist brush and Découpage by Annie Sloan to complete one of the most fun parts of the project! Place your cut images on your stool where you might like them to go, stand back and take a look. This step is to get an idea of the overall placement of your images before you open up your Decoupage jar. There are no rules here. Just go with what looks great to you! Once you have figured out where your images will go, open your Decoupage jar, dip your small artists brush in the white paste (it’s kind of like thick glue but not as sticky) and brush it on the back of your piece of paper (the white side). Also brush some Decoupage onto your surface. It does not have to be in the exact shape of your image, it can be a little larger. Working fairly quickly, sick your image to your furniture piece. Make sure you paste it down with the image side facing up. Using a soft cotton rag or your fingers, gently rub the surface to make sure there are no air bubbles. Sometimes you get a bit of a wrinkle in the image. If you are quick, you can peel your image up and try to lay it down again but this usually causes the paper to tear. If this is your first time with this technique start with something tiny to get the hang of it. If you are doing larger images like the whole size of a piece of paper or larger you will want someone else to assist you as it can be tricky to lay this down.Once all of your images are “glued” down you can brush a layer of the Decoupage paste over your images to seal them. In my case, I coated the entire stool. This step is important if you plan on using glazes or dark wax over top so the pigments absorb evenly. If there is an area of unsealed Chalk Paint™, this will soak up pigment quickly (like Dark Wax) and make a darker spot. Rinse your little brush out when you’re done. You will need this one again! Remember, Decoupage is like glue so a brush left to sit out will turn into a hardened glue brush ☹ (and then it’s likely headed for the trash).
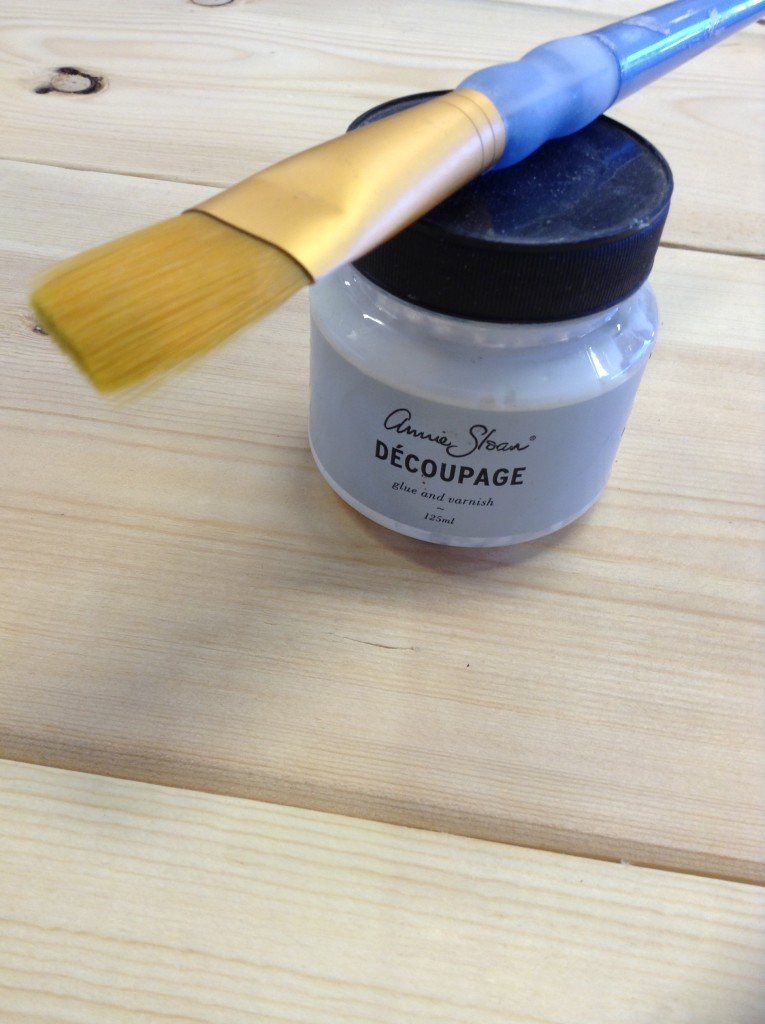
 Step 6: Craqueleur – Time for another crackle effect! "Why?" you ask?! Well, why not! I love layers and layers and layers. Because Craqueleur by Annie Sloan creates a different effect than Easy Crackle, that is reason enough for me to use it. With Easy Crackle we cause the paint to split open to show the underneath surface. With Craqueleur we are going to create fine crackles on top of our paint and images, just like the inside of an old china tea cup. This two part system is easy to use and always feels like magic to me (you’ll soon see why). Here’s the run down on how to use it:
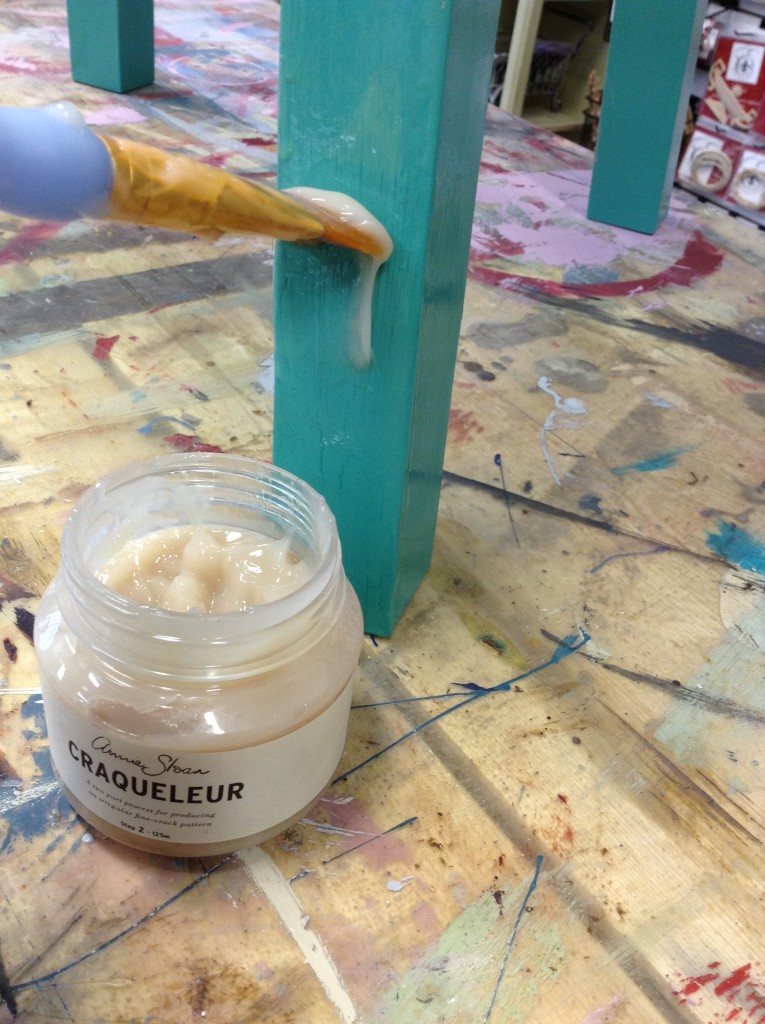
 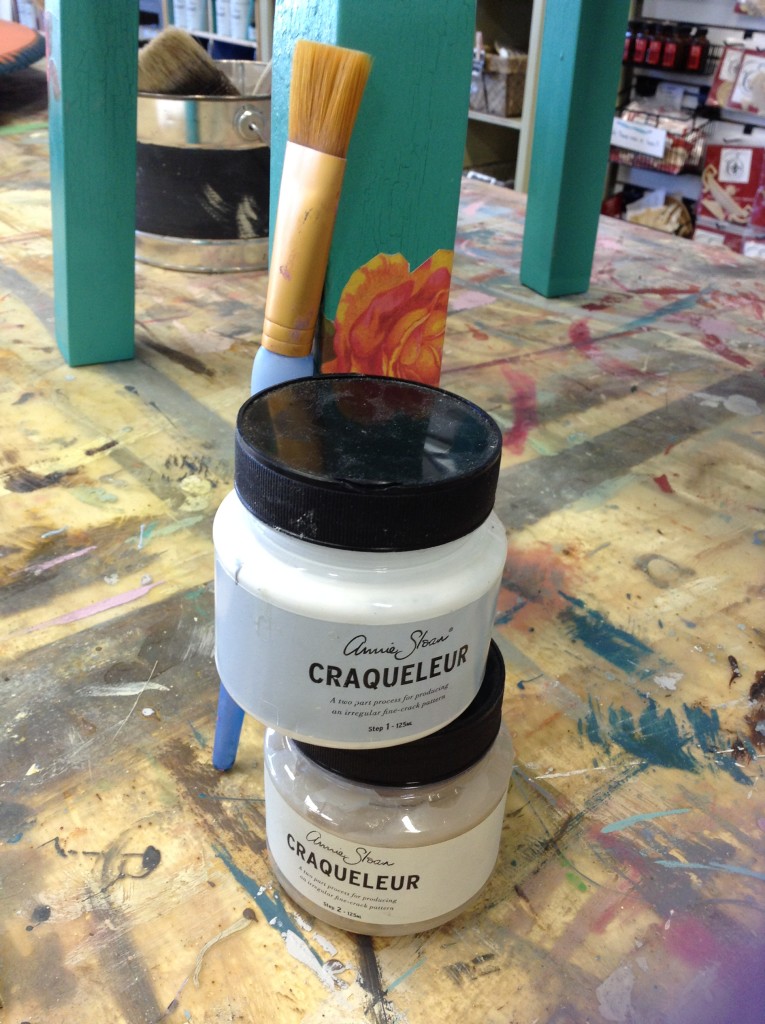 With your little artists brush, paint on Craqueleur Step One. This is a white, slightly runny liquid that is thinner than step two. I painted this over my entire stool, watching for drips but not being overly worried about the direction of my brush strokes. I painted this on about as thick as my paint layers. Allow this to dry about 30 minutes to an hour, or dry to the touch. Remember to rinse your brush with warm water. Then, as you might have guessed, paint on Craqueleur Step 2! This one is much thicker and kind of a semitransparent off-whiteish-beige. I went over all of the areas that I applied Step 1, which was my entire stool. Because I took the extra step of coating my whole stool in Decoupage paste, I wasn’t overly worried if I missed a spot because the whole stool was sealed. Allow this to dry to the touch, again about 30 minutes to an hour.
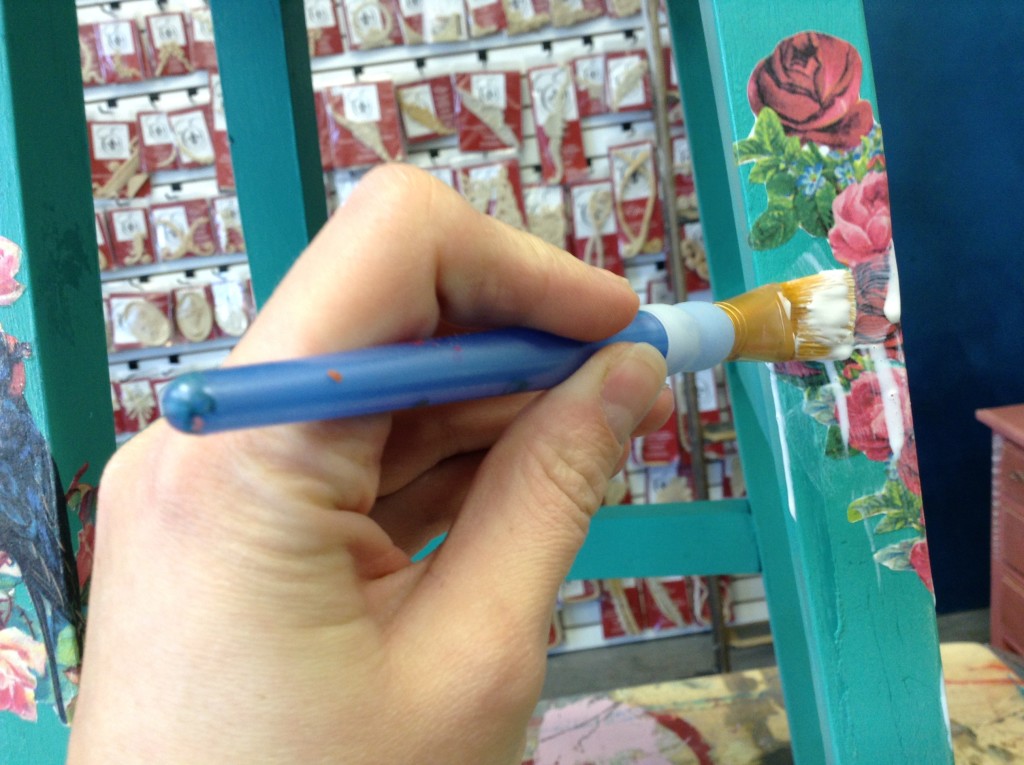
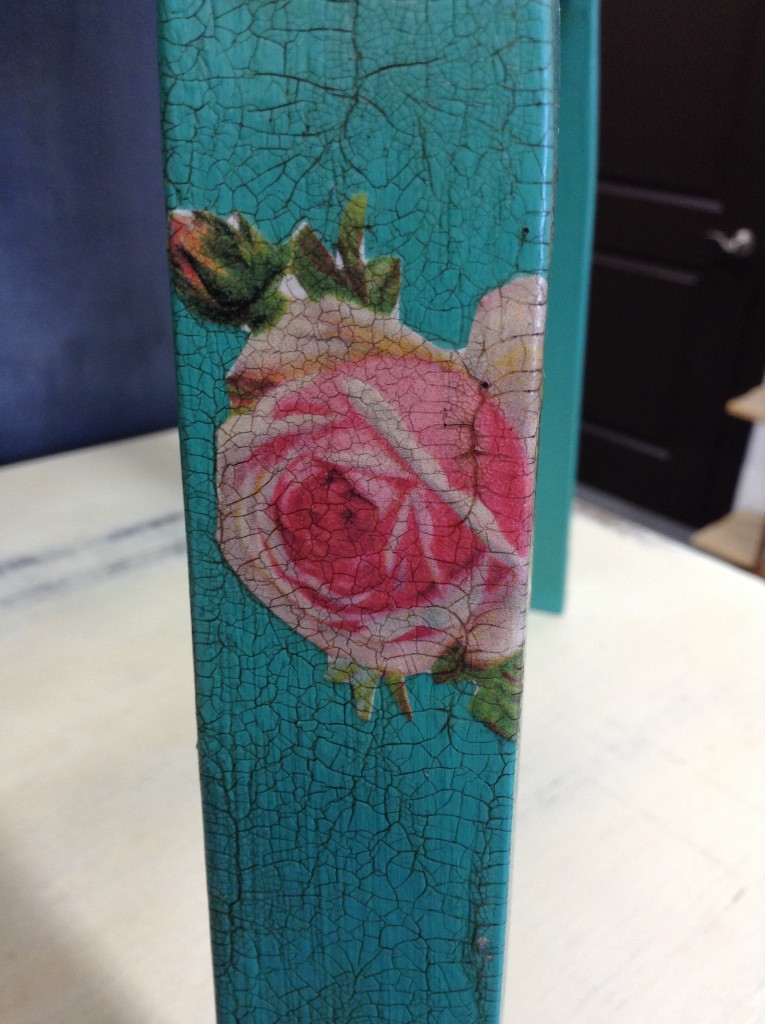
 Now, next comes my favorite part! Eeeek! Look closely and you will see some very fine cracks which are almost impossible to see unless the light hits them just right. It truly is magic! Now if you are thinking "what’s the point of cracks that are almost impossible to see?" do not worry.. check out the video below! Step 7: Dark Wax – This is the key to revealing your cracks! Using a wax brush, scoop up some dark wax and rub it onto the surface using sturdy pressure. Think of it like you are pressing the wax into the cracks. Just apply a small section at a time (about half a leg). Once you press your wax onto the surface, or "Wax On" as I like to call it, take your t-shirt rag and wipe the area to remove the excess wax. "Wax Off!" Be sure to wipe away all the excess wax. Don’t worry! You cannot take away too much. Then, voila! Your Craqueleur is revealed! Keep going until you have waxed your entire piece.
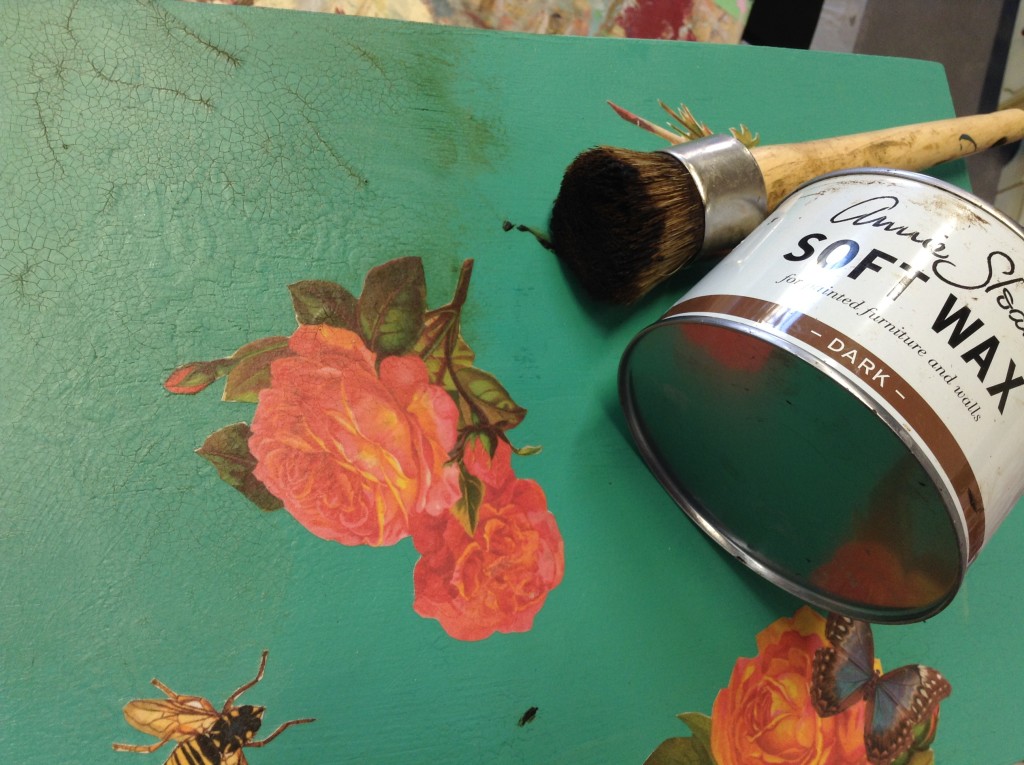
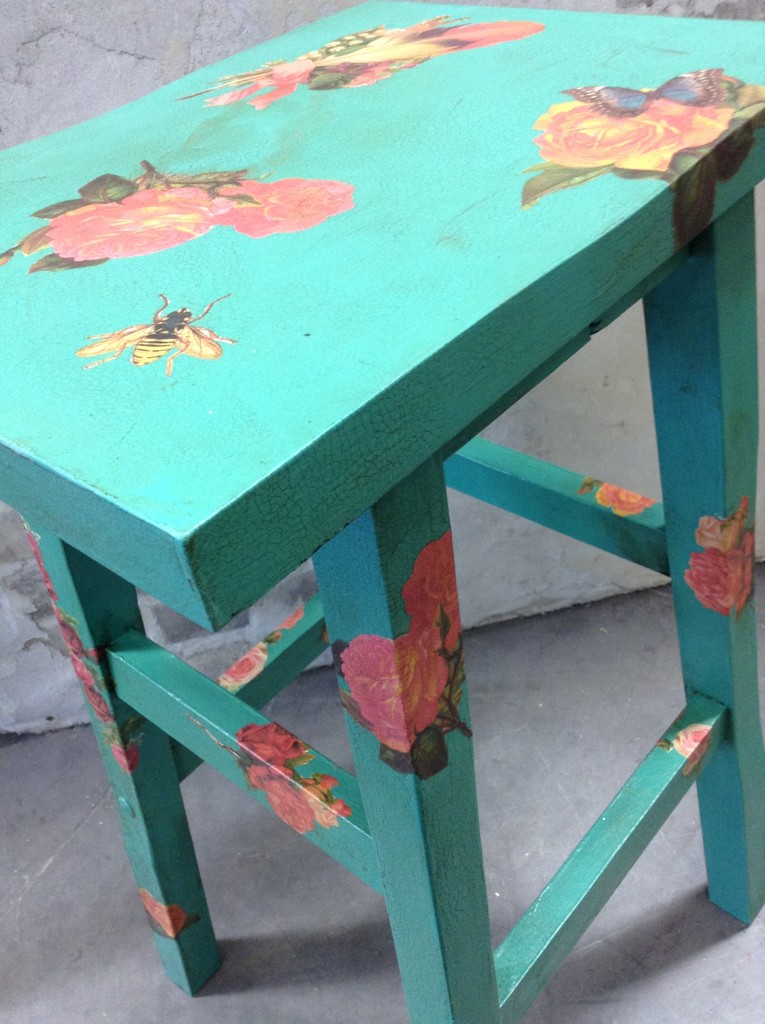 And there it is, Bar Stool #1 is complete! Thanks for pulling up a seat and taking the time to learn the fun techniques in this post. I hope this has Inspired you to create your very own Vintage Rose Garden project or to try out some Decoupage and Crackle! Watch for details on Stool #2 coming right to your inbox in the next couple of weeks. I look forward to reading your comments and answering your questions below.Sincerely,DeannaArtist & Team Leader Extraordinaire