DIY Cabinet Door Serving Tray!
Breakfast In Bed Anyone? Once you have the perfect serving tray there'll be no excuses why you can't... aside from crumbs in the sheets that is :) Keep reading to learn how you can make your own tray from an old cabinet door.  Don’t you just love a project that is made from recycled materials, is inexpensive and is easy to put together? How fantastic are these cabinet doors turned into a serving trays? A perfect idea for a gift or as a present for yourself, who doesn’t love breakfast in bed? Not into love and all that mushy stuff… well I imagine this would make a perfect tray for serving drinks or sitting as décor on your coffee table. How you paint and finish it is totally up to you!
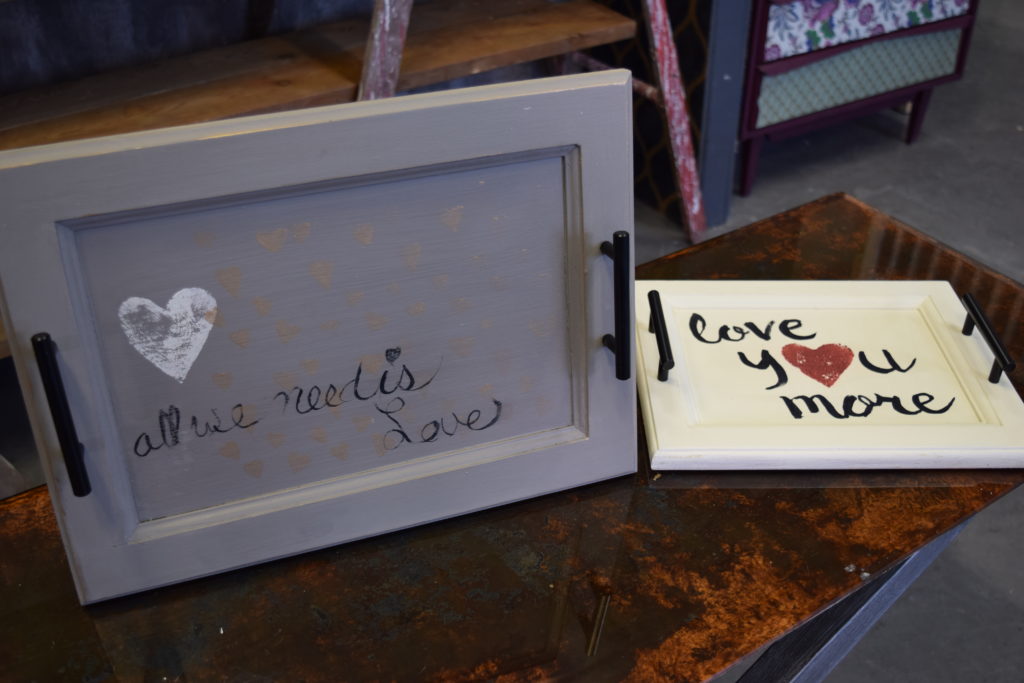 Follow the steps below to make your very own version…
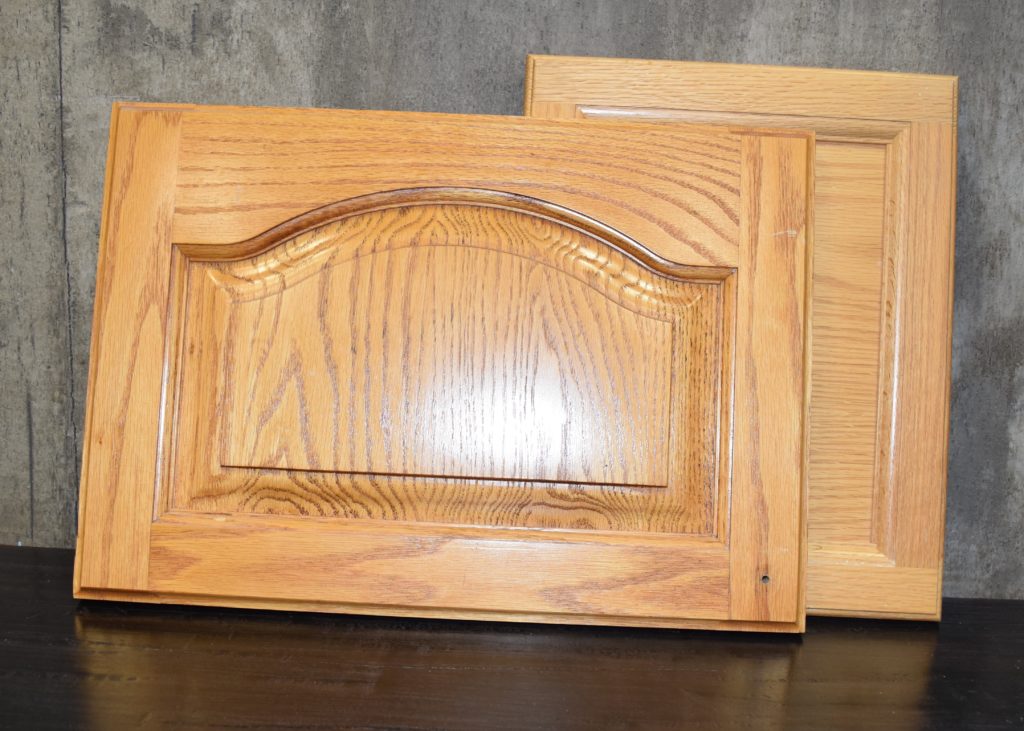 Find an old cabinet door. Check your local building supply stores, cabinetry companies or even big box companies like Ikea. Lots of times doors are headed for the dumpster because of a slight imperfection, they are old inventory, or out of style.
 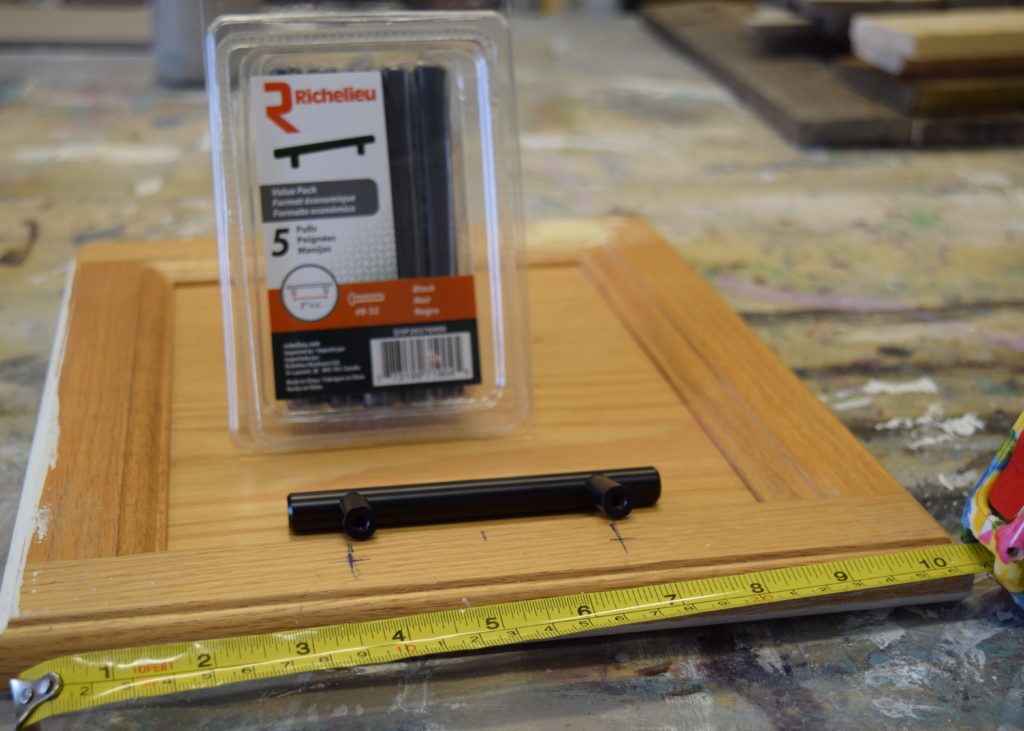 Get a couple of handles. New or used handles will work, make sure you’ve got the screws too!Measure the distance from center to center of each screw hole, and find the center of your cabinet door. Use a tape measure and a pencil to mark where you want to drill the holes for your screws, the center of the handle should line up with the center of your door. Line up your handle with your marks to be sure your spacing is accurate before you drill your holes.
 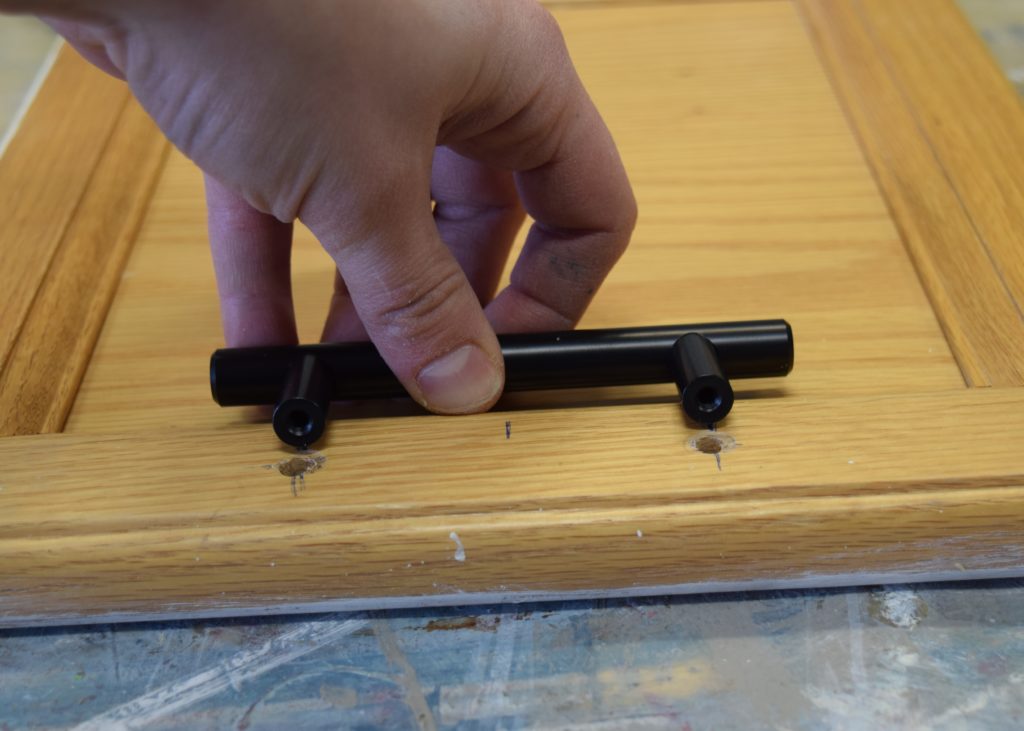 I like to drill the holes before painting just in case I make a mistake. Its way easier to fill the hole at this stage and re-drill then after you have painted. Trust me!If you don't have a drill and drill bits, or feel comfortable using power tools, I reccomend finding a handy friend or family member and call on them for help. A lot of cities have tool rental stores where it's pretty inexpensive to rent a drill for a hour or two, check places like Home Depot or Lowes. Before you start painting, take a minute to screw the handles loosely in place just to be sure the holes line up.Time to transform your door into a nice looking tray… You will notice below I am working on a couple of different trays. These trays make an appearance in an episode of the TV show Kim’s’ Kitchen (airs in February 2017) One was for me to finish and the other was for Kim to finish.
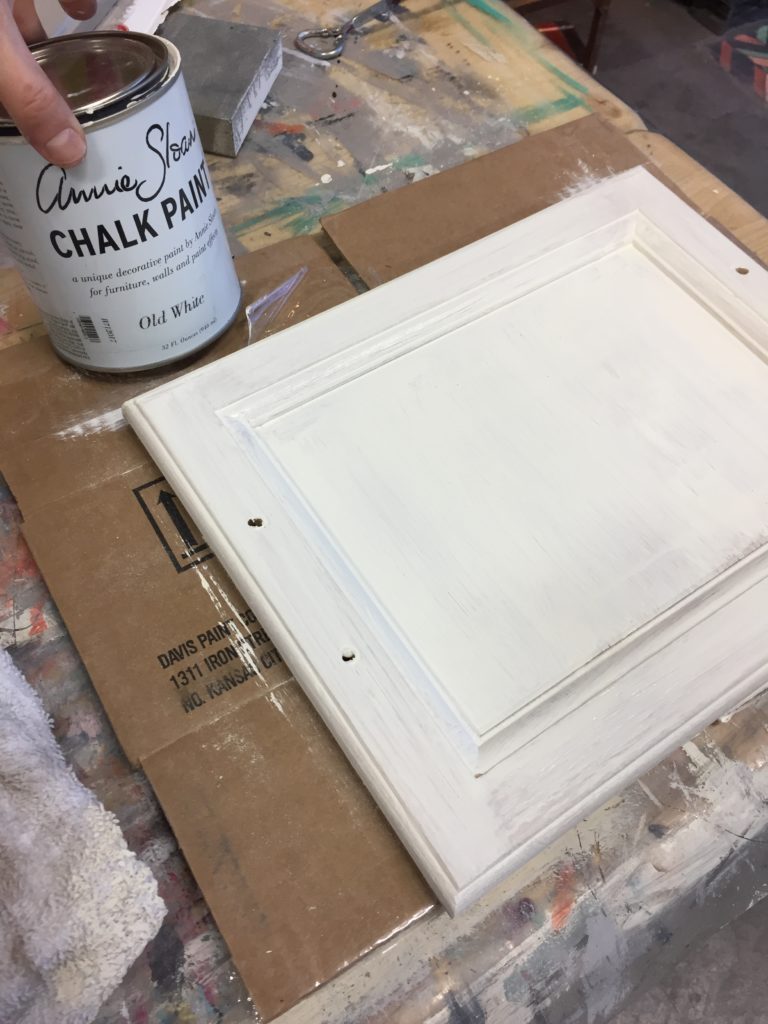
 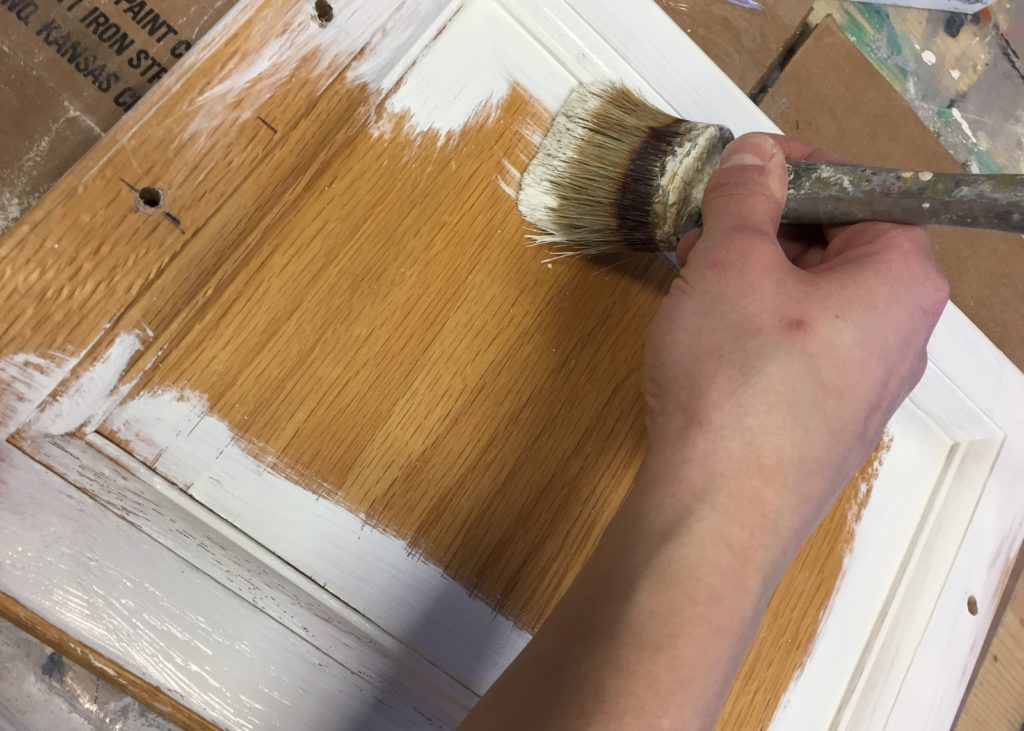 The first door I painted with Old White Chalk Paint™, two coats so it completely covered the oak.
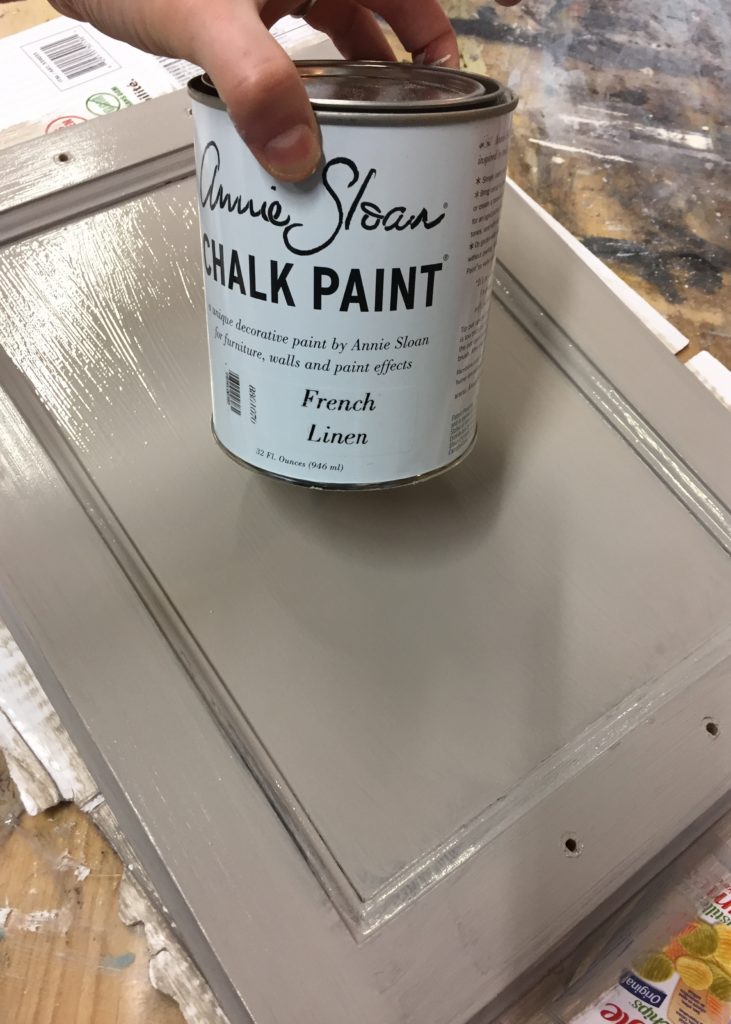
  The second door was with a grey colour called French Linen Chalk Paint™, I applied two coats on this one too. I love working with Chalk Paint™ because there is excellent coverage, it's easy to appy and comes in the most beautiful colours.
  After the base coat dries you can continue to decorate your tray however you like. We had Valentine’s Day in mind, breakfast in bed for your Valentine! And decided to make some homemade heart stamps to add some love to our trays.
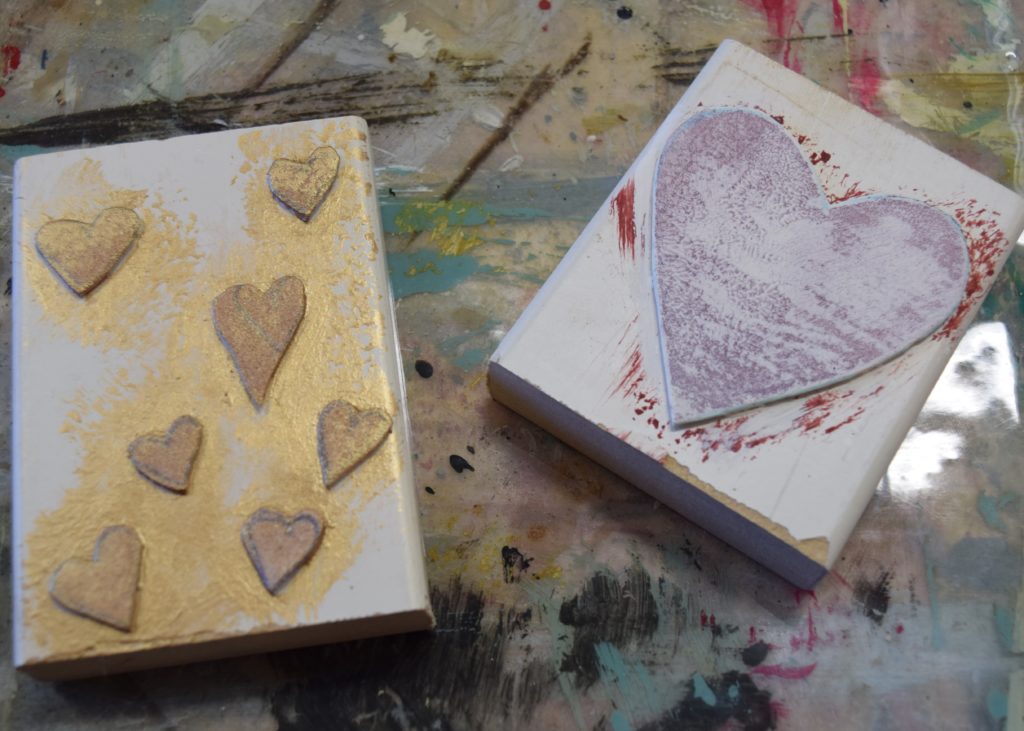
 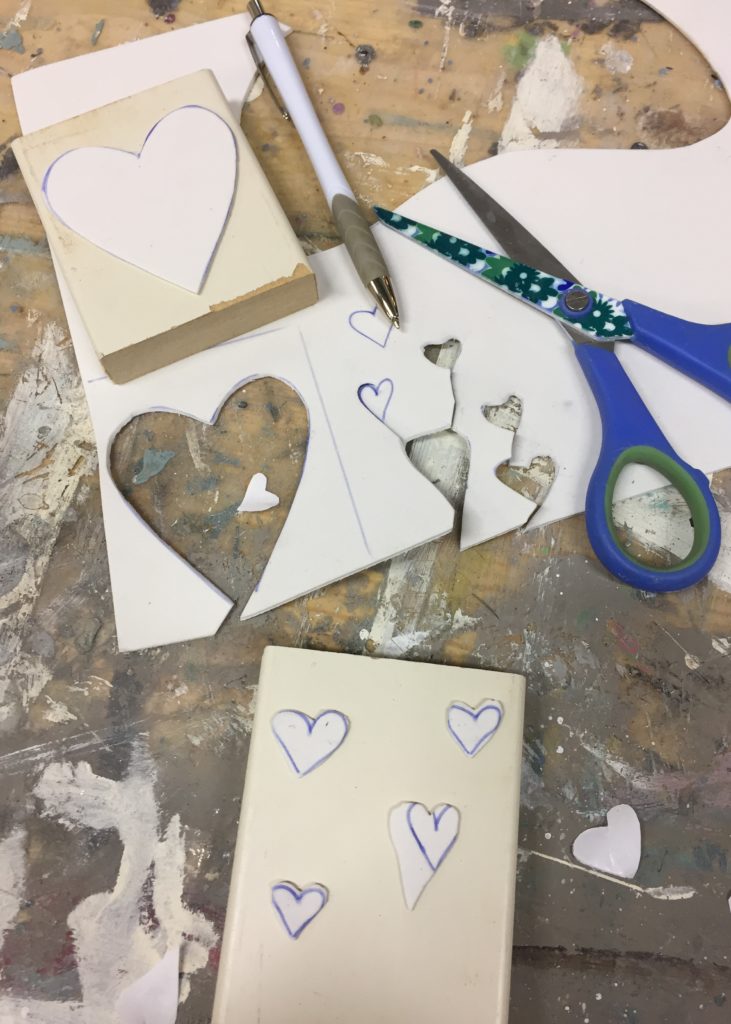 Cut shapes from kids craft foam, this foam had a self-adhesive backing, and then stick onto a block of wood. Apply a little paint to the foam shapes and gently press onto your painted tray, repeat as many times as you like.
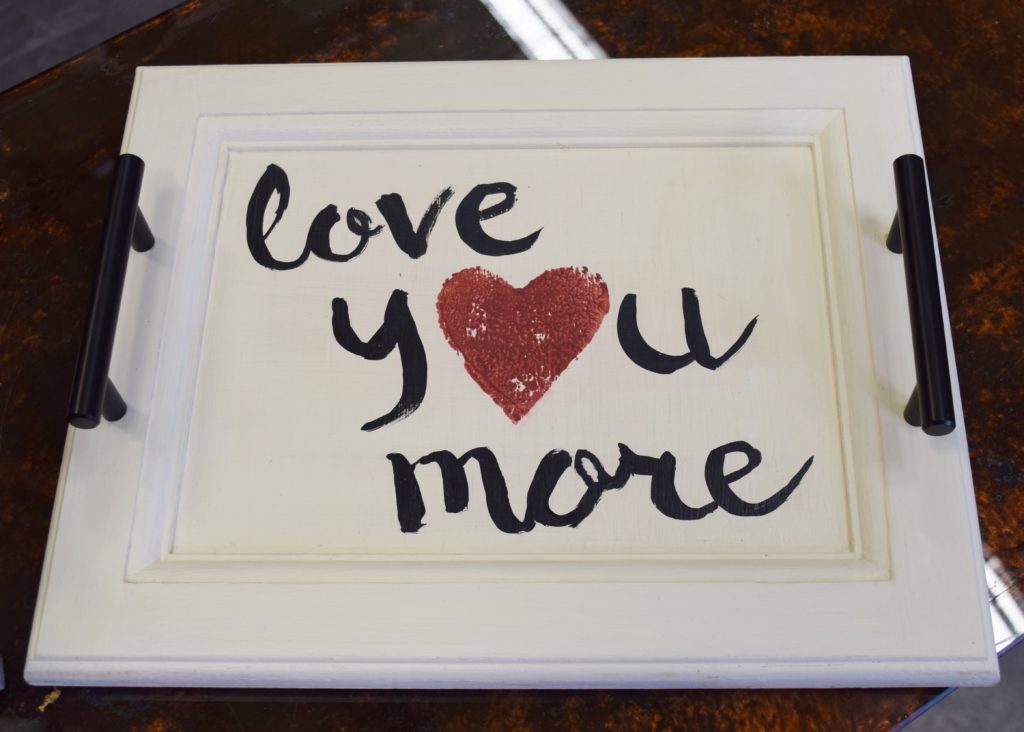 This lovely tray got one larger red heart stamp and then some freehand writing “Love You More” to finish it off.
 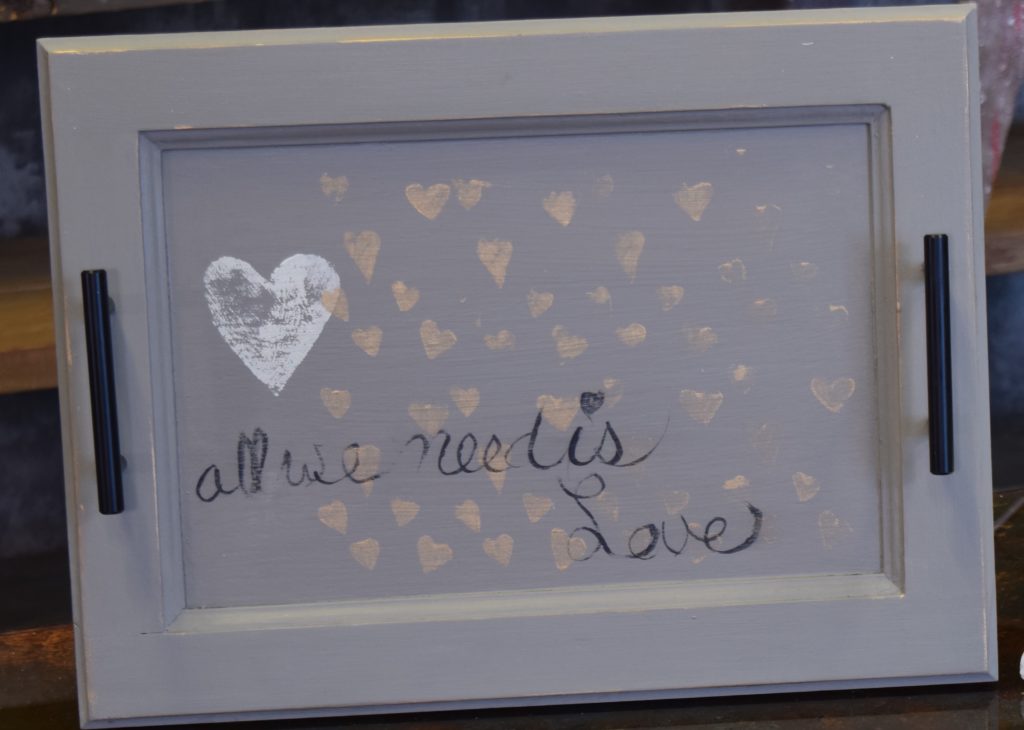 And this one got one large white heart and a whole bunch of tiny gold hearts in the background. And then some handwriting “all we need is love” which was the theme of the episode.Finish off by applying a sealer to protect your finish from spills and wear, Artisan Enhancements Clear Topcoat Sealer is a great choice, water resistant and food safe! Screw in the handles and you’re done.Have questions? Let me know deanna@interiorstoinspire.com or visit the Interiors To Inspire studio in Calgary for more inspiration! Need a place to paint, bring your projects to The Paint Bar, click here for more info on drop-in rates and what's included!Hope you have fun making your own trays, Happy Painting, Deanna
